9 Easy Ways How to Maintain Wooden Handles
The scent of bruised chlorophyll and damp, friable loam signals the peak of the growing season; yet, the most critical interface between the gardener and the soil is often the most neglected. A tool with a cracked, desiccated grip fails to transmit the necessary force for deep cultivation, leading to inefficient soil aeration and physical fatigue. Learning how to maintain wooden handles is a fundamental skill that ensures your kinetic energy translates directly into the rhizosphere without splintering or mechanical failure. Proper maintenance preserves the structural integrity of ash or hickory shafts, preventing the wood from becoming brittle under the high UV exposure of midsummer. By sealing the grain against moisture fluctuations, you prevent the expansion and contraction cycles that loosen tool heads. This technical rigor extends the lifespan of professional grade implements by decades, ensuring that every strike of the spade or slice of the hoe remains precise and balanced. Neglecting this maintenance leads to localized rot and catastrophic failure during heavy prying tasks.
Materials:

While handle maintenance focuses on the tool, the environment where these tools operate is defined by soil chemistry. Tools used in acidic soils with a **pH below 5.5** face higher oxidation risks for metal components, which can bleed rust into the wood. Ideal garden substrates consist of a **friable loam** with a **Cation Exchange Capacity (CEC) of 15 to 25 meq/100g**. To support the vegetation these tools manage, maintain an **NPK ratio of 10-10-10** for general maintenance or **5-10-10** for root development. Use **boiled linseed oil** for the handles; this oil penetrates the cellular structure of the wood better than raw oils. You will also require **80-grit and 120-grit sandpaper**, a **stiff wire brush**, and **mineral spirits** for degreasing.
Timing:
In Hardiness Zones 4 through 7, the primary maintenance window occurs during the transition from the reproductive stage to senescence, typically following the first hard frost. As the photoperiod shortens and plants enter dormancy, the ambient humidity drops. This is the critical "Biological Clock" moment to stabilize wooden handles before winter storage. In warmer Zones 8 through 10, maintenance should be performed biannually to combat the high UV degradation that breaks down lignin in the wood fibers. Performing this work when the soil moisture is low prevents the wood from trapping internal dampness, which could lead to fungal colonization during the off-season.
Phases:

Sowing the Foundation: Cleaning and Inspection
Begin by removing all desiccated soil and organic matter from the tool. Use a stiff wire brush to scrub the junction where the wood meets the metal ferrule. Inspect the grain for "checking," which are small cracks running parallel to the grain. If the wood feels "fuzzy," the fibers have lifted due to moisture exposure.
Pro-Tip: Removing organic debris prevents the transfer of soil-borne pathogens like Fusarium or Phytophthora. This practice protects the mycorrhizal symbiosis in your garden beds by ensuring you do not cross-contaminate different soil zones during the next planting cycle.
Transplanting the Surface: Sanding and Smoothing
Use 80-grit sandpaper to remove existing weathered gray wood and splinters. Transition to 120-grit for a smooth finish that prevents blisters. Sanding removes the oxidized outer layer, exposing fresh tracheids and vessels in the wood that are more receptive to oil penetration. Ensure the wood is bone dry before proceeding to the next step.
Pro-Tip: Smoothing the handle reduces friction-induced heat on the operator's hands. This mimics the biological concept of thigmomorphogenesis, where mechanical stress changes the growth patterns of plants; in this case, we are mechanically altering the tool to better suit human ergonomics.
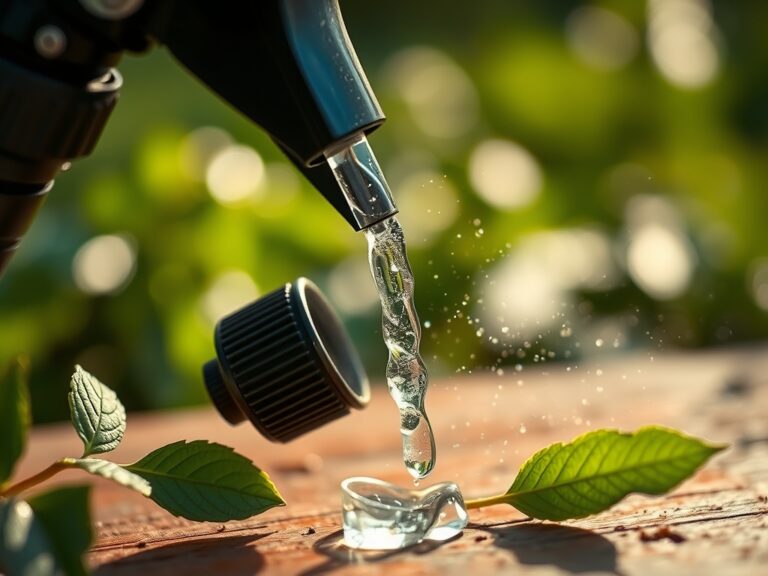
Establishing the Seal: Oil Application
Apply a generous coat of boiled linseed oil using a lint-free cloth. Allow the wood to absorb the oil for 15 to 20 minutes, then wipe away the excess. Repeat this process until the wood no longer "drinks" the oil. This creates a hydrophobic barrier that prevents water from infiltrating the vascular bundles of the timber.
Pro-Tip: The oil acts as a surrogate for the plant's natural resins. By saturating the wood, you prevent the entry of oxygen and water, effectively halting the oxidative degradation of the lignin that provides the wood its structural "stiffness" and turgor-like resilience.
The Clinic:
Symptom: Splintering and Fiber Separation
Solution: This is caused by extreme desiccation. Sand the area aggressively until smooth and apply three coats of oil.
Fix-It: For deep cracks, mix fine sawdust with waterproof wood glue to create a filler. Once cured, sand flush and oil.
Symptom: Loose Tool Head (Wobble)
Solution: The wood has shrunk due to low humidity. Submerge the head in water for 24 hours to swell the fibers, then immediately seal with oil to lock in the moisture.
Fix-It: If swelling fails, drive a new steel wedge into the end grain of the handle to increase the outward pressure against the tool socket.
Symptom: Dark Staining or Black Spots
Solution: This indicates fungal growth or "spalting." Clean the area with a 10% bleach solution, let dry completely, and sand back to healthy wood.
Fix-It: Improve the storage environment by ensuring a relative humidity of 40% to 50% and increasing airflow to prevent spore germination.
Symptom: Nitrogen Chlorosis in Nearby Plants
Solution: While not a tool issue, it often coincides with spring tool prep. If leaves are pale yellow, the soil lacks Nitrogen.
Fix-It: Apply a high-nitrogen fertilizer with a ratio of 21-0-0 to boost chlorophyll production and restore vegetative vigor.
Maintenance:
Daily maintenance is the hallmark of a professional. After every use, wipe the wooden handle with a dry cloth to remove perspiration and soil acids. If the tool was used in muddy conditions, rinse it quickly and dry it immediately. Store tools hanging up; do not lean them against walls where the handles can bow over time. Use a soil moisture meter to ensure your storage shed remains dry. For the metal components, use a hori-hori knife to scrape off stubborn clay and apply a thin film of mineral oil. When pruning, keep your bypass pruners sharp to ensure clean cuts that heal quickly, preventing the spread of disease that you could otherwise carry on your tools.
The Yield:
A well-maintained tool "yields" a more efficient gardening experience and a longer-lasting kit. When harvesting root crops like carrots or parsnips, a smooth-handled digging fork allows for the deep, steady leverage required to lift the taproot without snapping it. To maintain "day-one" freshness of your harvest, ensure your tools are sterilized with isopropyl alcohol before use. This prevents the introduction of decay organisms into the fresh vascular wounds of the harvested plant, extending the shelf life of your produce significantly.
FAQ:
How often should I oil my wooden handles?
Apply oil at least twice a year. High-use tools in arid climates may require monthly applications. If the wood looks dull or feels light and "hollow," it is time to re-oil to prevent fiber breakdown.
Can I use motor oil instead of linseed oil?
No. Motor oil contains petroleum distillates and heavy metals that can leach into your soil and harm the rhizosphere. Use food-grade mineral oil or boiled linseed oil to ensure soil safety and effective wood penetration.
What is the best wood for tool handles?
Ash and hickory are the industry standards. Ash offers excellent shock absorption due to its long fibers; hickory provides superior density and strength. Both require consistent oiling to maintain their mechanical properties and prevent brittleness.
How do I fix a handle that is already splintering?
Sand the handle with 80-grit sandpaper to remove the splinters. If the damage is deep, wrap the area with heavy-duty grip tape. However, if the structural integrity is compromised, replace the handle to avoid injury during high-torque tasks.