7 Basic Steps to Store Garden Hoses
The smell of damp earth and the high turgor pressure of a hydrated leaf signify a successful irrigation cycle. However, as the growing season concludes, the same water that sustained the rhizosphere becomes a liability within your irrigation hardware. Residual moisture trapped in vinyl or rubber casings undergoes thermal expansion during freeze-thaw cycles; this leads to structural failure and microscopic fissures. Implementing precise steps to store garden hoses ensures that your delivery systems remain intact for the following spring. Neglecting this maintenance results in polymer degradation and the loss of hydraulic integrity. Proper storage is a technical necessity for any operation managing high-value perennials or intensive vegetable plots.
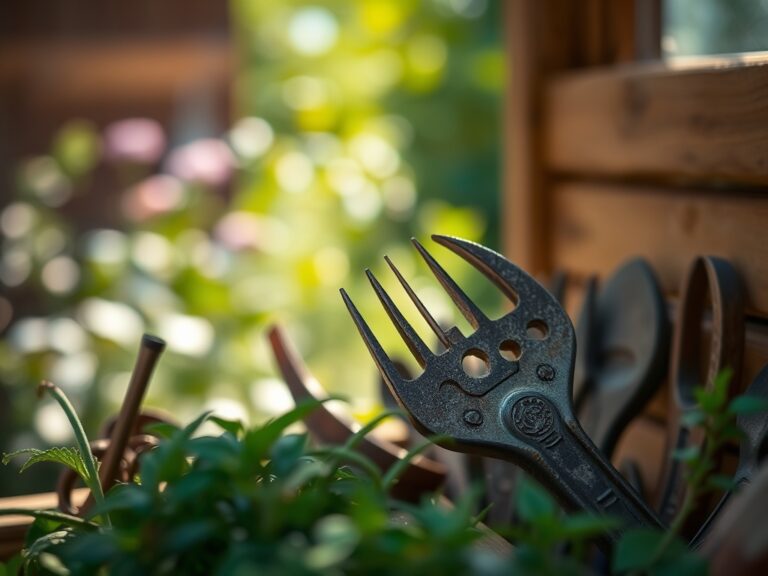
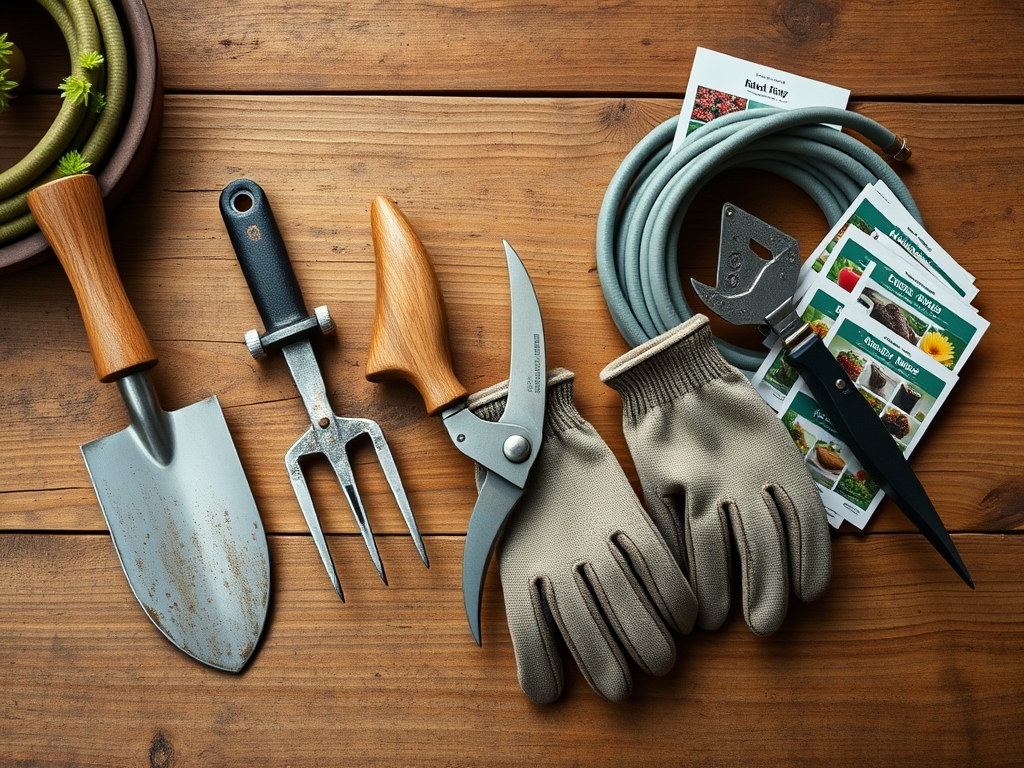
Materials:
Hose maintenance requires a clean environment free from acidic residues. The ideal substrate for surrounding garden beds is a **friable loam** with a **pH between 6.2 and 6.8**. When preparing the storage area, ensure no fertilizers with high salt indexes are present. High concentrations of **Nitrogen (N), Phosphorus (P), and Potassium (K)** in a **10-10-10** ratio can be corrosive to brass fittings if left in direct contact. Use a **silicone-based lubricant** for O-rings and a **stiff-bristle brush** to remove calcification. The storage surface should be elevated to prevent contact with soil microorganisms that accelerate the decomposition of synthetic rubbers.
Timing:
The window for storage is dictated by your local USDA Hardiness Zone. In Zones 3 through 6, the first killing frost typically occurs between late September and mid-October. You must complete these steps before the ground temperature reaches 32 degrees Fahrenheit. This transition aligns with the plant's senescence, where deciduous species move from a vegetative state to dormancy. Monitoring the photoperiod is essential; as daylight hours drop below 12 hours, the biological clock of the garden slows, signaling that supplemental irrigation is no longer required. Once the soil moisture meter indicates a consistent saturation level without manual intervention, the hoses must be decommissioned.
Phases:

Sowing the Strategy: Drainage
Begin by disconnecting the hose from the primary spigot. Elevate one end and walk the length of the hose to force all residual water out. Gravity is the primary tool here. Residual water leads to ice expansion, which exerts up to 30,000 pounds per square inch of pressure, easily rupturing reinforced polymers.
Pro-Tip: Removing water prevents the formation of anaerobic biofilms. Without liquid water, microbial respiration ceases, preventing the interior of the hose from becoming a vector for pathogens that could later infect the rhizosphere.
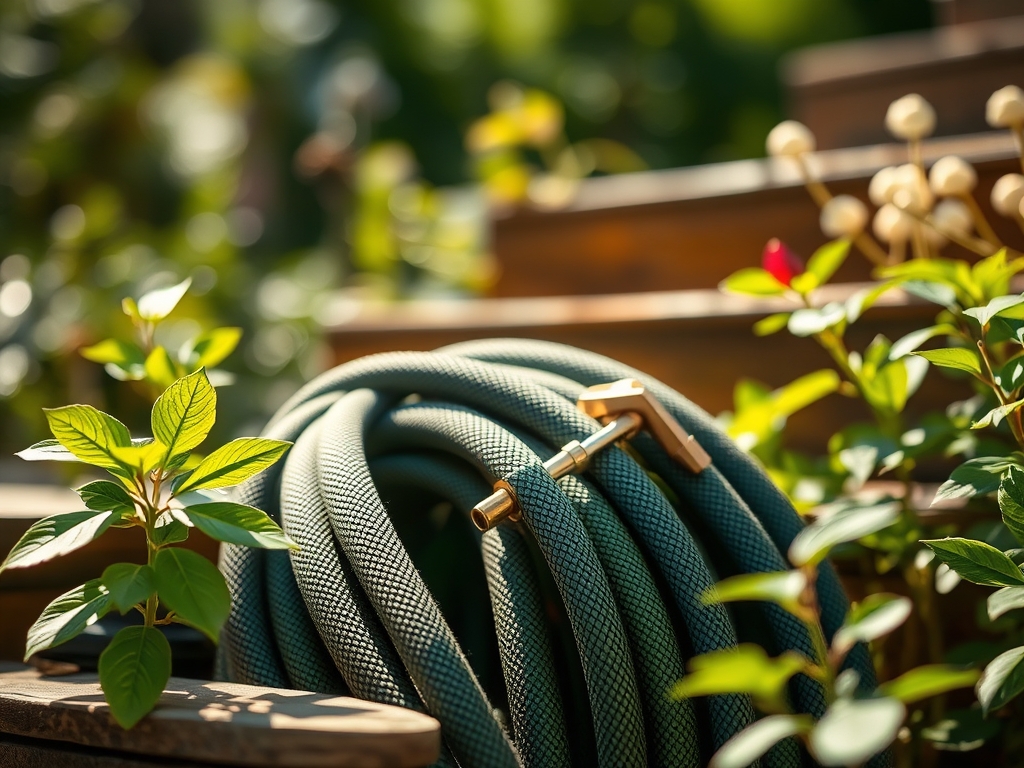
Transplanting to Coils: Proper Winding
Coil the hose in large, loose circles at least 18 to 24 inches in diameter. Avoid tight bends that cause "kinking." Kinking disrupts the molecular alignment of the hose material, creating a permanent weak point. Use a dedicated hose reel or a wall-mounted rack to maintain the shape.
Pro-Tip: Proper coiling prevents mechanical stress on the hose wall. This avoids "compression set," a state where the polymer loses its elastic memory and fails to return to its original shape, much like how auxin suppression in plants can lead to distorted growth patterns if the physical environment is restricted.
Establishing Protection: Environmental Controls
Store the coiled hose in a temperature-controlled environment, such as a garage or shed. Ultraviolet (UV) radiation causes photo-oxidation, which breaks down the chemical bonds in the hose casing. The storage temperature should ideally remain above 40 degrees Fahrenheit to keep the material pliable.
Pro-Tip: Keeping hoses out of direct sunlight prevents the degradation of the outer sheath. This is similar to how plants use anthocyanins to protect delicate tissues from UV damage; since the hose lacks biological defenses, physical shielding is mandatory.
The Clinic:
Physiological disorders in the garden often stem from equipment failure or nutrient imbalances.
- Symptom: Leaf margins turning yellow while veins remain green (Interveinal Chlorosis).
- Solution: This indicates a Magnesium deficiency. Apply Epsom salts (Magnesium Sulfate) at a rate of 1 tablespoon per foot of plant height.
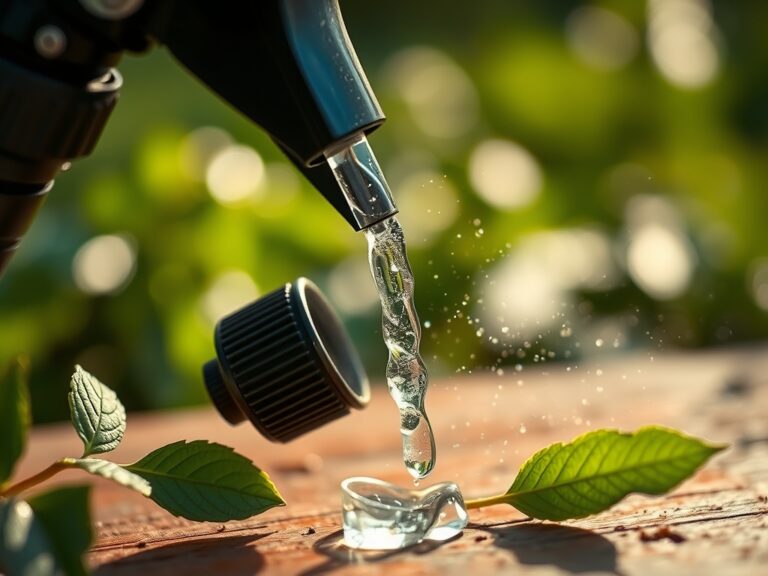
- Symptom: Brittle, cracking hose surface.
- Solution: This is caused by UV exposure. Apply a UV-protectant spray specifically designed for plastics and rubbers.
- Symptom: Stunted growth and pale green foliage.
- Fix-It: This is Nitrogen chlorosis. Introduce a high-nitrogen fertilizer with an NPK ratio of 21-0-0 to boost vegetative vigor and chlorophyll production.
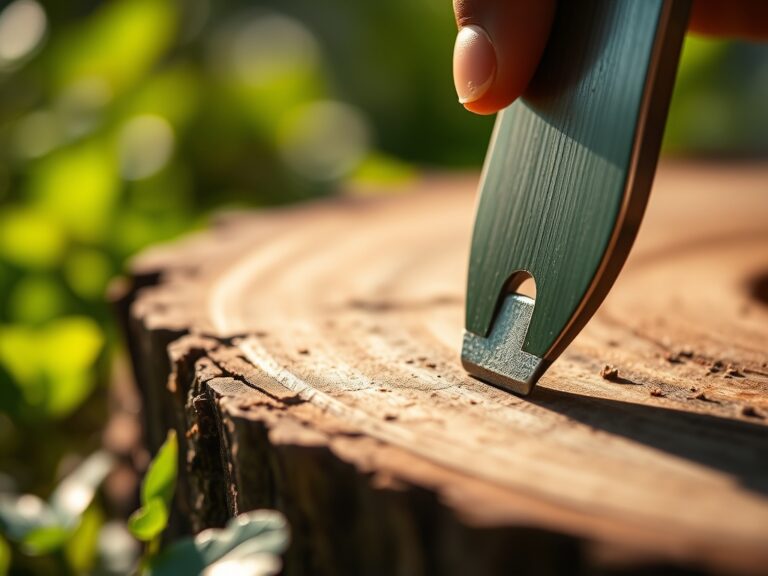
Maintenance:
Precision is the hallmark of a master horticulturist. During the active season, ensure your plants receive 1.5 inches of water per week at the drip line. Use a soil moisture meter to verify that the water is penetrating at least 6 inches deep to reach the primary root mass. Use a hori-hori knife to remove deep-rooted weeds that compete for these resources. When pruning is necessary to increase airflow and reduce fungal pressure, use bypass pruners for clean cuts that heal quickly. Check hose fittings monthly for leaks; a leak of one drop per second wastes over 2,000 gallons of water per year, negatively impacting the Cation Exchange Capacity (CEC) of the soil by leaching out essential minerals.
The Yield:
While hoses do not produce a harvest, their proper storage ensures the yield of your crops. For edible crops, harvest timing is critical. For instance, pick tomatoes when they reach the "breaker stage," about 50 percent color change, to allow them to finish ripening indoors. This prevents skin splitting caused by fluctuating turgor pressure. Use a sharp blade to sever the pedicel, leaving a small portion attached to the fruit. To maintain "day-one" freshness, store harvested produce at 55 degrees Fahrenheit with 90 percent relative humidity. This slows the rate of respiration and prevents the fruit from shriveling.
FAQ:
How do I prevent my hose from cracking in winter?
Drain all water completely to prevent ice expansion. Store the hose in a climate-controlled area away from UV light. Apply a silicone lubricant to the brass fittings and rubber gaskets to maintain a flexible seal throughout the dormant season.
Can I leave my hose on the reel outside?
It is not recommended for Zones with sub-freezing temperatures. Even if drained, the exterior polymer is susceptible to UV degradation and thermal cracking. Move the reel into a shed or cover it with a heavy-duty, UV-resistant waterproof tarp.
What is the best way to clean a garden hose?
Use a solution of mild soap and warm water. Scrub the exterior with a stiff brush to remove soil and algae. For the interior, flush with a 10 percent bleach solution to kill fungal spores and bacteria before final drainage.
Why do hose fittings leak after winter storage?
The rubber O-ring often undergoes senescence or loses elasticity due to extreme cold. Inspect gaskets annually. Replace any flattened or cracked rings with new Viton or high-grade rubber washers to maintain hydraulic pressure and prevent water waste.