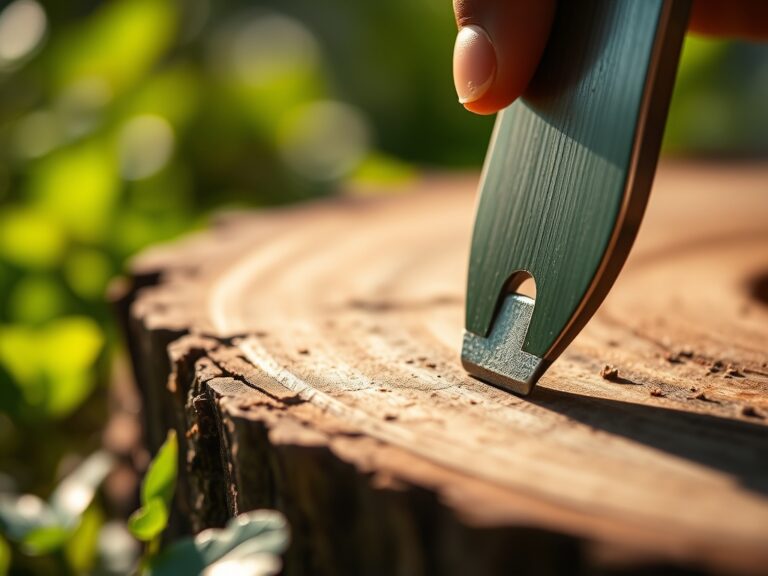
5 Quick Steps to Oil Pivot Points
The smell of damp earth after a cold rain indicates the presence of geosmin; it is the scent of a healthy rhizosphere beginning its seasonal cycle. When a leaf maintains high turgor pressure, its cells are fully hydrated and rigid; this is the baseline for any successful horticultural endeavor. Maintenance of your equipment is as vital as the soil pH itself. If your bypass pruners or loppers seize during a critical pruning window, you risk jagged cuts that invite pathogens. Understanding the steps to oil pivot points ensures that every mechanical action is precise and clean. Friction in a pivot joint leads to metal fatigue and uneven pressure on plant tissue. By applying a high grade lubricant to the central bolt of your tools, you preserve the integrity of the blade alignment. This technical upkeep prevents the crushing of xylem and phloem vessels during a cut. A well maintained tool is an extension of the gardener's intent; it ensures that the plant recovers quickly through rapid callusing.
Materials:
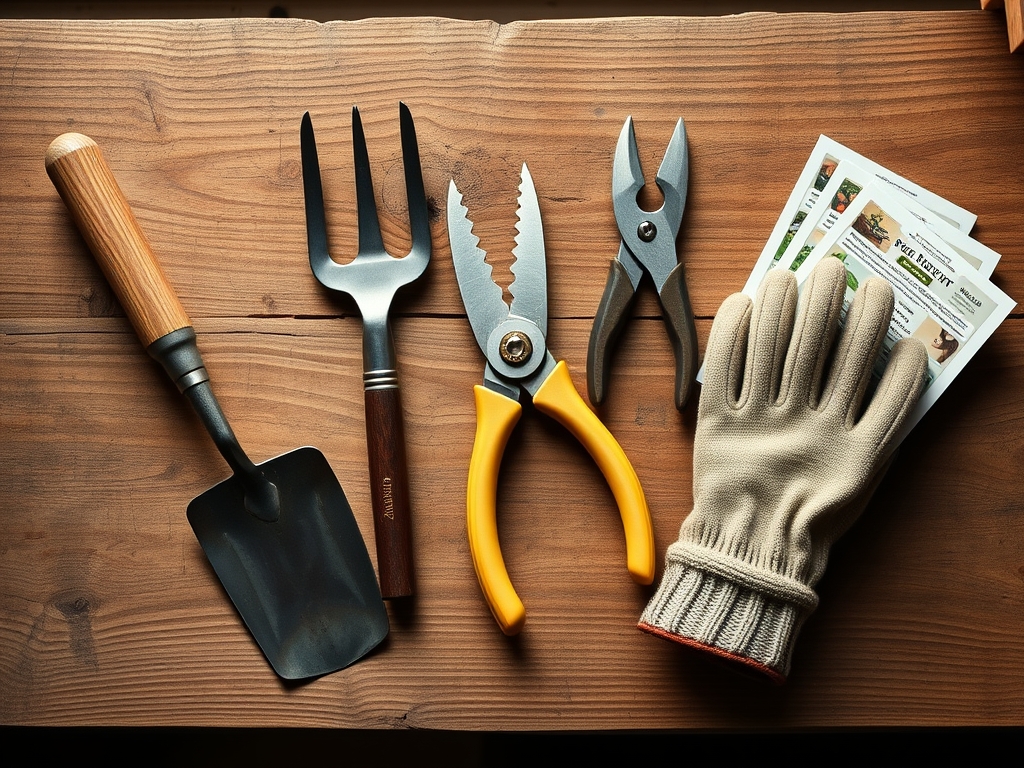
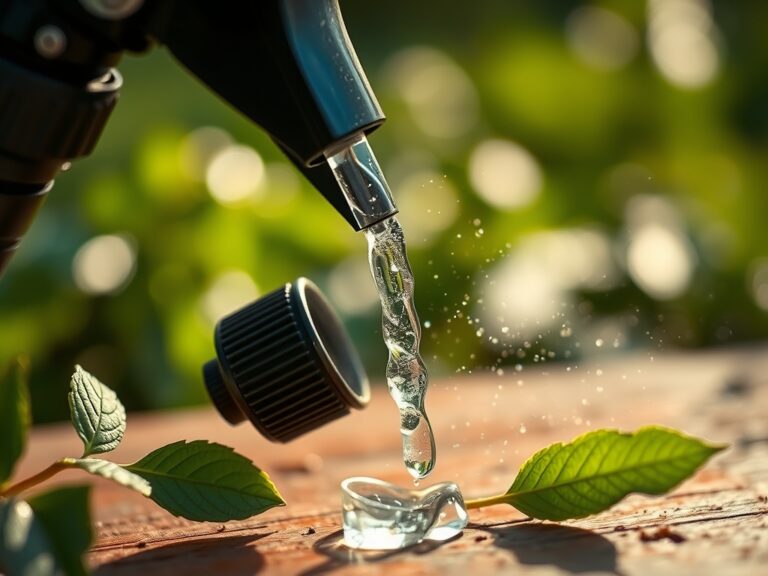
To optimize the growth environment before you even touch a tool, you must prepare the substrate. The ideal medium is a **friable loam** with a **Cation Exchange Capacity (CEC) between 15 and 25 meq/100g**. This ensures the soil can hold and release essential cations like calcium and magnesium. For vegetative growth, focus on an **NPK ratio of 10-5-5** to support nitrogen-heavy leaf production. If you are transitioning to the flowering phase, shift to a **5-10-10 ratio** to provide the phosphorus and potassium necessary for reproductive health. The soil pH should be maintained between **6.2 and 6.8** for maximum nutrient bioavailability. Use a digital probe to verify these levels. For tool maintenance, gather a **3-in-1 penetrating oil**, a clean microfiber cloth, and a **diamond sharpening stone** with a 400/1000 grit surface.
Timing:
Timing is dictated by the USDA Hardiness Zones. In Zones 5 through 7, the primary pruning and tool maintenance window occurs in late winter, specifically 4 to 6 weeks before the average last frost date. This period aligns with the plant's end of dormancy, just before the "Biological Clock" triggers the transition from a dormant state to the vegetative stage. As the photoperiod increases, the plant begins to move sap from the roots to the apical buds. Performing your mechanical maintenance now ensures you are ready for the first flush of growth. If you wait until the reproductive stage (flowering), the plant's energy is diverted away from wound healing, increasing the risk of infection. Always monitor the soil temperature; wait until it consistently reaches 55 degrees Fahrenheit at a 4-inch depth before beginning heavy transplanting or soil agitation.
Phases:

Sowing
Start seeds in a sterile medium to avoid "damping off" caused by fungal pathogens. Maintain a consistent temperature of 70 to 75 degrees Fahrenheit for germination. Once the first true leaves appear, begin a weak fertilization regimen.
Pro-Tip: Proper light placement prevents "leggy" seedlings by managing phototropism. When light is directional, the hormone auxin concentrates on the shaded side of the stem, causing cells to elongate and the plant to lean. Rotating trays 180 degrees daily ensures even vertical growth.
Transplanting
Move specimens when they have developed at least three sets of true leaves. Dig a hole twice the width of the root ball to allow for easy lateral root expansion in the loose soil. Ensure the root flare is level with the soil surface to prevent bark rot.
Pro-Tip: Inoculate the planting hole with mycorrhizal fungi. This creates a mycorrhizal symbiosis where the fungi extend the root system's reach, increasing the surface area for water and phosphorus absorption by up to 1,000 percent.
Establishing
During the first 14 to 21 days, the plant focuses on root establishment over leaf production. This is the "settling" phase where the rhizosphere stabilizes. Avoid high nitrogen fertilizers during this window to prevent excessive top growth that the immature root system cannot yet support.
Pro-Tip: Use auxin suppression techniques like "pinching" the terminal bud. This halts apical dominance and forces the plant to redirect energy to lateral buds, resulting in a bushier and more structurally sound plant.
The Clinic:
Physiological disorders often mimic disease but are usually environmental.
- Symptom: Interveinal chlorosis on new leaves. Solution: This indicates an Iron deficiency, often caused by a pH above 7.0. Lower pH using elemental sulfur.
- Symptom: Blossom end rot on fruit. Solution: This is a Calcium transport issue. It is rarely a lack of calcium in the soil but rather inconsistent moisture preventing uptake. Maintain steady irrigation.
- Symptom: Marginal leaf scorch. Solution: Potassium deficiency or salt accumulation. Flush the soil with 2 inches of distilled water and adjust the NPK ratio to increase K levels.
- Symptom: Nitrogen chlorosis (yellowing of older, lower leaves). Fix-It: Apply a fast acting nitrate based fertilizer to restore chlorophyll production.
Maintenance:
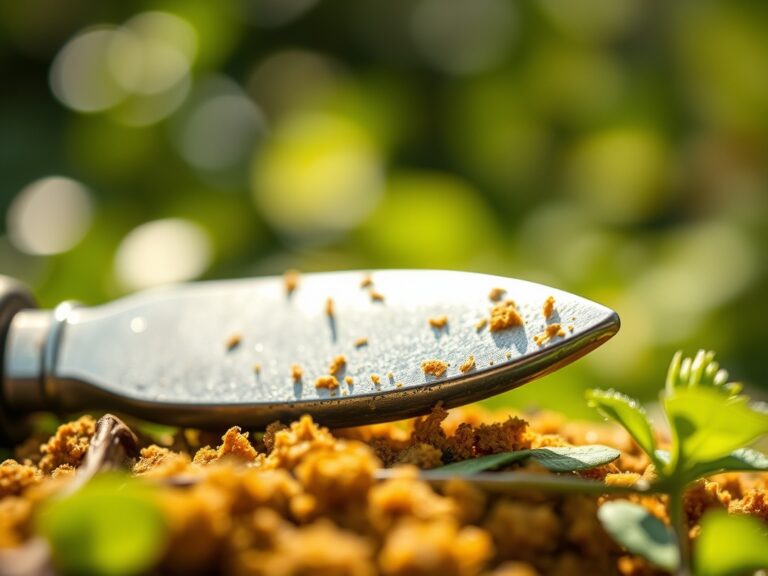
Precision maintenance requires the right equipment. Use a hori-hori knife for weeding and measuring planting depth with its etched scale. For irrigation, apply 1.5 inches of water per week delivered at the drip line; this is the area directly under the outer circumference of the plant branches. Use a soil moisture meter to ensure the water reaches a depth of 6 to 8 inches. For tool longevity, follow the steps to oil pivot points after every use. Open the bypass pruners, wipe away sap with a solvent, and apply one drop of oil to the center pin. This maintains the mechanical advantage and prevents the metal from seizing.
The Yield:
Harvesting should occur during the "cool of the day," typically between 6:00 AM and 9:00 AM. This is when turgor pressure is at its peak, and the plant tissues are most hydrated. For leafy greens, use sharp shears to make a clean cut 1 inch above the crown. For fruiting bodies, use pruners to leave a small portion of the pedicel (stem) attached; this prevents the entry of rot-inducing bacteria into the fruit. Post harvest, immediately move the yield to a shaded area and reduce the "field heat" by submerging in 50 degree Fahrenheit water. This slows the rate of senescence and preserves cellular structure for maximum shelf life.
FAQ:
How often should I oil my pruner pivot points?
Apply a single drop of high grade machine oil every 10 to 15 hours of use. In high humidity environments, oil weekly to prevent oxidation and ensure the pivot bolt maintains the correct tension for clean tissue cuts.
What is the best NPK ratio for general maintenance?
A balanced 10-10-10 ratio works for established perennials. However, for targeted growth, use 10-5-5 for foliage or 5-10-10 for blooms. Always base applications on a recent soil test to avoid nutrient toxicity or runoff.
Why are the tips of my plants turning brown?
This is often "tip burn" caused by low humidity or high salt index in the soil. Ensure you are watering at the drip line and periodically flush the soil to remove excess mineral salts from synthetic fertilizers.
How do I know if my soil has good CEC?
High Cation Exchange Capacity is found in soils with high clay or organic matter content. If your soil is sandy and drains instantly, the CEC is likely below 5 meq/100g, requiring frequent, smaller applications of nutrients.