9 Pro Tips How to Organize Tool Sheds
The smell of damp earth and the crisp turgor of a healthy leaf define the success of a horticultural season. Efficiency in the garden begins with the infrastructure of your workspace. Mastering how to organize tool sheds ensures that your bypass pruners are sharp and your soil amendments remain dry. A disorganized shed leads to cross-contamination of pathogens and delayed response to physiological plant stress. Systematic storage protects your capital investment in high-quality steel and prevents the degradation of organic fertilizers.
Materials:
Your shed must accommodate the specific chemical and physical needs of your substrate components. Store bulk amendments such as **sphagnum peat moss** and **perlite** in airtight bins to maintain a consistent moisture profile. For a **friable loam** with a **pH of 6.5**, you must organize your nutrient inventory by NPK ratio. Keep high-nitrogen fertilizers like **blood meal (12-0-0)** separate from phosphorus-rich **bone meal (3-15-0)** to prevent accidental application during the wrong growth phase.
Manage your Soil Cation Exchange Capacity (CEC) by keeping a supply of elemental sulfur or agricultural lime in labeled, moisture-proof containers. These materials are caustic and must be stored on lower shelves to prevent spills that could alter the pH of your potting bench. Ensure all liquid concentrates are kept at a temperature range of 50 to 70 degrees Fahrenheit to prevent chemical separation or crystallization of the mineral salts.
Timing:
Effective shed organization follows the biological clock of your specific Hardiness Zone. In Zones 5 through 7, the transition from the dormant winter phase to the vegetative growth phase occurs as the soil temperature reaches a consistent 55 degrees Fahrenheit. Your shed layout should reflect this. Move your seed-starting trays and heat mats to the front of the workspace six weeks before the last frost date.
As the photoperiod extends and plants move into the reproductive stage, your focus shifts to pruning and support. By mid-summer, your hori-hori knife and bypass pruners should be at eye level for immediate access. The organization of your shed is a seasonal cycle; it mirrors the metabolic demands of the garden from the initial germination of the seed to the final senescence of the foliage in late autumn.
Phases:

Sowing
The sowing phase requires a sterile environment to prevent damping-off caused by Pythium or Rhizoctonia. Group your cellular trays, humidity domes, and dibbers in a dedicated "Clean Zone."
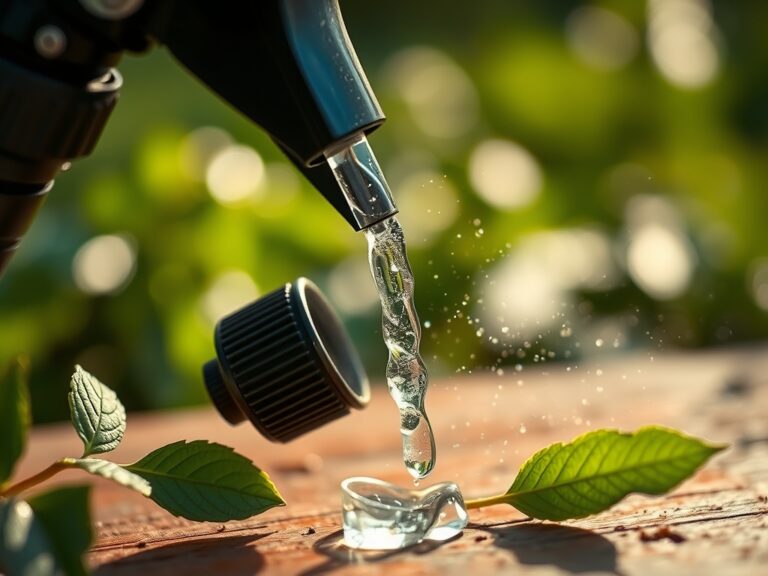
Pro-Tip: Use a soil moisture meter to ensure your seed-starting mix is at 75 percent saturation before sowing. Biological Why: Maintaining consistent moisture levels triggers imbibition, the process where the seed coat absorbs water to activate the metabolic enzymes required for germination.
Transplanting
When seedlings develop their first set of true leaves, they require a higher Cation Exchange Capacity in their growing medium. Organize your transplanting station with larger pots and a balanced 10-10-10 NPK slow-release fertilizer.
Pro-Tip: Dust the root balls with mycorrhizal fungi during transplanting. Biological Why: This establishes a mycorrhizal symbiosis that extends the root system's reach, allowing the plant to absorb phosphorus and water more efficiently through fungal hyphae.
Establishing
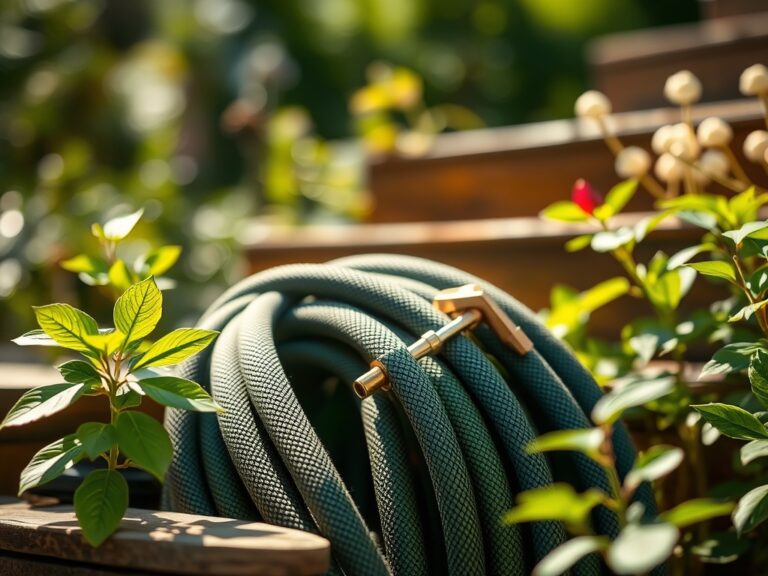
Once plants are in the ground, the shed must function as a maintenance hub. Store your irrigation components, including drip emitters and timers, in clear bins to facilitate rapid repairs during high-heat periods.
Pro-Tip: Keep your bypass pruners sterilized with a 70 percent isopropyl alcohol solution between uses. Biological Why: Pruning creates an open wound; sterilization prevents the mechanical transmission of viral and bacterial pathogens into the plant's vascular system.
The Clinic:
A well-organized shed includes a diagnostic station for physiological disorders.
-
Symptom: Interveinal Chlorosis. The leaves turn yellow while the veins remain green.
Solution: This indicates a Magnesium deficiency. Apply Epsom salts (Magnesium Sulfate) at a rate of 1 tablespoon per gallon of water. -
Symptom: Blossom End Rot. Dark, sunken spots on the base of fruit.
Solution: This is a Calcium transport issue. Ensure consistent watering of 1.5 inches per week and check the soil pH; Calcium uptake is inhibited if the pH drops below 6.0. -
Symptom: Nitrogen Chlorosis. Uniform yellowing of older, lower leaves.
Solution: Apply a high-nitrogen liquid feed. Nitrogen is a mobile nutrient; the plant pulls it from old growth to support new apical meristems. -
Symptom: Leaf Curl. Distorted foliage without visible pests.
Solution: Check for auxin-mimicking herbicide drift. If the plant is in a container, flush the substrate with three times the pot volume of water to leach contaminants.
Maintenance:
Precision maintenance requires the right tools kept in peak condition. Hang long-handled tools like shovels and hoes on wall-mounted racks to prevent the wooden handles from absorbing floor moisture, which causes rot. Use a soil moisture meter daily to monitor the rhizosphere; most garden crops require the soil to be moist at a depth of 6 inches.
Apply 1.5 inches of water per week at the drip line rather than the base of the stem to encourage lateral root expansion. Lubricate the pivot points of your bypass pruners with mineral oil monthly. Store your hori-hori knife in a sheath with a silica gel packet to prevent oxidation of the carbon steel blade. A clean tool reduces the physical force required for a cut, resulting in a cleaner wound on the plant that heals faster.
The Yield:
Harvesting is the culmination of the reproductive stage. For maximum "day-one" freshness, harvest during the early morning hours when turgor pressure is at its peak. Use sharp, sterilized blades to minimize tissue damage. For leafy greens, submerge the harvested material in 40-degree Fahrenheit water immediately to remove field heat and slow the rate of senescence.
For fruiting crops like tomatoes, harvest when the fruit is at 90 percent color break to avoid bruising during transport. Store these at room temperature; refrigeration degrades the flavor enzymes. Root crops should be cured in a dark, well-ventilated area of the shed at 60 percent humidity to allow the outer skin to thicken for long-term storage.
FAQ:
How do I prevent rust on garden tools?
Clean all soil from metal surfaces after use. Apply a thin coat of mineral oil or store tool heads in a bucket filled with silica sand and a small amount of vegetable oil to create a moisture barrier.
Where should I store garden chemicals?
Store all fertilizers and pH adjusters in a cool, dry, and dark location. Keep them in their original containers inside secondary plastic bins to prevent cross-contamination and protect them from UV degradation or moisture absorption.
How often should I calibrate my soil pH meter?
Calibrate your digital pH meter using a buffer solution at least once a month during the growing season. Inaccurate readings can lead to improper nutrient applications, as most micronutrients become unavailable at a pH above 7.5.
What is the best way to store leftover seeds?
Place seed packets in an airtight glass jar with a desiccant pack. Store the jar in a refrigerator at 40 degrees Fahrenheit. This slows the seed's metabolic rate, preserving the embryo's viability for the next planting cycle.