10 Eco-Friendly Steps to Plant a Rain Garden
The scent of damp earth and the sharp, metallic tang of ozone signal a coming storm. For a gardener, this is the moment of peak hydraulic stress. When rainwater hits compacted turf, it shears off the surface, carrying sediment and pollutants into the local watershed. A rain garden functions as a biological filter. By following the precise steps to install a rain garden, you transform a drainage problem into a high-performance infiltration system. This process relies on the turgor pressure of deep-rooted perennials to maintain soil porosity and facilitate groundwater recharge. Success requires more than digging a hole; it demands an understanding of soil physics and hydraulic conductivity. You must calculate the drainage area of your roof or driveway to determine the proper basin size. A standard rain garden is designed to capture the first inch of runoff, which contains the highest concentration of pollutants. By intercepting this flow, you allow the rhizosphere to neutralize nitrogen and phosphorus before they reach the water table.
Materials:

The foundation of a rain garden is the substrate. You cannot rely on heavy clay, which has a low infiltration rate. The ideal medium is a **friable loam** consisting of **50 to 60 percent sand, 20 to 30 percent compost, and 20 percent topsoil**. This mixture ensures a high Cation Exchange Capacity (CEC), allowing the soil to hold onto essential nutrients like potassium and magnesium while allowing water to pass through.
The target soil pH should remain between 5.5 and 6.5. This range ensures that micronutrients remain bioavailable to the plants. For the initial establishment phase, use a slow-release organic fertilizer with an NPK ratio of 5-10-5. The higher phosphorus content encourages robust root development without forcing excessive vegetative growth that might succumb to fungal pathogens in high-humidity conditions. You will also need 2 to 3 inches of double-shredded hardwood mulch. This specific mulch type interlocks, preventing it from floating away during a heavy rain event. Avoid pine bark nuggets, as they lack the density required for hydraulic stability.
Timing:
Installation timing is dictated by your USDA Hardiness Zone. In Zones 5 through 7, the ideal window is late spring after the final frost or early autumn before the ground freezes. Planting during the "Biological Clock" transition from vegetative to reproductive stages is risky; you want the plant to focus energy on root establishment.
Aim for a soil temperature of at least 55 degrees Fahrenheit. Planting in the heat of mid-summer increases the risk of transplant shock due to high evapotranspiration rates. In warmer Zones 8 through 10, autumn is the superior choice. This allows the root systems to establish throughout the mild winter, preparing the plant for the intense heat of the following summer. Monitor the photoperiod; shorter days in autumn signal the plant to move carbohydrates into the root system for winter dormancy, which is the ideal state for a new installation to settle.
Phases:

Sowing and Site Preparation
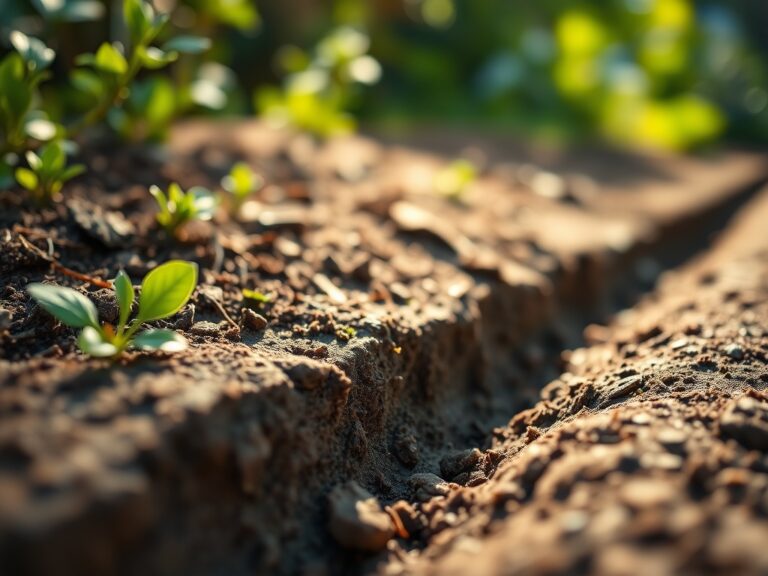
Begin by marking the perimeter of your basin. The garden should be at least 10 feet from your home foundation to prevent basement seepage. Excavate the area to a depth of 18 to 24 inches. Slope the sides gradually at a 3:1 ratio to prevent erosion. Level the bottom of the basin perfectly to ensure even water distribution.
Pro-Tip: Use a level or a transit to ensure the basin floor is flat. This prevents "pooling" in one corner, which can lead to anaerobic soil conditions and root rot. Biological Why: Maintaining an aerobic environment is essential for mycorrhizal symbiosis. These fungi require oxygen to thrive and extend the root system's reach, significantly increasing the plant's ability to uptake water and minerals.
Transplanting
When placing your plants, group them by moisture tolerance. Place "obligate" wetland species in the deepest part of the basin and "facultative" species on the higher slopes. Dig holes twice as wide as the root ball. Gently tease the roots to break any circular growth patterns.
Pro-Tip: Set the crown of the plant slightly above the soil line. Biological Why: This prevents crown rot. Excess moisture at the stem base can lead to auxin suppression, where the plant's growth hormones are inhibited by fungal pathogens, eventually causing the vascular system to collapse.
Establishing
Once planted, apply the hardwood mulch and water the area deeply. For the first six to eight weeks, the garden requires consistent moisture to ensure the roots knit into the new substrate. Do not rely on rain alone during this critical phase.
Pro-Tip: Remove any dead or yellowing leaves immediately using sharp bypass pruners. Biological Why: This prevents the plant from wasting energy on senescence (the process of biological aging and cell death). By removing failing tissue, you encourage the plant to redirect its sugars toward new, healthy growth and root expansion.
The Clinic:
Physiological disorders often mimic pest damage but are usually rooted in soil chemistry or water volume.
- Symptom: Interveinal chlorosis (yellowing between leaf veins) on new growth.
- Solution: This indicates an Iron deficiency, often caused by a pH above 7.0. Apply chelated iron or lower the pH with elemental sulfur.
- Symptom: Marginal leaf burn or browning of the leaf edges.
- Solution: This is often a sign of salt accumulation from road runoff. Flush the basin with 2 inches of clean water to leach the salts below the root zone.
- Symptom: Stunted growth and dark purple tinting on the undersides of leaves.
- Solution: Phosphorus deficiency. Check soil temperature; if it is below 50 degrees Fahrenheit, the plant cannot uptake phosphorus. If the soil is warm, add bone meal.
Fix-It: Nitrogen chlorosis appears as a general paling of the entire plant, starting with the older, lower leaves. Apply a high-nitrogen organic meal, such as blood meal, at a rate of 1 pound per 100 square feet to restore chlorophyll production.
Maintenance:
A rain garden is not a "set and forget" system. During the first year, provide 1.5 inches of water per week at the drip line if rainfall is insufficient. Use a soil moisture meter to check the depth of hydration; the probe should read "moist" at a depth of 6 inches.
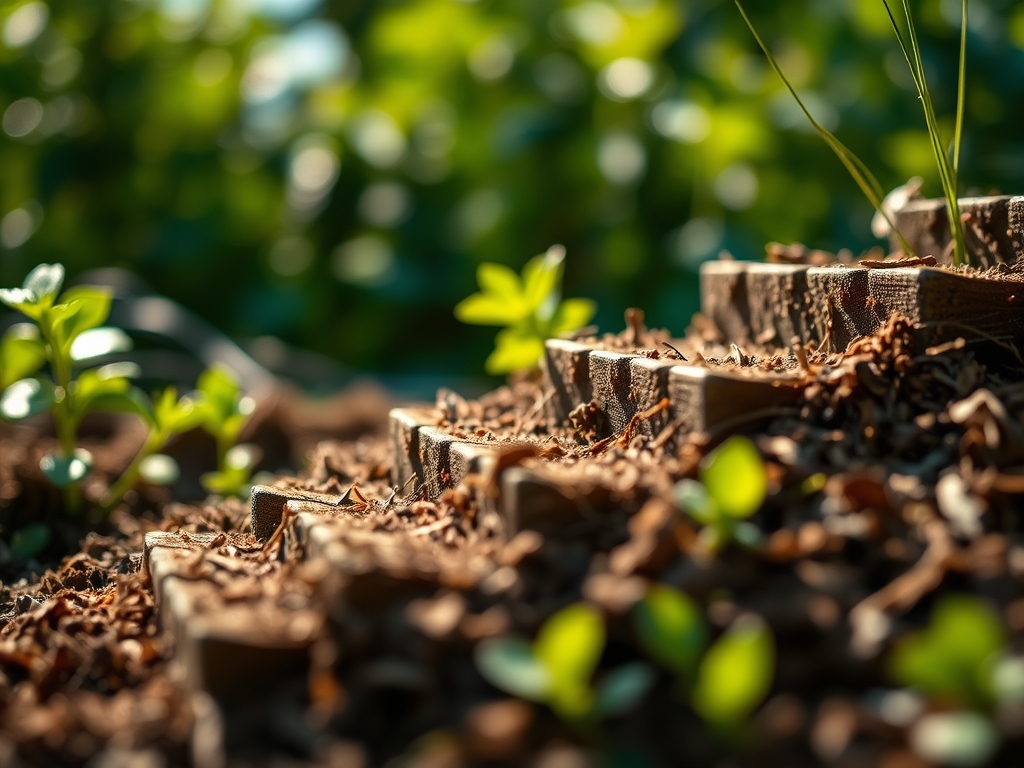
Use a hori-hori knife to remove weeds by the root, ensuring you do not leave rhizomes behind. In late winter, use bypass pruners to cut back ornamental grasses and spent perennials to 3 inches above the ground. This allows for clean new growth in the spring. Inspect the inflow point after every major storm to remove debris that could block water entry. If the mulch has shifted, rake it back into place to maintain a consistent 3-inch depth.
The Yield:
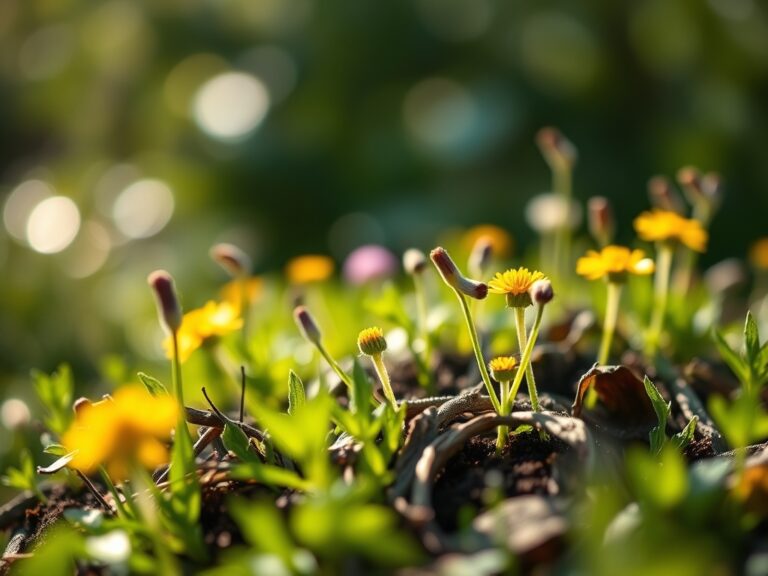
While rain gardens are primarily functional, many include flowering species like Echinacea or Asclepias. If harvesting flowers for indoor use, cut them in the early morning when turgor pressure is at its highest. Use a sharp knife and immediately plunge the stems into 110-degree Fahrenheit water. This "hardening" process removes air bubbles from the xylem, ensuring the flowers stay fresh for up to a week. For seed collection, wait until the seed heads are brown and brittle, then store them in a cool, dry place with less than 20 percent humidity.
FAQ:
How deep should a rain garden be?
A rain garden should be excavated to a depth of 6 to 12 inches below the surrounding grade. This depth allows for the temporary ponding of water while ensuring it drains completely within 24 to 48 hours.
What plants work best in rain gardens?
Select native perennials with deep taproots or fibrous root systems. Species like Swamp Milkweed, Blue Flag Iris, and Joe Pye Weed are ideal because they tolerate both extreme saturation and periodic dry spells between rain events.
Will a rain garden attract mosquitoes?
No. Mosquitoes require 7 to 10 days of standing water to complete their life cycle. A properly engineered rain garden is designed to drain within 48 hours, making it impossible for mosquito larvae to survive to adulthood.
Do I need to install an underdrain?
Underdrains are only necessary in soils with extremely high clay content where the infiltration rate is less than 0.5 inches per hour. In most residential settings, replacing the native soil with a sandy loam mix is sufficient.