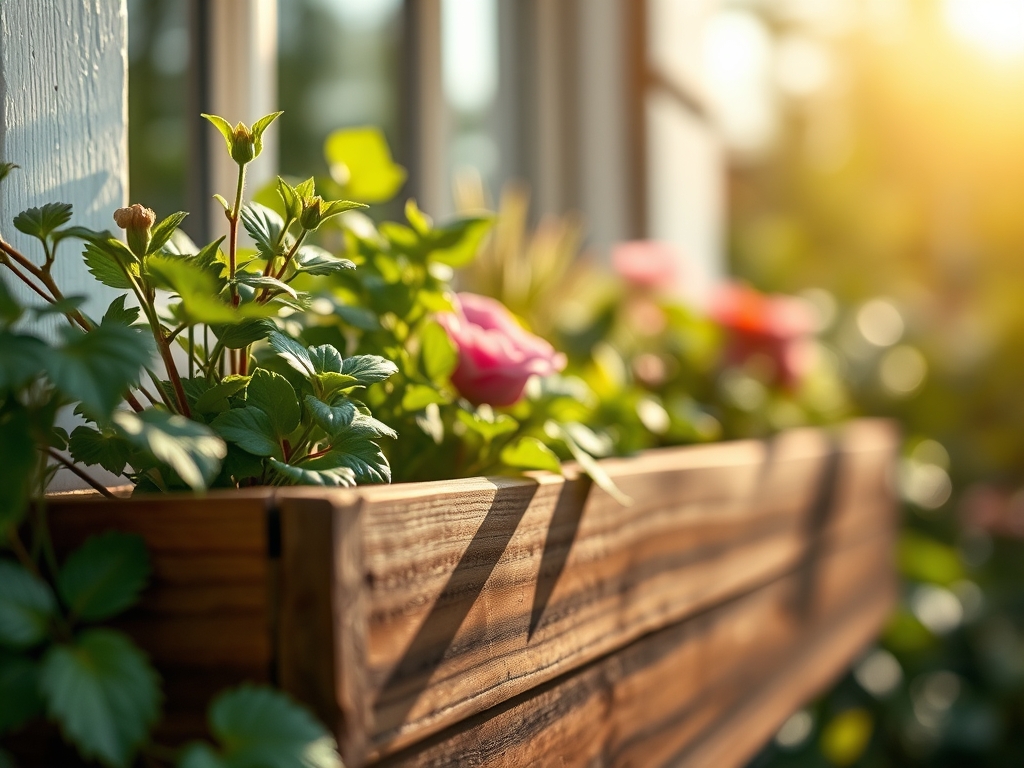
6 Easy Steps to Install a Window Box
Crushing a handful of damp, friable loam reveals the earthy scent of geosmin; it is the olfactory signal of a healthy microbial ecosystem. Achieving high turgor pressure in your ornamental or edible display begins with structural integrity. When you master the steps to install a window box, you are not merely hanging a container; you are engineering a micro-environment that must withstand gravitational stress and rapid evaporation. Precision in mounting ensures the box remains level under the weight of saturated substrate, which can exceed fifty pounds for a standard thirty-six inch unit. This process requires a synthesis of carpentry and plant physiology to ensure that the rhizosphere remains aerobic and the drainage system functions without compromising the building facade. Successful installation dictates the health of the plants from the first root expansion to the final senescence of the season.
Materials:

Substrate selection is the most critical variable for container success. Avoid standard "topsoil" which lacks the porosity required for confined root systems. Instead, utilize a professional-grade soilless mix with a pH range of 5.8 to 6.5. The physical texture must be friable; a blend of sphagnum peat moss, perlite, and vermiculite provides the necessary Cation Exchange Capacity (CEC) to hold nutrients while maintaining oxygen gaps.
For the initial planting phase, incorporate a controlled-release fertilizer with an NPK ratio of 10-10-10 or a high-phosphorus "starter" blend like 5-10-5 to stimulate root morphogenesis. You will also require stainless steel or galvanized lag bolts at least 3.5 inches in length to penetrate the wall studs. Ensure the window box material is rot-resistant, such as cellular PVC, cedar, or powder-coated metal, to prevent structural failure over time.
Timing:
Installation and planting must align with your specific USDA Hardiness Zone. In Zones 5 through 7, the window for spring installation typically opens after the last frost date, generally between April 15 and May 15. Planting too early leads to chilling injury, which disrupts the biological clock and can stall the transition from the vegetative stage to the reproductive (flowering) stage for weeks.
Monitor soil temperatures using a probe; most temperate species require a minimum substrate temperature of 60 degrees Fahrenheit for active nutrient uptake. If you are planting photoperiod-sensitive species, recognize that the duration of light will dictate when the plant shifts energy from leaf production to bud development. For summer-heavy displays, install during the "Goldilocks" window of late spring to allow root establishment before the high-evapotranspiration demands of July heat.
Phases:

Sowing and Preparation
Before mounting, drill drainage holes every 6 inches along the bottom of the box. Line the base with a thin layer of non-woven geotextile fabric to prevent the migration of fine particles through the drainage ports. Fill the box with the substrate to within 2 inches of the rim to allow for "headroom" during irrigation.
Pro-Tip: Pre-moisten the substrate before planting to avoid hydrophobic pockets. This ensures immediate capillary action, allowing the roots to access moisture through the entire soil column via osmotic potential.
Transplanting
When moving plants from nursery liners, use a hori-hori knife to gently tease out any circling roots. This prevents "girdling," where roots continue to grow in a tight circle rather than expanding into the new medium. Space plants according to their mature width, typically 6 to 8 inches apart for most annuals, to allow for adequate airflow and reduce the risk of fungal pathogens.
Pro-Tip: Practice "pinching" the terminal buds of leggy transplants. This suppresses apical dominance by reducing auxin concentrations at the tip, which stimulates lateral bud growth and results in a bushier, more robust plant.
Establishing
Once the box is mounted and planted, saturate the medium until water flows freely from the drainage holes. This initial "settling" irrigation eliminates large air pockets that can desiccate tender root hairs. Observe the root structure in the step-by-step photos to ensure the crown of the plant sits exactly at the soil line; planting too deep leads to stem rot.
Pro-Tip: Inoculate the soil with mycorrhizal fungi. This symbiotic relationship extends the reach of the root system, significantly increasing the surface area for phosphorus and water absorption.
The Clinic:
Physiological disorders in window boxes often stem from the restricted root volume and rapid temperature fluctuations.
- Symptom: Interveinal Chlorosis. New leaves appear yellow while veins remain green.
- Solution: This indicates an Iron (Fe) deficiency, often caused by high pH. Lower the pH using sulfur or apply chelated iron.
- Symptom: Marginal Leaf Burn. Edges of the leaves turn brown and crispy.
- Solution: This is typically a sign of salt accumulation from synthetic fertilizers. Flush the box with a volume of water equal to twice the box capacity to leach out excess salts.
- Symptom: Epinasty. Leaves curl downward and stems appear twisted.
- Solution: This is a stress response often linked to waterlogging or ethylene gas. Ensure drainage holes are not blocked and the medium has not become anaerobic.
- Fix-It: Nitrogen Chlorosis. If the entire plant turns a pale lime green, it lacks Nitrogen. Apply a liquid-soluble fertilizer with a high N-value (like 20-10-10) to quickly restore chlorophyll production.
Maintenance:
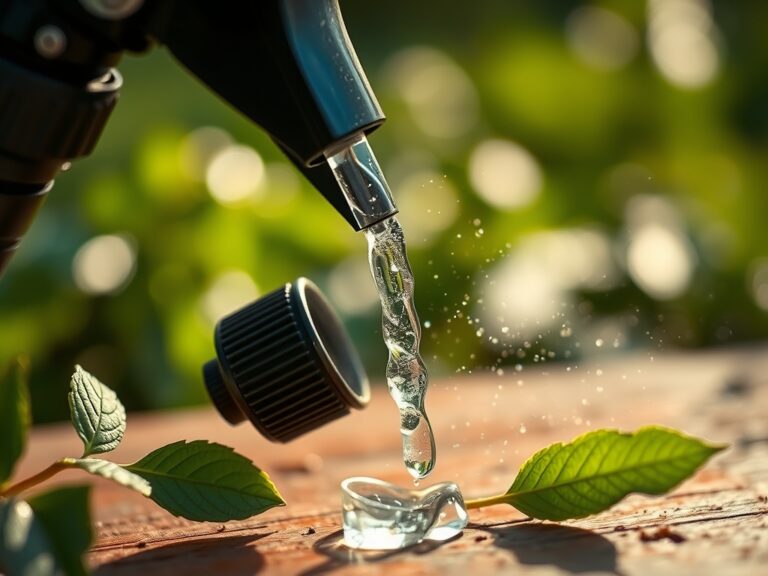
Precision irrigation is the backbone of window box longevity. Use a soil moisture meter to check the substrate daily. During peak summer, containers require approximately 1.5 inches of water per week, delivered directly to the drip line to keep the foliage dry. Avoid overhead watering to prevent the spread of spores.
Every two weeks, use bypass pruners to remove spent blooms (deadheading). This prevents the plant from diverting energy into seed production, extending the flowering phase. Monitor the CEC by supplementing with a diluted liquid fertilizer every 14 days, as frequent watering leaches nutrients out of the small soil volume more rapidly than in ground-level beds.
The Yield:
For those growing "cut-and-come-again" flowers or culinary herbs, harvest timing is paramount. Harvest in the early morning when turgor pressure is at its peak; this ensures the stems are turgid and the essential oils in herbs are most concentrated. Use a sharp blade to make clean cuts above a node to encourage rapid regrowth.
Post-harvest, immediately submerge flower stems in 110-degree Fahrenheit water containing a floral preservative. This "hardening off" process removes air bubbles from the xylem, ensuring the plant can continue to transport water to the petals. For herbs, wrap the stems in a damp paper towel and refrigerate to slow down the metabolic rate and preserve freshness.
FAQ:
How do I prevent my window box from rotting the siding?
Install a 1/2-inch spacer or "standoff" between the box and the house. This allows for vertical airflow and prevents moisture from being trapped against the building envelope, which can lead to fungal decay and structural compromise.
What is the best way to secure a box to brick?
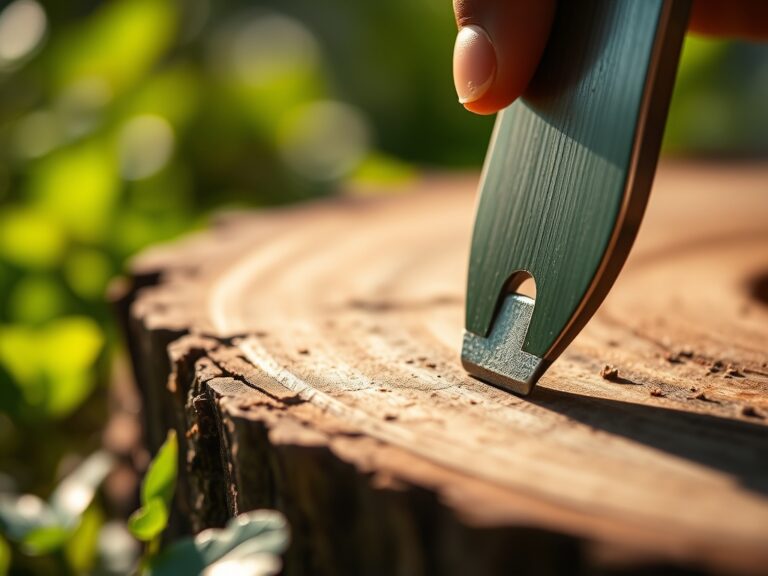
Use a masonry bit to drill into the brick itself, not the mortar. Insert lead anchors or expansion bolts. Mortar is too brittle to support the dynamic weight of a saturated window box over long periods.
How often should I replace the potting soil?
Replace at least 50 percent of the substrate annually. Over time, the organic matter decomposes, leading to soil compaction and reduced pore space. Fresh medium restores the Cation Exchange Capacity and ensures proper aeration for the rhizosphere.
Can I use regular garden soil in a window box?
No. Garden soil is too dense and lacks the necessary macro-pore space for container drainage. It will compact under irrigation, suffocating the roots and leading to anaerobic conditions that promote Pythium and other root rot pathogens.