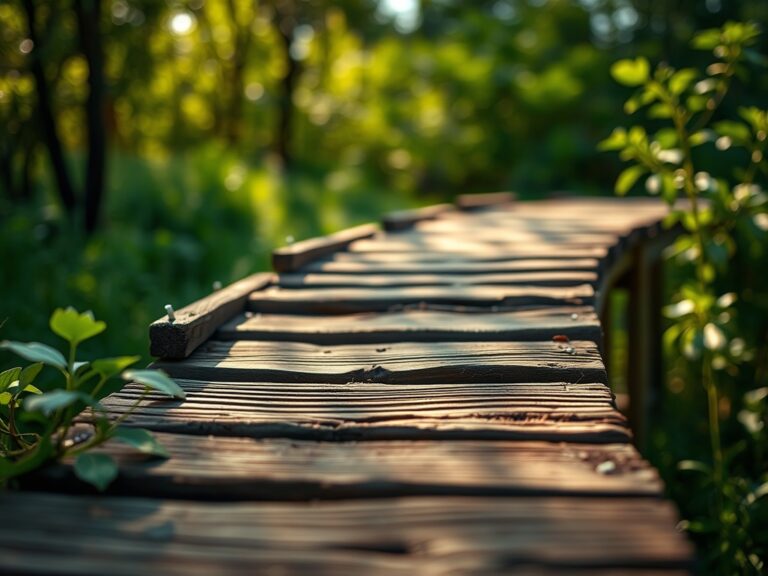
9 Best Stones for Rock Walls
Damp earth releases a sharp, geosmin-heavy scent when you excavate the trench for a structural boundary. The turgor of a healthy leaf in the surrounding garden depends entirely on the drainage and stability provided by these vertical structures. Selecting the best stones for rock walls requires an understanding of both geological density and the hydraulic conductivity of the backfill. A wall is not merely a barrier; it is a thermal mass that regulates the rhizosphere of adjacent plantings.
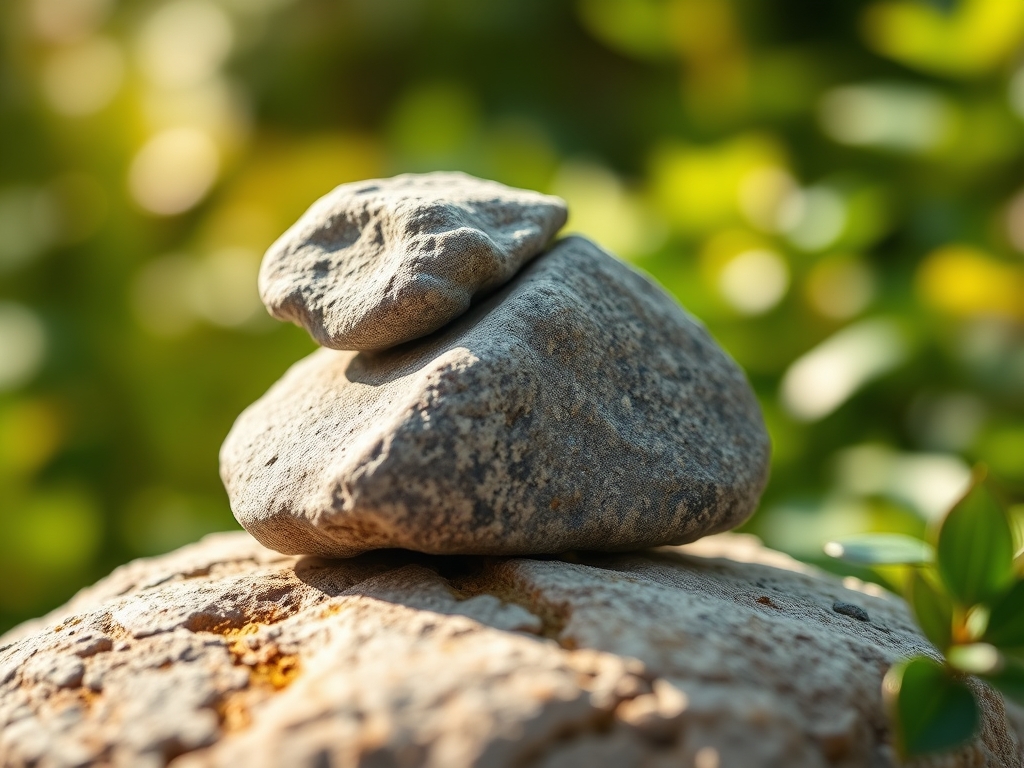
Sandstone and limestone offer porous surfaces that host beneficial lithophytic organisms. Granite provides the compressive strength necessary for load-bearing applications. Fieldstone allows for a rustic, dry-stack approach that facilitates natural drainage. Slate and quartzite provide high-density options that resist freeze-thaw weathering. River rock and basalt offer aesthetic variety while maintaining structural integrity. Schist provides a flat, stackable geometry that reduces the need for mortar. Each selection impacts the local microclimate and the Cation Exchange Capacity (CEC) of the soil trapped behind the stone face.
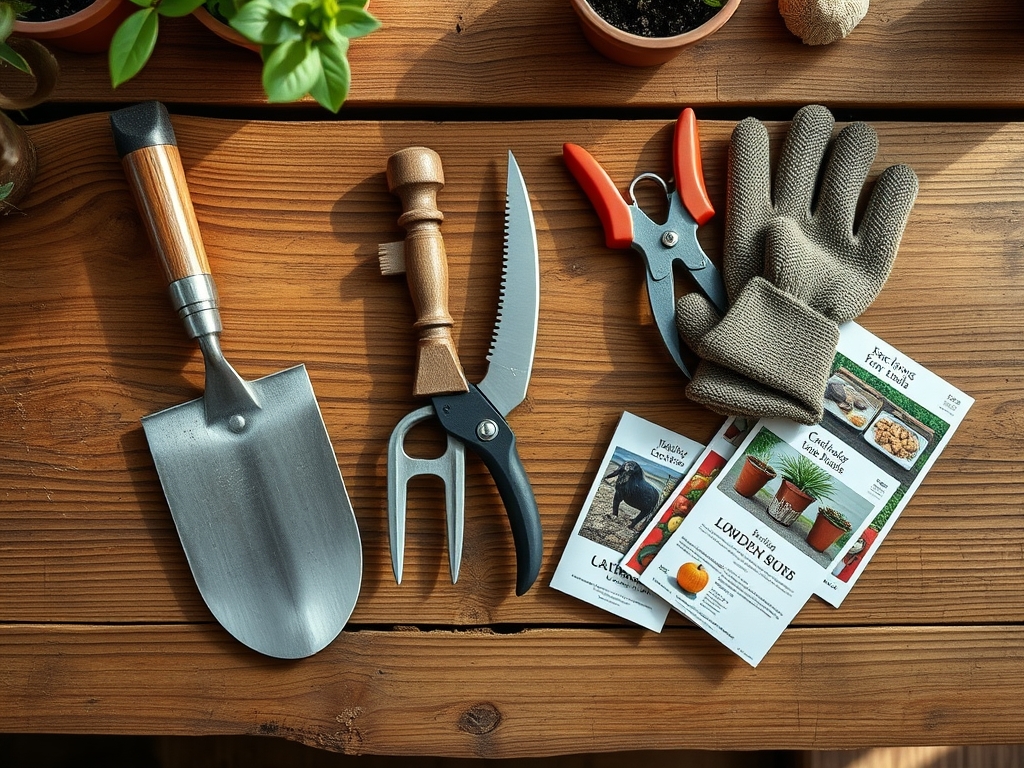
Materials:
The success of a rock wall depends on the interface between the stone and the substrate. For most ornamental and functional plantings behind a wall, a **friable loam** is the gold standard. This soil should possess a **pH range of 6.2 to 6.8** to ensure maximum nutrient availability. When backfilling, incorporate a slow-release fertilizer with an **NPK ratio of 5-10-10**. The lower nitrogen content prevents excessive vegetative growth that can destabilize the wall, while higher phosphorus and potassium levels encourage strong root architecture and cellular turgor.
The Cation Exchange Capacity (CEC) of the backfill should ideally fall between 15 and 25 meq/100g. This range ensures the soil can hold onto essential cations like calcium (Ca2+) and magnesium (Mg2+) without becoming overly compacted. If using limestone as one of your best stones for rock walls, monitor the pH closely. Limestone is alkaline and can raise the soil pH above 7.5, leading to iron chlorosis in acid-loving plants.
Timing:
Construction and planting must align with regional Hardiness Zones. In Zones 4 through 6, wall construction should be completed at least six weeks before the first hard frost to allow the soil to settle. In Zones 7 through 9, the primary concern is heat-induced desiccation of the root zone during the establishment phase.
The biological clock of the surrounding vegetation dictates the schedule. Transitioning from the vegetative stage to the reproductive stage requires significant caloric energy. For perennial wall-side plantings, ensure they are established during the vernal equinox when photoperiods are increasing. This timing leverages the natural surge in auxin production, which stimulates downward root elongation into the cooler, moister soil layers behind the stone.
Phases:
Sowing and Base Preparation
Excavate a trench to a depth of 12 to 18 inches, depending on your local frost line. Fill the base with a 6-inch layer of compacted 3/4-inch crushed stone. This creates a capillary break that prevents hydrostatic pressure from collapsing the wall during heavy rain events.
Pro-Tip: Proper drainage prevents root rot by maintaining high oxygen levels in the rhizosphere. This is vital because roots require aerobic respiration to power the active transport of minerals across cell membranes.
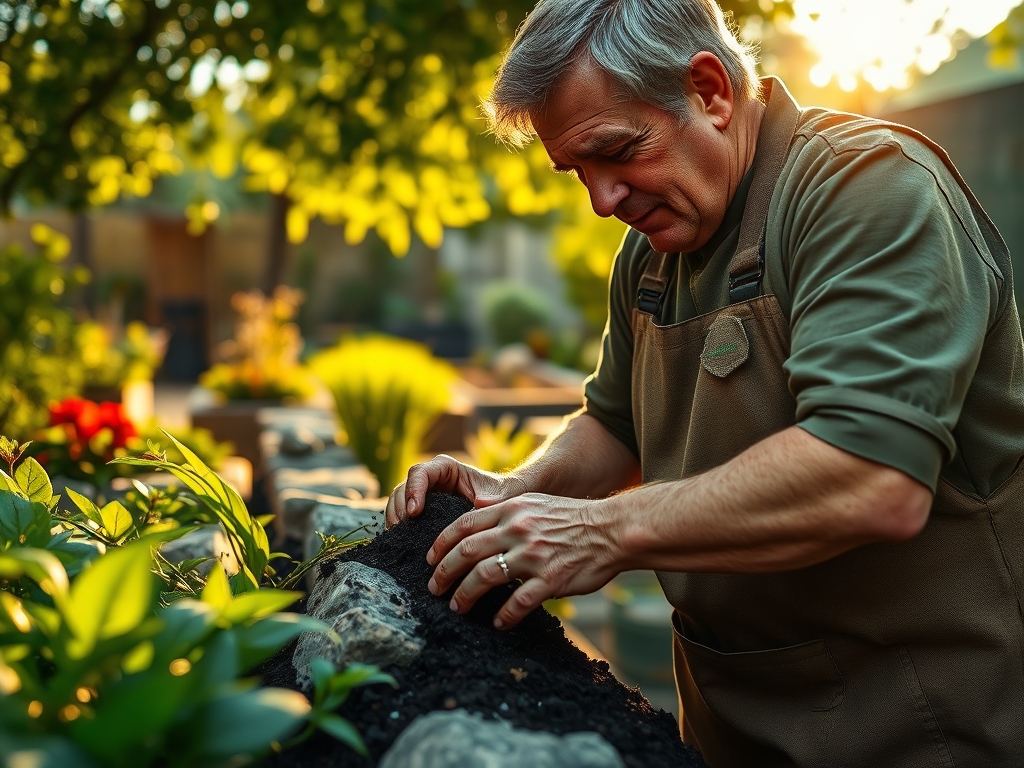
Transplanting and Stacking
As you stack the best stones for rock walls, "batter" the wall back toward the slope at a rate of 1 inch for every 1 foot of height. If planting within the wall crevices (chinking), place the specimens as you build. Ensure the root balls are in direct contact with the backfill soil.
Pro-Tip: Use a slight inward tilt to utilize gravity to maintain structural compression. This also directs rainfall toward the root zone, utilizing gravitropism to encourage roots to grow deep into the wall's interior for stability.
Establishing the Microclimate
Once the wall reaches its finished height, cap it with heavy, flat stones to prevent water infiltration into the core. Mulch the top area with 2 to 3 inches of organic matter to regulate soil temperature.
Pro-Tip: Mycorrhizal fungi inoculation during this phase is critical. These fungi form a symbiotic relationship with plant roots, effectively increasing the surface area for water absorption by up to 1,000 percent, which is essential in the well-drained environment of a rock wall.
The Clinic:
Physiological disorders often manifest when the stone type interferes with soil chemistry or drainage.
Symptom: Interveinal chlorosis (yellowing leaves with green veins) on new growth.
Solution: This is often iron deficiency caused by high pH from limestone leaching. Apply chelated iron and sulfur to lower the pH to 6.5.
Symptom: Marginal leaf burn or "scorching."
Solution: This indicates potassium deficiency or salt accumulation. Flush the soil with 2 inches of water and apply a 0-0-50 potassium sulfate supplement.
Symptom: Wilting despite moist soil.
Solution: This suggests root suffocation due to poor drainage behind the wall. Increase the size of the "weep holes" between stones to allow faster water exit.
Fix-It for Nitrogen Chlorosis: If older leaves turn uniformly pale green, the plant is scavenging nitrogen for new growth. Apply a liquid fish emulsion with a 5-1-1 NPK ratio for immediate uptake.
Maintenance:
Precision is required to maintain the structural and botanical health of a rock wall system. Use a soil moisture meter to ensure the backfill maintains a moisture level of 40% to 60% field capacity. Generally, plants at the base of the wall require 1.5 inches of water per week delivered at the drip line.
Pruning is essential to prevent woody plants from heaving the stones. Use bypass pruners for clean cuts on stems up to 0.75 inches in diameter. For weeding between crevices, a hori-hori knife is the superior tool; its serrated edge and depth measurements allow you to extract taproots without displacing the structural chinking stones. Inspect the wall annually for "belly," a sign that hydrostatic pressure is pushing the stones outward. If this occurs, you must excavate and replace the drainage gravel.
The Yield:
For walls incorporating herbs like rosemary or thyme, harvest timing is paramount. Harvest in the early morning after the dew has evaporated but before the sun reaches its zenith. This is when essential oil concentration is at its peak. Use sharp snips to take no more than one-third of the total biomass at a time. To maintain "day-one" freshness, place the stems in a glass of water or a sealed container at 40 degrees Fahrenheit immediately. This slows the rate of senescence and preserves the cellular turgor of the harvest.
FAQ:
Which stone is best for a DIY dry-stack wall?
Fieldstone or schist are the best stones for rock walls due to their naturally flat surfaces. These shapes allow for stable stacking without mortar, ensuring the wall remains flexible during soil expansion and contraction.
How do I stop a rock wall from leaning?
Ensure a proper "batter" by leaning the wall back 1 inch for every 12 inches of height. Use a compacted gravel base and provide adequate drainage to prevent hydrostatic pressure from pushing the stones forward.
Can I grow plants directly in the wall?
Yes, by using "chinking" techniques. Place small amounts of soil and drought-tolerant plants like Sedum or Sempervivum between the stones during construction. Ensure the roots have a clear path to the moisture-rich backfill soil.
Does the stone type affect soil pH?
Limestone and marble are calcium-rich and will gradually raise the soil pH, making it more alkaline. Granite and sandstone are generally pH-neutral. Always match your plant selection to the chemical properties of your chosen stone.