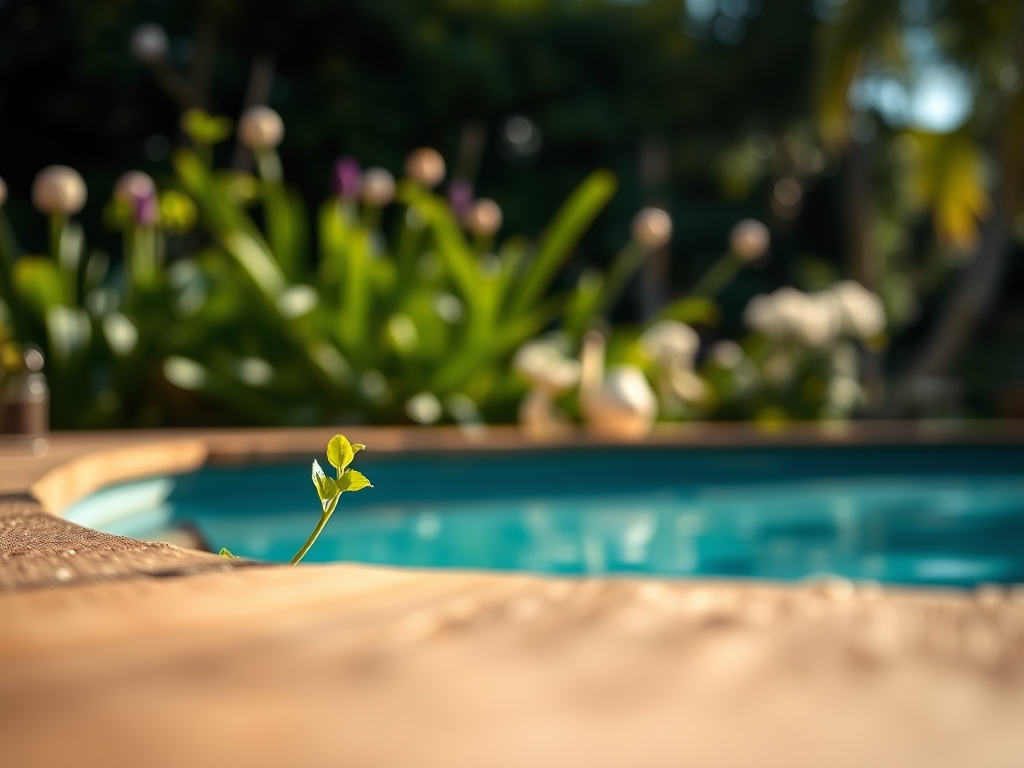
8 Tropical Ways How to Landscape a Pool Area
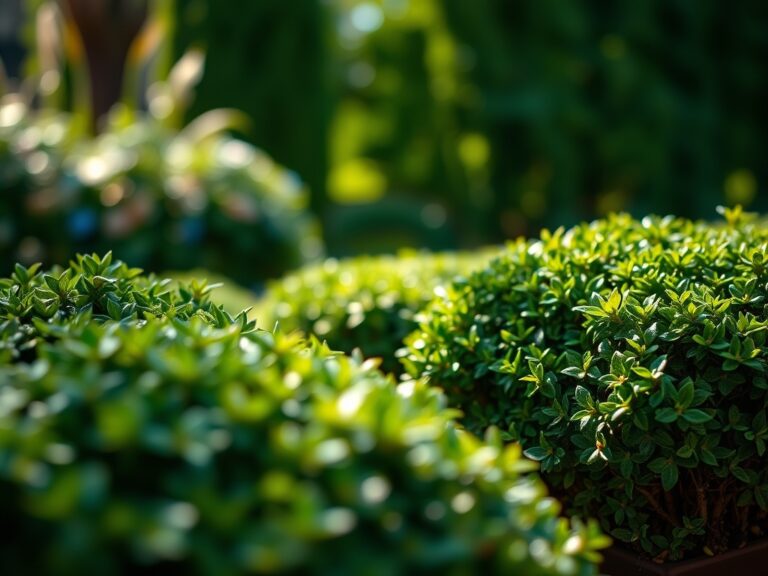
Crushing a handful of moist, friable loam reveals the structural integrity of your soil. It should crumble under light pressure while retaining enough moisture to provide high turgor pressure to the surrounding flora. Understanding how to landscape a pool area requires more than aesthetic placement; it demands a mastery of the microclimate created by heat-reflecting concrete and chlorine-rich humidity. The goal is a high-functioning rhizosphere that survives constant splashing and localized heat islands. Tropical landscapes rely on rapid nutrient cycling and high humidity to maintain the lush, broad-leaved canopy that defines the style. Success depends on selecting species with thick cuticles to resist salt or chemical desiccation. By focusing on soil Cation Exchange Capacity (CEC) and drainage, you ensure that the root systems remain oxygenated even during heavy summer rains. A professional approach treats the pool perimeter as a high-stress biological zone where only the most resilient, nutrient-dense specimens thrive. Precision in soil chemistry and species selection transforms a sterile concrete edge into a self-sustaining botanical system.
Materials:
To achieve the rapid growth rates required for a dense tropical screen, you must optimize the soil for high nutrient availability. The ideal substrate is a **friable loam** with a **pH between 6.0 and 6.5**. This range ensures that micronutrients like iron and manganese remain bioavailable.
- Base Soil: A mix of 40 percent sand, 40 percent silt, and 20 percent clay provides the necessary pore space for oxygen diffusion.
- Fertilizer (Establishment): Use a slow-release NPK ratio of 10-10-10 to support initial root development and foliage expansion.
- Fertilizer (Maintenance): Switch to a 6-4-6 ratio for palms and cycads to prevent magnesium and potassium deficiencies common in sandy pool-side soils.
- Mulch: Use 3 inches of coarse arborist chips to regulate soil temperature and maintain a steady Cation Exchange Capacity (CEC) as the organic matter decomposes.
- Soil Amendments: Incorporate expanded shale or perlite if your site has heavy clay to prevent root rot in the high-moisture pool environment.
Timing:
Timing is dictated by the Biological Clock of tropical species, which typically enter their most aggressive vegetative stage when soil temperatures consistently exceed 65 degrees Fahrenheit. In Hardiness Zones 9 through 11, the optimal planting window opens in late spring after the final frost risk has passed.
Planting during this window allows the root system to establish before the peak ultraviolet stress of mid-summer. For Zone 8, where winter temperatures can drop below 20 degrees Fahrenheit, you must prioritize "hardy tropicals" like the Windmill Palm (Trachycarpus fortunei) or Fatsia Japonica. The transition from the vegetative stage to the reproductive or dormant stage is triggered by the photoperiod. As day length decreases in autumn, the plant shifts energy from leaf production to root carbohydrate storage. Ensure all major transplanting is completed at least 60 days before the first projected frost to allow for lignification of new stems.
Phases:
Sowing and Site Preparation
Clear all debris and test the soil drainage by digging a hole 12 inches deep and filling it with water. It should drain within 4 hours. If it does not, install a French drain or raised planters. Incorporate organic matter to a depth of 18 inches to encourage deep rooting.
Pro-Tip: Proper site prep encourages mycorrhizal symbiosis. These beneficial fungi attach to the roots, effectively increasing the surface area for water absorption by up to 100 times.
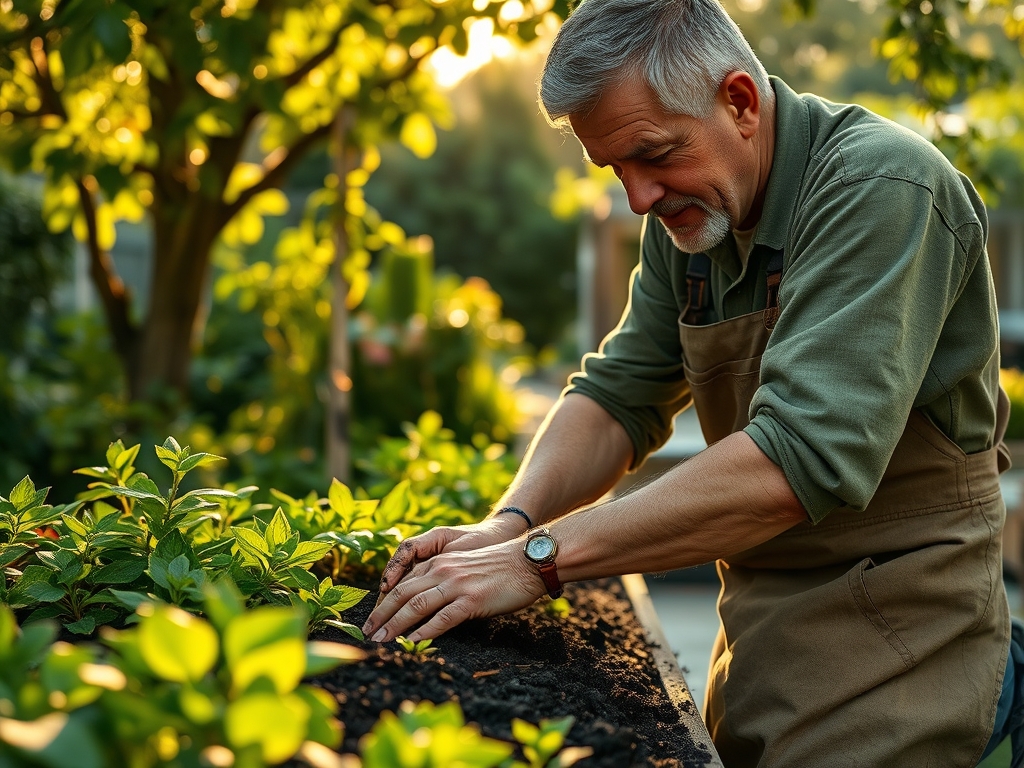
Transplanting
Dig holes twice as wide as the root ball but no deeper. Placing a plant too deep leads to stem rot and oxygen deprivation. Ensure the "flare" where the roots meet the trunk is visible at the soil line.
Pro-Tip: Avoid heavy pruning immediately after transplanting to prevent auxin suppression. Auxins are hormones produced in the tips of branches that signal the roots to grow; cutting them back too early stunts root establishment.
Establishing
Water newly installed plants daily for the first 14 days. Use a soil moisture meter to ensure the root zone stays at 70 percent capacity. Gradually transition to deeper, less frequent watering to encourage the roots to seek moisture at lower soil horizons.
Pro-Tip: Monitor for phototropism, where plants lean toward the light. Rotate container plants 90 degrees every week to ensure even structural development and prevent a "one-sided" canopy.
The Clinic:
Physiological disorders in pool landscapes often stem from chemical imbalances or poor drainage.
- Symptom: Interveinal chlorosis (yellowing between leaf veins while veins stay green).
- Solution: This indicates an Iron or Magnesium deficiency. Apply a chelated iron spray or Epsom salts (Magnesium Sulfate) at a rate of 1 tablespoon per gallon of water.
- Symptom: Marginal leaf burn (brown, crispy edges).
- Solution: This is often caused by salt accumulation from pool splash or over-fertilization. Flush the soil with 5 gallons of fresh water per square foot to leach the salts.
- Symptom: Epinasty (downward curling or twisting of leaves).
- Solution: This is a sign of ethylene gas exposure or waterlogged roots. Check for gas leaks or improve soil aeration immediately using a garden fork.
- Fix-It for Nitrogen Chlorosis: If the entire leaf turns pale green or yellow, the plant lacks Nitrogen. Apply a quick-release high-N fertilizer (21-0-0) to restore chlorophyll production within 7 to 10 days.
Maintenance:
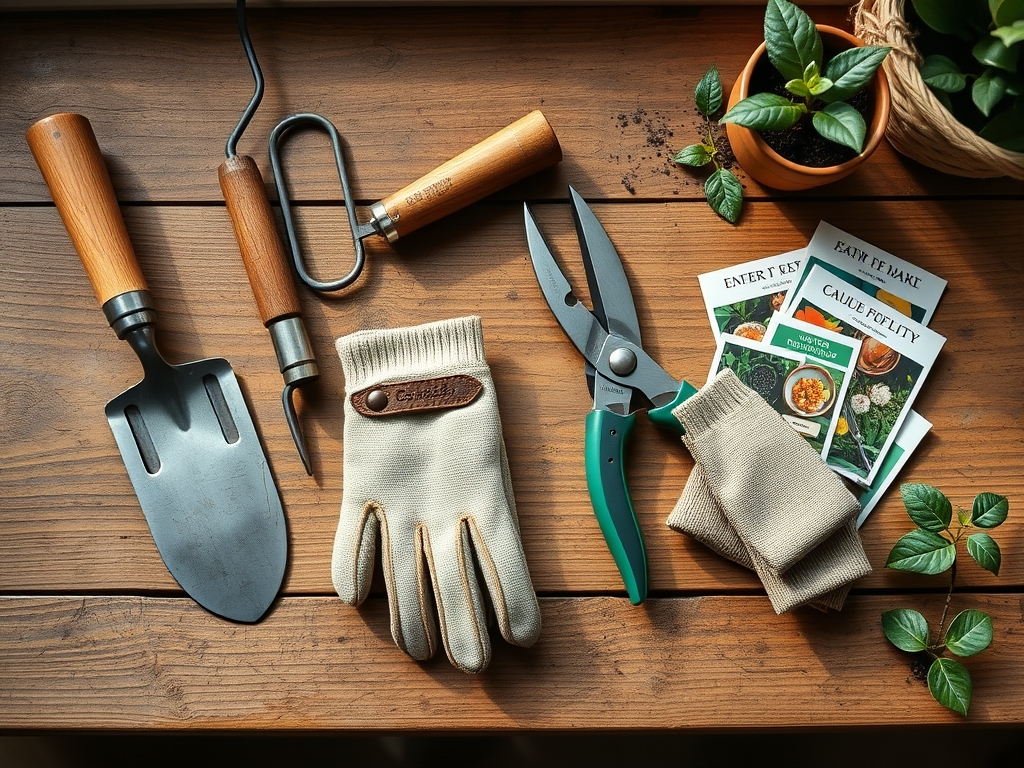
Professional maintenance requires precision tools and a strict schedule. Use a hori-hori knife for weeding in tight spaces between pavers and bypass pruners for clean cuts that heal quickly.
- Watering: Deliver 1.5 inches of water per week at the drip line. Use a rain gauge to track supplemental irrigation.
- Pruning: Remove senescent (dying) leaves as soon as they lose 50 percent of their color. This prevents the plant from wasting energy on failing tissues.
- Sanitation: Keep the pool deck clear of leaf litter. Decaying organic matter can alter the pool water pH and clog filtration systems.
- Mulching: Refresh mulch annually to maintain a 3-inch depth. This suppresses weeds and prevents soil compaction from foot traffic.
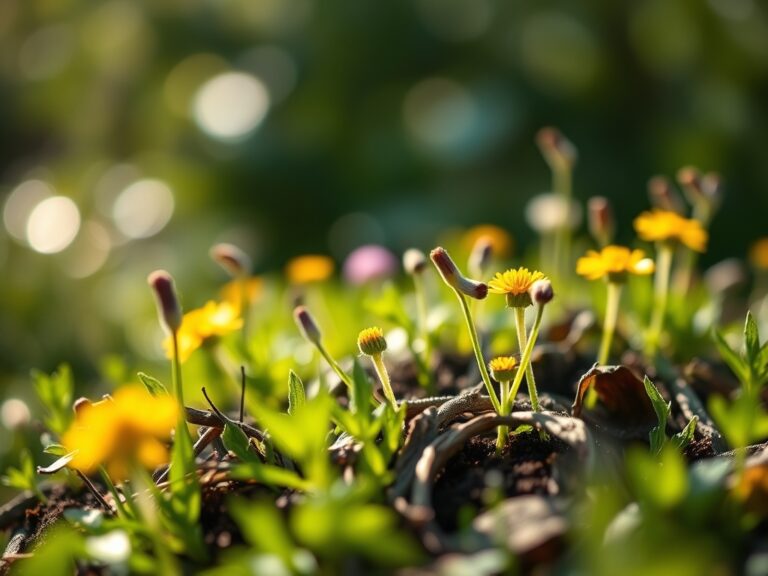
The Yield:
If your tropical landscape includes flowering species like Hibiscus or Canna, timing the "harvest" of spent blooms is critical for continuous production. Deadhead flowers as soon as they begin to wilt. This prevents the plant from shifting energy into seed production, a process known as senescence.
For cut flowers, harvest in the early morning when turgor pressure is at its peak. Use a sharp blade to cut at a 45-degree angle and immediately submerge the stems in 100-degree Fahrenheit water. This "pulse" treatment removes air bubbles from the xylem, ensuring the flowers remain upright and hydrated for several days.
FAQ:
Which plants are best for pool privacy?
Clumping bamboo (Bambusa multiplex) or Areca palms provide dense, non-invasive screening. These species grow rapidly in Hardiness Zones 9-11 and tolerate the high humidity of pool environments without dropping excessive debris into the water.
How do I prevent pool chemicals from killing plants?
Select "salt-tolerant" species like Natal Plum or Sea Grape. Use raised planters to elevate root zones above the splash line. Regularly rinse foliage with fresh water to remove chlorine or salt deposits from the leaf cuticle.
Can I grow tropical plants in cold climates?
Yes, use "hardy tropicals" like Needle Palms or Fiber Bananas. Alternatively, utilize large containers and move them indoors when temperatures drop below 45 degrees Fahrenheit. This protects the meristematic tissue from terminal frost damage.
How often should I fertilize a pool landscape?
Apply a slow-release granular fertilizer every 90 days during the active growing season. Stop all fertilization 60 days before the first frost to prevent soft, new growth that is highly susceptible to cold-weather desiccation.