6 Crafty Steps to Build a Wooden Garden Bridge
Damp earth releases a sharp scent of geosmin as the spade bites into the loam. A healthy plant maintains high turgor pressure; its cellular walls are rigid and flush with water. Integrating a structure into this environment requires precision. Following the steps to build a wooden garden bridge ensures your landscape remains functional while protecting the sensitive rhizosphere below. You must account for soil compaction and drainage patterns to prevent anaerobic conditions near the bridge footings. Proper engineering preserves the local ecosystem and prevents erosion during heavy precipitation events.
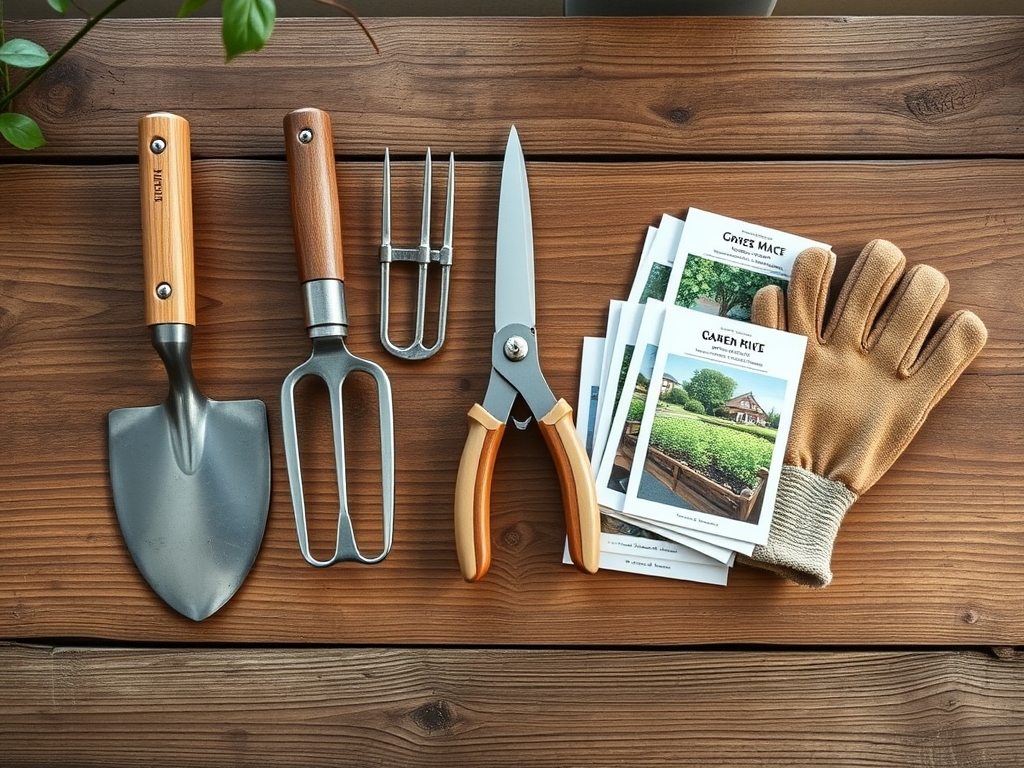
Materials:
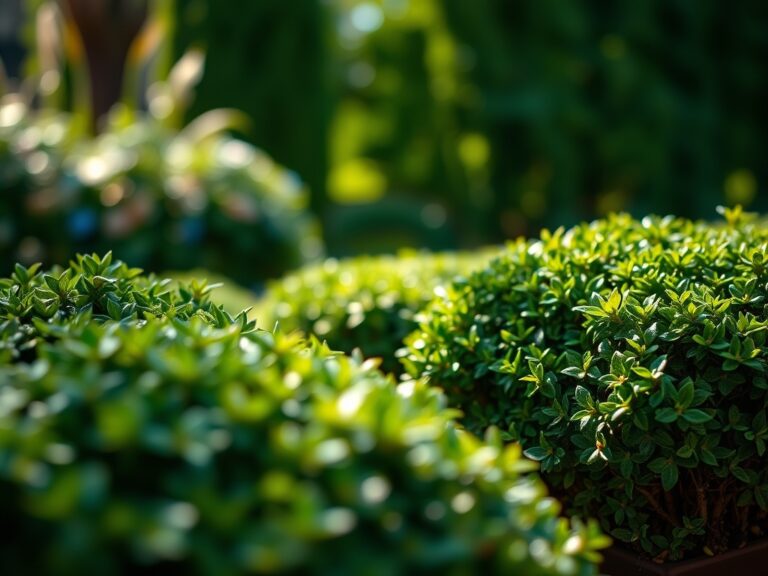
Successful bridge installation starts with the ground beneath it. The ideal substrate is a **friable loam** with a **pH between 6.0 and 7.0**. High Cation Exchange Capacity (CEC) ensures that the soil can hold essential nutrients even when the bridge shades the surface. Before construction, test your soil. If the Nitrogen levels are low, apply a slow release fertilizer with an **NPK ratio of 10-10-10** to support the surrounding vegetation. Use **pressure treated lumber** or **rot resistant cedar** to withstand the constant moisture of the garden bed. Avoid using chemical sealants that leach heavy metals into the soil; these can disrupt the delicate microbial balance and harm the mycorrhizal networks that support plant health.
Timing:
Construction should align with your specific Hardiness Zone. In Zones 5 through 7, the best window for installation is during the late dormant season or early spring before the first frost has fully exited the ground but after the heaviest freezes. This timing prevents excessive soil compaction while the plants are in their vegetative stage. Understanding the biological clock of your garden is essential. You want to complete the heavy lifting before the transition to the reproductive stage; once plants begin flowering, their energy is diverted from root repair to seed production. Aim for a window where the soil temperature is consistently above 40 degrees Fahrenheit to allow for immediate post construction restoration.
Phases:

Sowing the Foundation
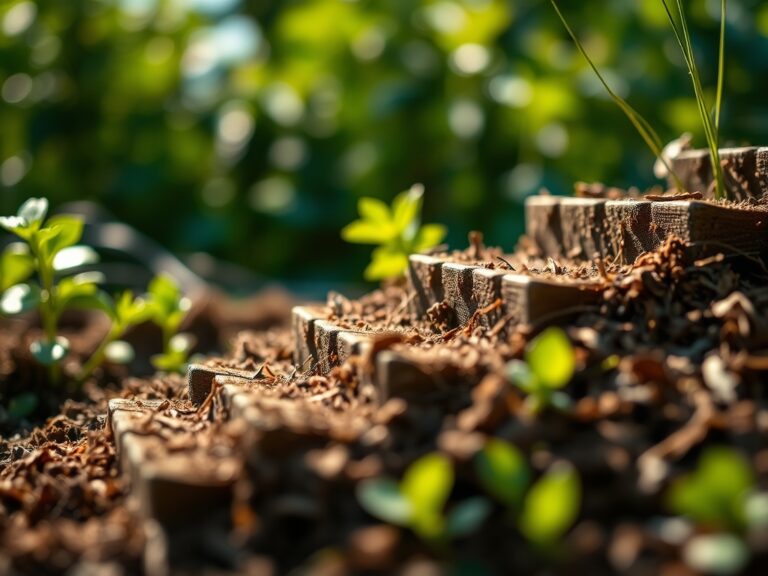
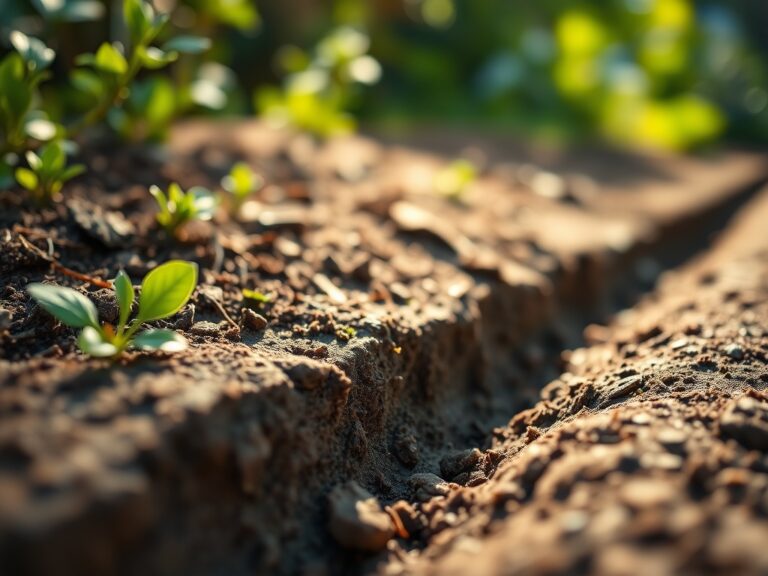
Excavate the areas where the bridge stringers will rest. Dig to a depth of 12 inches and backfill with crushed gravel to facilitate drainage. This prevents water from pooling against the wood and the soil.
Pro-Tip: Ensure the footings do not compress the root zones of nearby perennials. Soil compaction reduces pore space; this limits oxygen availability and leads to root senescence.
Transplanting and Framing
Assemble the main stringers using 3 inch stainless steel screws. If you must move plants to accommodate the bridge, do so with a hori-hori knife to keep the root ball intact. Replant them at the same depth they were previously growing.
Pro-Tip: When replanting, use a mycorrhizal inoculant. This fungal symbiosis increases the surface area of the roots; it allows the plant to access phosphorus and water more efficiently in the disturbed soil.
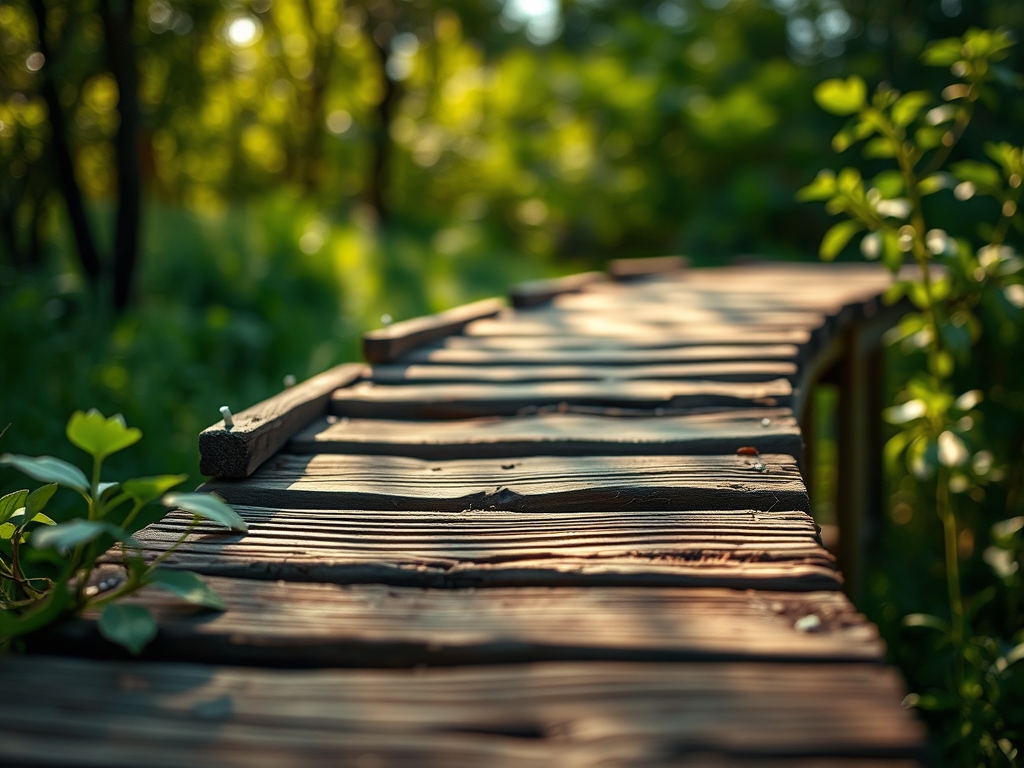
Establishing the Span
Secure the decking boards with a 1/8 inch gap between them. This allows for wood expansion and ensures that sunlight can still reach the soil surface in small increments. Finish by stabilizing the banks with deep rooted groundcovers.
Pro-Tip: Avoid covering the entire soil surface with the bridge. Total shade can trigger auxin suppression in sun loving plants; this leads to leggy, weak growth as the plant attempts to reach a light source through phototropism.
The Clinic:
Physiological disorders often appear after the soil has been disturbed. Monitor your plants for these symptoms.
Symptom: Yellowing of older leaves while veins remain green.
Solution: This indicates Magnesium deficiency. Apply Epsom salts at a rate of 1 tablespoon per gallon of water to the root zone.
Symptom: Stunted growth and pale green or yellow foliage across the entire plant.
Solution: This is Nitrogen chlorosis. The construction process may have tied up nitrogen in the soil. Supplement with a high nitrogen fertilizer, such as a 21-0-0 ammonium sulfate.
Symptom: Wilting despite moist soil.
Solution: This suggests Root Rot caused by poor drainage under the bridge. Increase the gravel layer or install a French drain to move water away from the structure.
Fix-It: If you notice Iron chlorosis (yellowing of new leaves), the soil pH may be too high. Lower the pH by applying elemental sulfur to reach a target of 6.5.
Maintenance:
A bridge is a permanent fixture that alters the microclimate. Check the soil moisture levels weekly using a soil moisture meter. Plants under the edges of the bridge may require 1.5 inches of water per week delivered directly at the drip line, as the bridge itself may act as an umbrella and prevent natural rainfall from reaching the roots. Use bypass pruners to keep foliage from touching the wooden surface; this prevents the transfer of fungal spores from the plant to the wood. Inspect the structural integrity of the wood every autumn. Tighten any loose bolts and ensure the footings have not shifted due to frost heave.
The Yield:
While a bridge is not harvested, the plants surrounding it are. If you have planted herbs or flowers along the path, harvest them in the early morning when turgor pressure is highest. This ensures the stems are turgid and the essential oils are concentrated. Use a sharp hori-hori knife for clean cuts that heal quickly. For "day-one" freshness, immediately plunge the cut ends into cool water to maintain the hydraulic column within the xylem.
FAQ:
What is the best wood for a garden bridge?
Select Western Red Cedar or Black Locust. These species contain natural tannins and oils that resist decay. They maintain structural integrity in high humidity environments without the need for toxic chemical treatments that could harm soil microbes.
How do I prevent the bridge from sinking?
Install a base of compacted 3/4 inch minus gravel at least 6 inches deep. This distributes the load and prevents the bridge from compressing the soil; it also ensures the wood does not have direct contact with wet earth.
Can I build a bridge over a dry creek bed?
Yes. Ensure the footings are set back 24 inches from the edge of the bank. This prevents erosion and protects the root systems of riparian plants that stabilize the soil through their extensive lateral root networks.
How do I protect nearby plants during construction?
Place plywood sheets over the root zones of sensitive plants to distribute your weight. This prevents soil compaction and protects the macro-pores in the soil; these pores are essential for gas exchange and water infiltration in the rhizosphere.