6 Fast Steps to Replace Trimmer Line
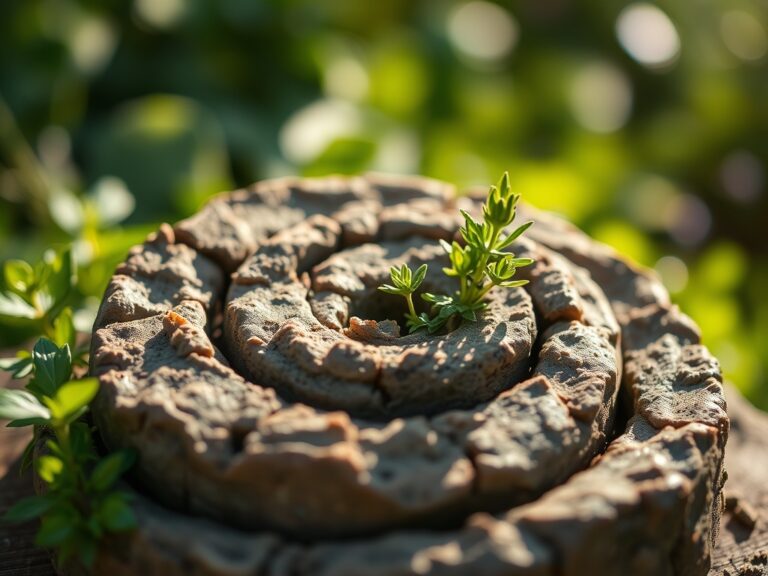
Crushing a handful of damp, friable loam reveals a rich, earthy scent dominated by geosmin and actinobacteria. This tactile feedback confirms a high cation exchange capacity (CEC) within the rhizosphere, the critical zone where roots interact with soil chemistry. Maintaining this landscape requires more than just biological monitoring; it demands mechanical precision to prevent plant tissue tearing. Learning the steps to replace trimmer line ensures clean cuts that preserve leaf turgor and prevent opportunistic pathogens from entering ragged wounds.
A ragged cut on a blade of grass increases surface area for transpiration, leading to rapid moisture loss and localized senescence. When your equipment fails to deliver a crisp shear, the mechanical stress translates to physiological stress for the plant. Proper line maintenance is as fundamental to horticulture as monitoring NPK ratios or checking soil moisture. By mastering the steps to replace trimmer line, you maintain the structural integrity of your turf and ornamental borders, ensuring that the vascular system of your plants remains intact and functional throughout the peak growing season.
Materials:

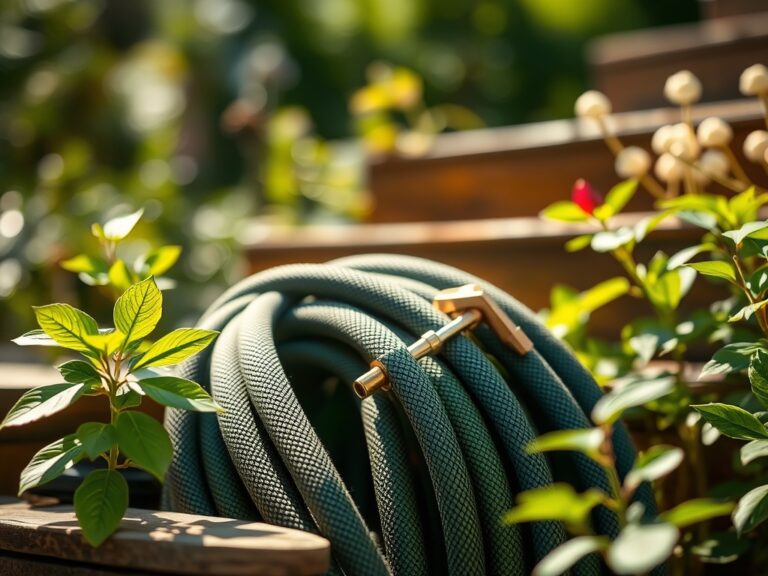
The foundation of any successful planting bed is a friable loam with a **pH between 6.2 and 6.8**. This range optimizes nutrient availability, particularly phosphorus which is often locked in acidic soils. For high-demand vegetative growth, use a fertilizer with an **NPK ratio of 10-10-10** to provide balanced support. If you are targeting root development in woody perennials, shift to a **5-10-5 ratio**. Your mechanical toolkit should include 0.080-inch or 0.095-inch professional-grade copolymer line. This material resists the heat generated by high-velocity centrifugal force, preventing the line from welding to the spool. Always wear heavy-duty gloves to protect your hands from the abrasive edges of the line and the sharp debris found within the mulch layer.
Timing:
Timing your maintenance and planting is governed by the USDA Hardiness Zones. In Zones 7 through 9, the window for aggressive mechanical trimming and heavy fertilization opens as soon as the soil temperature reaches a consistent 55 degrees Fahrenheit. This temperature marks the "Biological Clock" transition, where soil microbes become active and plants move from dormancy into the vegetative stage.
Monitor your local frost-date windows closely. In the spring, wait until ten days after the last predicted frost to begin intensive pruning or edge-trimming. This prevents cold-shock to the newly exposed meristematic tissue. As the photoperiod lengthens, plants increase their rate of photosynthesis, requiring more frequent mechanical maintenance. Conversely, as you approach the first frost of autumn, reduce trimming frequency to allow the plant to harden off, moving carbohydrates from the leaves down into the root system for winter storage.
Phases:

Sowing and Preparation
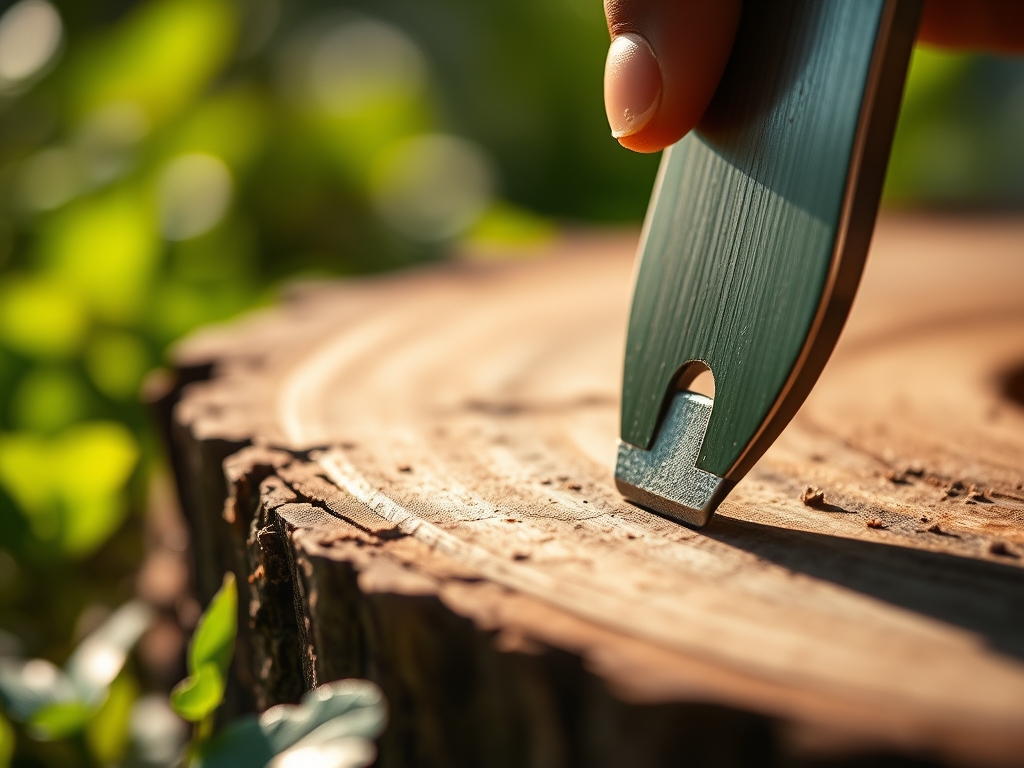
Before addressing the mechanical steps to replace trimmer line, ensure the area is clear of heavy stones that could damage the gear head. To replace the line, first remove the spool cap by depressing the side tabs. Cut a length of line—usually 15 to 20 feet depending on spool capacity. Fold the line in half and hook the midpoint into the center notch of the spool.
Pro-Tip: Soaking your trimmer line in a bucket of water for 24 hours before installation improves its flexibility. This is a matter of polymer science; moisture absorption reduces brittleness, preventing the line from snapping when it strikes high-density cellulose in woody weeds.
Transplanting and Winding
Wind the line firmly in the direction of the arrows molded into the spool. Keep the two strands separated by the internal divider to prevent tangling. Once you reach the last 6 inches of line, park the ends in the holding slots. Reinsert the spool into the trimmer head, threading the ends through the metal eyelets.
Pro-Tip: Maintain high tension while winding to prevent "line jump." In biological terms, this is similar to maintaining turgor pressure in a stem; without internal tension, the structure collapses. Proper tension ensures the line feeds out smoothly via centrifugal force during operation.
Establishing and Testing
Snap the spool cap back into place. Give the lines a sharp tug to release them from the holding slots. Start the engine and tap the head on the ground to advance the line. The integrated knife on the guard will trim the line to the perfect length, ensuring the motor operates at its engineered RPM.
Pro-Tip: Check the cutting edge of the guard knife regularly. A dull blade causes the line to fray, which leads to uneven weight distribution on the drive shaft. This mechanical imbalance can cause vibrations that damage the delicate root hairs of nearby plants through soil compaction and micro-shocks.
The Clinic:
Physiological disorders in the landscape often mimic mechanical damage. Understanding the difference is key to proper intervention.
- Symptom: Interveinal chlorosis (yellowing between leaf veins).
- Solution: This typically indicates a Magnesium deficiency or high soil pH. Apply chelated minerals or elemental sulfur to lower the pH to 6.5.
- Symptom: Tip burn or marginal necrosis.
- Solution: This often results from high salinity or "fertilizer burn." Flush the soil with 2 inches of water to leach excess salts away from the root zone.
- Symptom: Ragged, brown edges on grass blades.
- Solution: This is a mechanical failure. Follow the steps to replace trimmer line immediately. A dull or frayed line mashes the vascular tissue rather than slicing it, leading to localized cell death.
For Nitrogen chlorosis, where the entire leaf turns pale green or yellow, apply a quick-release high-N fertilizer (21-0-0). This provides the necessary building blocks for chlorophyll production and rapid vegetative recovery.
Maintenance:
Precision maintenance requires the right tools. Use a soil moisture meter to ensure your plants receive exactly 1.5 inches of water per week, delivered at the drip line to maximize absorption by the lateral roots. Avoid overhead watering, which increases the risk of fungal pathogens on the foliage.
For pruning, use bypass pruners for living tissue to ensure a clean, scissor-like cut. For weeding in tight spaces or dividing perennials, a hori-hori knife is indispensable. Its serrated edge can slice through dense root mats while its pointed tip allows for deep extraction of taproots. Keep all blades sharpened to a 20-degree angle to minimize tissue trauma during use.
The Yield:
When harvesting herbs or flowers, timing is dictated by essential oil concentration. Harvest in the early morning, just after the dew has evaporated but before the sun triggers transpiration. For woody herbs like rosemary, use sharp snips to cut just above a node to encourage branching.
To maintain "day-one" freshness, immediately plunge the cut stems into cool water. This maintains the plant's hydraulic pressure, preventing wilting. For edible yields, store in a high-humidity environment at 40 degrees Fahrenheit to slow the rate of respiration and enzymatic breakdown.
FAQ:
How do I know which line diameter to use?
Consult your manual for specific engine displacement. Generally, use 0.080-inch for light grass and 0.095-inch for thick weeds. Heavier line requires more torque and can strain smaller electric motors, leading to premature engine senescence.
Why does my trimmer line keep melting together?
This occurs when the line is wound too loosely or the engine is run at partial throttle. The resulting friction generates heat that fuses the copolymer. Always wind tightly and run the trimmer at full throttle during contact.
Can I use any brand of trimmer line?
Yes, provided the diameter matches your spool's specifications. High-quality braided or "twisted" lines offer better aerodynamics and reduced noise. Ensure the line is fresh; older plastics lose moisture and become brittle over time.
How often should I replace the trimmer line?
Replace the line whenever it becomes too short to reach the guard blade or if it shows signs of fraying. Frequent replacement ensures a clean cut, protecting the plant's vascular system from unnecessary mechanical stress and disease.