9 Productive Steps to Prepare a Fresh Kitchen Herb Shelf
Crushing a fresh leaf of Mediterranean oregano between your thumb and forefinger releases volatile oils that signal a plant in peak physiological health. This aromatic potency is the direct result of high turgor pressure and optimal cellular development. To achieve this in a confined indoor space, you must master the physics of light and the chemistry of the rhizosphere. Learning how to prepare a plant shelf for herbs requires more than aesthetic placement; it demands an engineering mindset focused on drainage, spectral quality, and nutrient density. Most indoor herb projects fail because they ignore the metabolic demands of the plant. Success is measured by the rigidity of the stems and the deep green of the foliage. By treating your shelf as a controlled biological laboratory, you ensure that every seedling transitions from a fragile sprout to a productive culinary asset. This guide provides the technical framework to build a high-yield system from the ground up.
Materials:
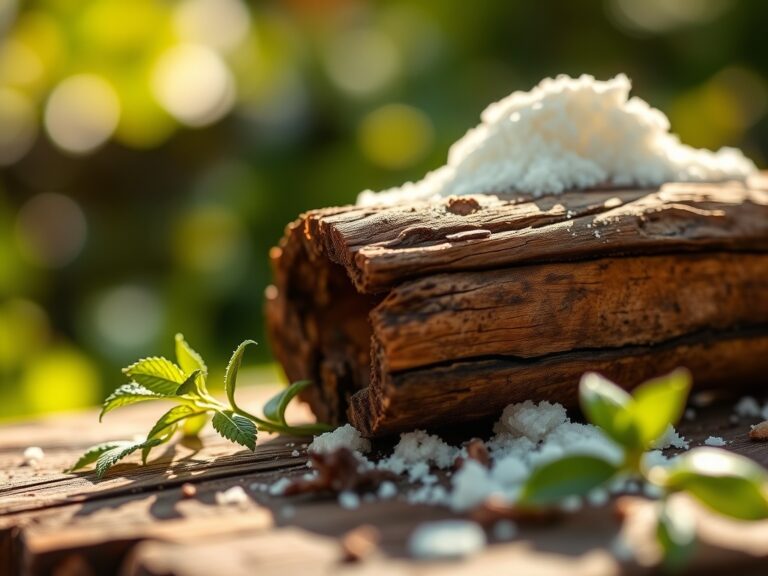
The foundation of any productive herb shelf is the substrate. Herbs like rosemary and thyme require a soil pH between 6.0 and 7.0, while basil prefers a slightly more acidic profile of 5.5 to 6.5. Avoid standard potting soils that compact over time. Instead, utilize a friable loam consisting of 40 percent peat or coconut coir, 40 percent perlite for aeration, and 20 percent vermiculite to manage the Cation Exchange Capacity (CEC).
Nutrient management must be precise. For the vegetative stage, use a water-soluble fertilizer with an NPK ratio of 10-5-5. This high nitrogen content supports chlorophyll production and leaf expansion. For woody herbs like lavender, a lower nitrogen ratio such as 5-10-10 encourages root establishment without triggering excessive, weak leggy growth. Your shelf must also feature full-spectrum LED lighting capable of delivering 20 to 30 moles of light per square meter per day. Ensure your containers have adequate drainage holes to prevent anaerobic conditions in the root zone.
Timing:
Timing is dictated by the photoperiod and the internal biological clock of each species. While indoor shelves are shielded from Hardiness Zone fluctuations, your plants still respond to seasonal light shifts. Most culinary herbs are categorized as long-day plants, requiring 12 to 16 hours of light to maintain vegetative growth.
In Hardiness Zones 3 through 7, start your shelf in late February to align with the natural increase in solar radiation. This timing prevents the plants from entering premature senescence, a state of biological aging where the plant stops producing leaves and focuses on seed production. By controlling the light cycle, you can stall the transition from the vegetative stage to the reproductive stage, effectively extending your harvest window indefinitely. Monitor the ambient temperature; most herbs thrive when daytime temperatures remain between 65 and 75 degrees Fahrenheit, with a slight drop of 10 degrees at night to mimic natural diurnal cycles.
Phases:
Sowing
Begin by saturating your substrate until it reaches field capacity. Place seeds at a depth of twice their diameter. Maintain a consistent soil temperature of 70 degrees Fahrenheit using a waterproof heat mat.
Pro-Tip: Use a humidity dome to maintain high atmospheric pressure around the seed coat. This facilitates imbibition, the process where the seed absorbs water to trigger metabolic activity and break dormancy.
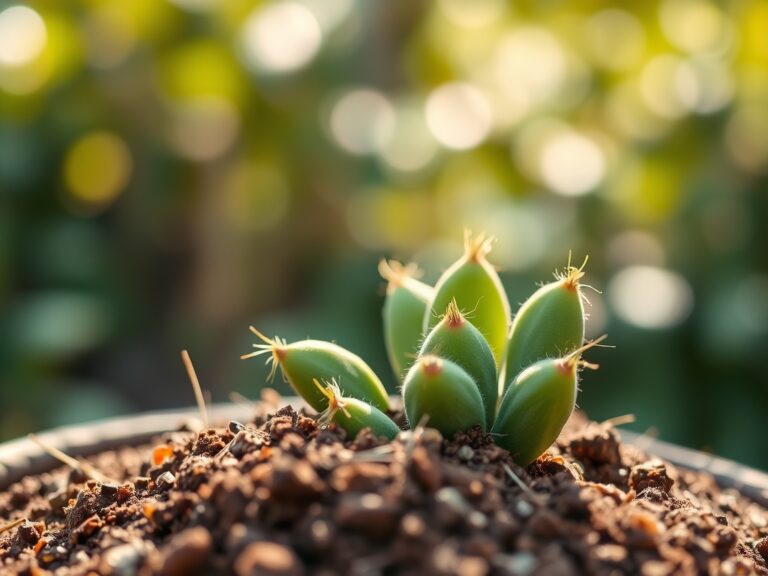
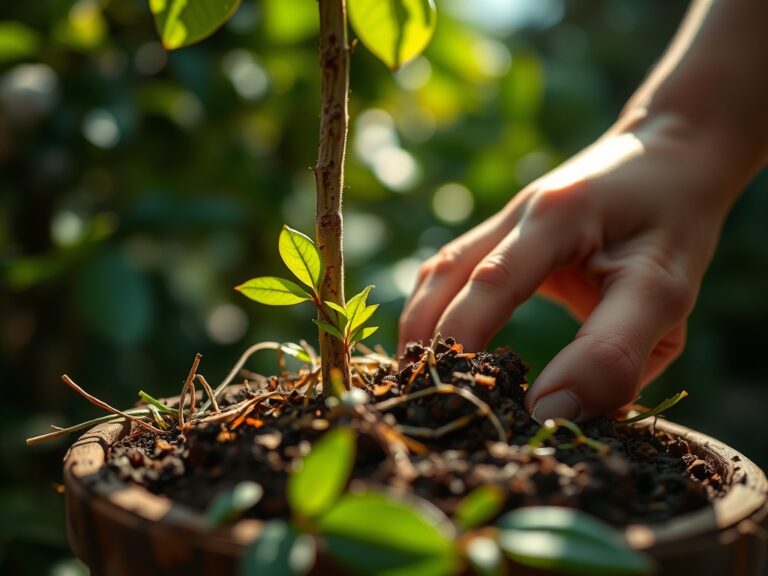
Transplanting
Move seedlings once they develop two sets of true leaves. At this stage, the root system is expansive enough to handle the transition without significant transplant shock. Ensure the new container is at least 4 inches deep to allow for vertical root penetration.
Pro-Tip: Inoculate the roots with mycorrhizal fungi during this phase. This symbiotic relationship increases the surface area of the roots, enhancing the uptake of phosphorus and micronutrients through a biological network.
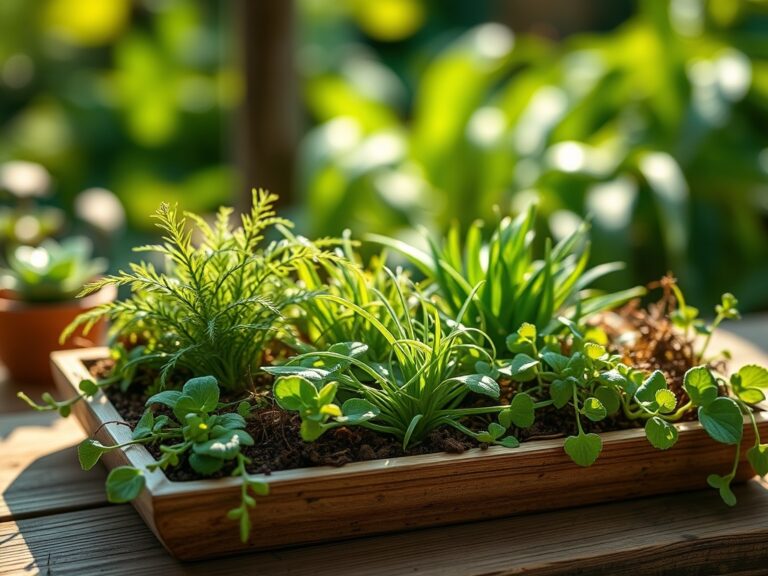
Establishing
Once the herbs reach a height of 6 inches, begin a regular pruning schedule. Remove the apical bud to encourage lateral branching. This creates a bushier plant with a higher density of harvestable leaves.
Pro-Tip: Pruning suppresses apical dominance by reducing the flow of auxins down the stem. This allows lower axillary buds to develop, preventing the plant from becoming tall and spindly.
The Clinic:
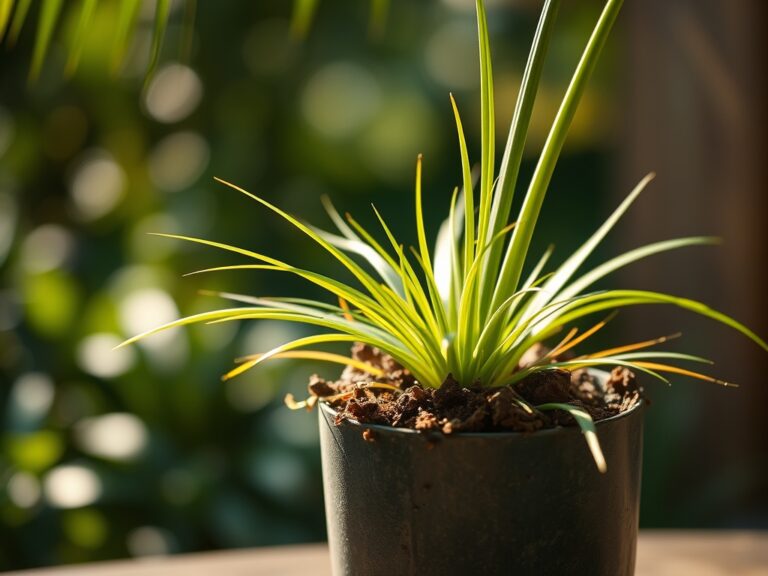
Physiological disorders often manifest as visual cues on the foliage. Identifying these early prevents crop loss.
Symptom: Interveinal chlorosis (yellowing between leaf veins) on new growth.
Solution: This indicates an Iron deficiency, often caused by a pH that is too high. Lower the pH of your irrigation water to 6.0 to increase iron bioavailability.
Symptom: Purpling of the lower leaves and stems.
Solution: This is a classic sign of Phosphorus deficiency. Check the soil temperature; if it is below 55 degrees Fahrenheit, the plant cannot effectively transport phosphorus. Increase the ambient heat.
Symptom: Tip burn on young leaves.
Solution: This suggests Calcium localized deficiency, often linked to low transpiration rates. Increase airflow around the shelf with a small fan to encourage the movement of water and calcium through the xylem.
Fix-It for Nitrogen Chlorosis: If older leaves turn a uniform pale yellow, the plant is scavenging nitrogen for new growth. Apply a high-nitrogen liquid fertilizer at half strength immediately to restore leaf color and photosynthetic capacity.
Maintenance:
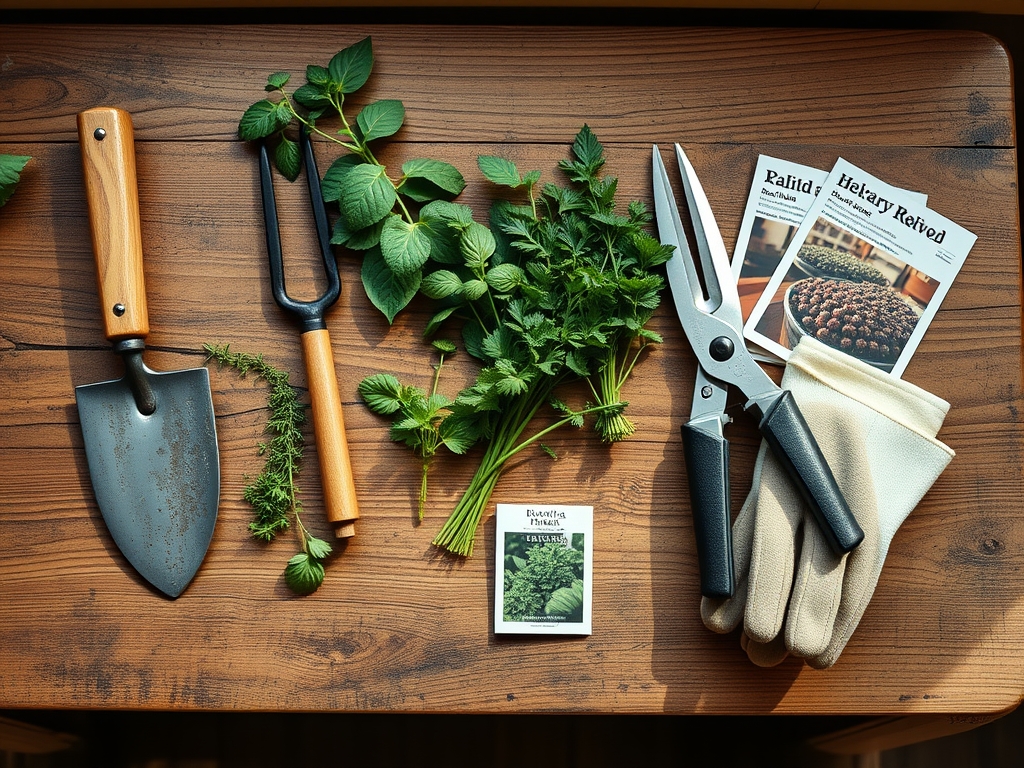
Precision maintenance separates the master horticulturist from the amateur. Use a soil moisture meter daily; do not water until the top 1 inch of soil feels dry to the touch. Most herbs require approximately 1.5 inches of water per week, delivered directly to the substrate to keep the foliage dry and prevent fungal pathogens.
Equip yourself with a hori-hori knife for deep soil aeration and bypass pruners for clean, surgical cuts that heal quickly. Avoid anvil pruners, which crush the vascular tissue. Every 30 days, flush the pots with distilled water to prevent the buildup of mineral salts, which can increase soil salinity and cause osmotic stress. Monitor the electrical conductivity (EC) of your runoff; an EC higher than 2.0 indicates a need for immediate leaching.
The Yield:
Harvesting is a tactical operation. For maximum essential oil concentration, harvest in the morning after the lights have been on for one hour but before the heat of the day peaks. Use your bypass pruners to take no more than one-third of the plant mass at any single time. This ensures the plant retains enough photosynthetic surface area to recover quickly.
For soft herbs like basil or cilantro, place the cut stems immediately into a glass of cool water to maintain turgor pressure. For woody herbs like rosemary, wrap them in a damp paper towel and store them in a perforated plastic bag at 34 to 40 degrees Fahrenheit. This post-harvest handling slows down cellular respiration, preserving the "day-one" freshness and chemical integrity of the herbs for up to two weeks.
FAQ:
How much light do indoor herbs need?
Most herbs require 12 to 16 hours of high-intensity light daily. Use full-spectrum LEDs positioned 6 to 12 inches above the canopy to provide a minimum of 20 moles of light per square meter.
What is the best soil for a plant shelf?
Use a soilless mix with high porosity. A blend of 40% peat, 40% perlite, and 20% vermiculite ensures optimal drainage and a high Cation Exchange Capacity for nutrient retention.
How often should I fertilize my herb shelf?
Apply a balanced, water-soluble fertilizer every two weeks during the active growing season. Use a 10-5-5 NPK ratio for leafy herbs to support rapid vegetative development and chlorophyll production.
Why are my herb leaves turning yellow?
Yellowing, or chlorosis, usually indicates a nitrogen deficiency or overwatering. Ensure the soil is well-drained and the pH is between 6.0 and 7.0 to allow for proper nutrient uptake.
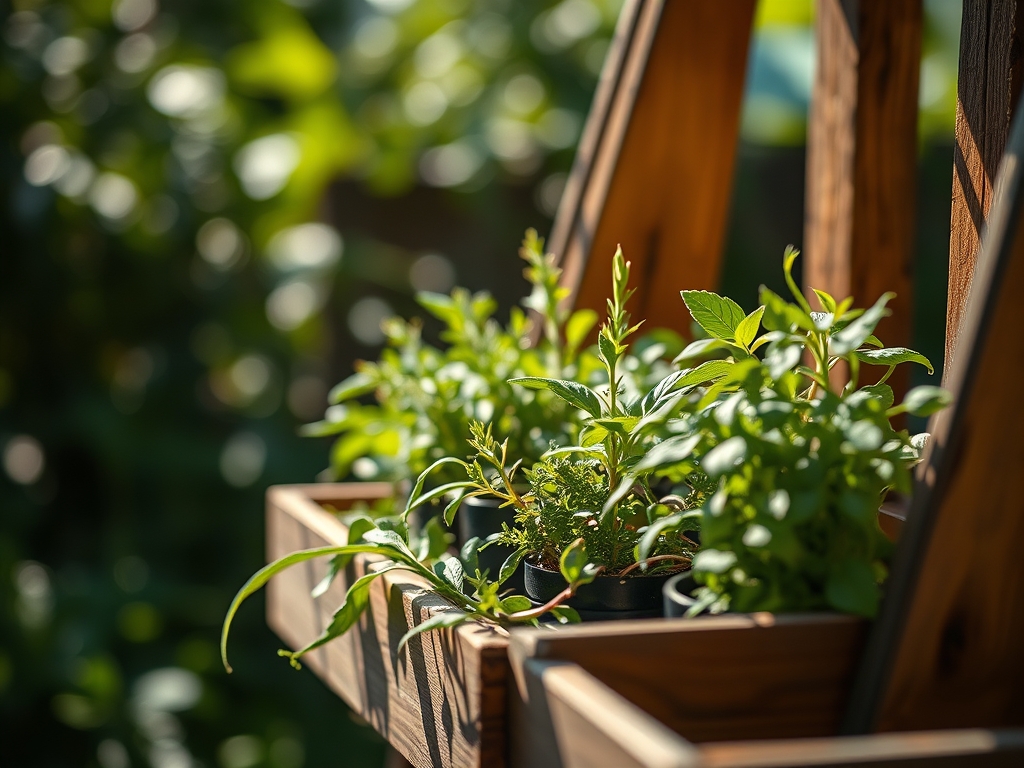
Can I grow different herbs in the same pot?
It is possible if they share cultural requirements. Group Mediterranean herbs like rosemary and thyme together as they prefer drier soil. Keep moisture-loving herbs like mint and parsley in separate containers.