7 Organized Steps to Prepare a DIY Watering Tray
Crushing a handful of damp, friable loam reveals the distinct, earthy scent of geosmin; this is the primary indicator of a biologically active rhizosphere. When a plant maintains optimal turgor pressure, its cell walls are rigid and its leaves feel cool to the touch due to active transpiration. Achieving this state in a controlled environment requires precision. Learning how to prepare a DIY plant tray allows a grower to manage the delicate balance between moisture retention and aerobic respiration at the root zone. Most commercial starts fail because of inconsistent hydration or perched water tables. By building a customized watering system, you bypass the limitations of standard plastic inserts. This guide provides the technical framework to construct a high-functioning capillary system that delivers moisture directly to the root hairs without inducing anaerobic conditions or root rot. Success depends on understanding the physics of water movement through porous media and the specific nutritional requirements of your selected cultivars.
Materials:

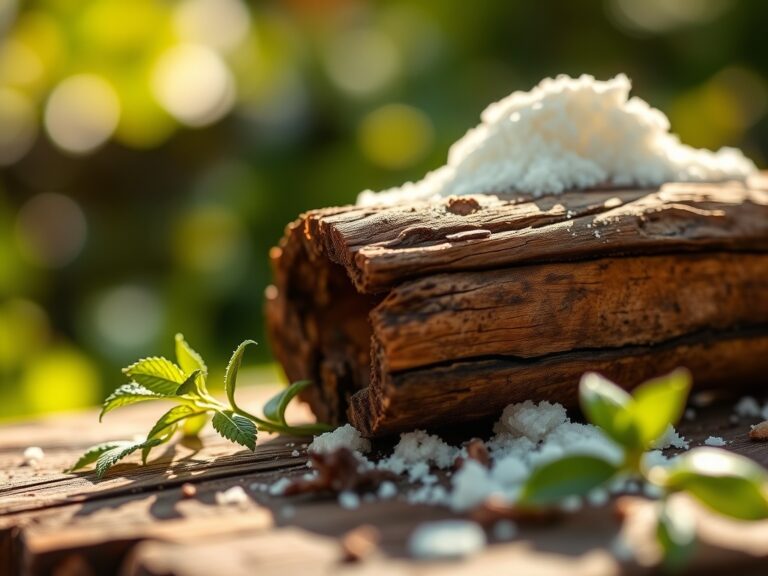
The foundation of a successful tray begins with the substrate and the mechanical components. You require a heavy-duty, non-leaching plastic reservoir tray at least **2 inches deep**. For the capillary matting, select a high-density felt or recycled cotton material capable of wicking water upward against gravity.
The soil medium must be a friable loam with a Cation Exchange Capacity (CEC) high enough to hold nutrients but porous enough to prevent compaction. For most vegetable starts, aim for a pH between 6.0 and 6.8. The initial nutrient charge should follow a specific NPK ratio based on the growth stage. For seed starting, use a 2-4-2 ratio to prioritize root development over rapid foliar extension. If you are transitioning to the vegetative stage, shift to a 10-5-5 ratio to provide the nitrogen necessary for chlorophyll synthesis. Ensure your perlite or vermiculite content is at least 25 percent by volume to maintain oxygen levels within the pore spaces of the substrate.
Timing:
Timing is dictated by the photoperiod and the thermal requirements of your specific Hardiness Zone. In Zones 5 through 7, the window for preparing trays for spring transplanting typically opens 6 to 8 weeks before the last predicted frost date. You must align the "Biological Clock" of the plant with the external environment. As a seedling transitions from the vegetative stage to the reproductive stage, its demand for phosphorus and potassium increases significantly.
Monitor the soil temperature using a probe; most temperate species require a consistent 65 to 75 degrees Fahrenheit for optimal metabolic activity. If the tray is prepared too early, plants may become root-bound, leading to a spike in abscisic acid which stunts future growth. Conversely, late preparation misses the peak solar window, resulting in leggy specimens with weak vascular systems.
Phases:
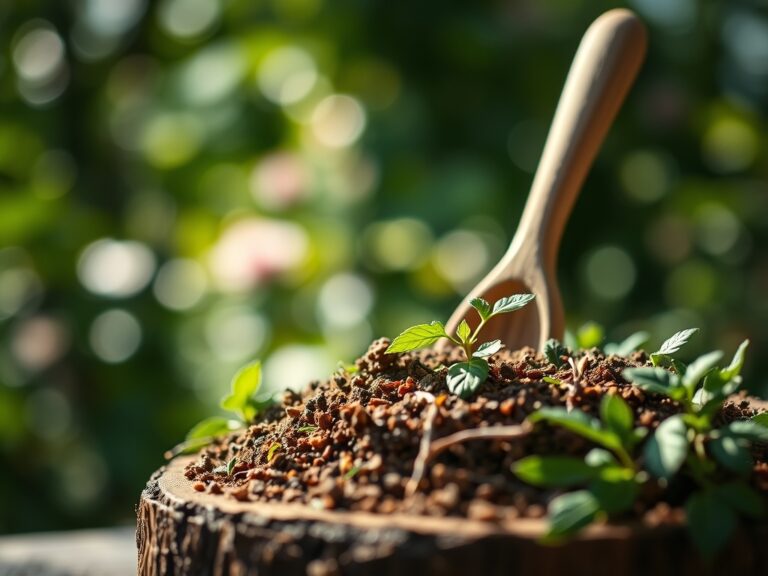
Sowing
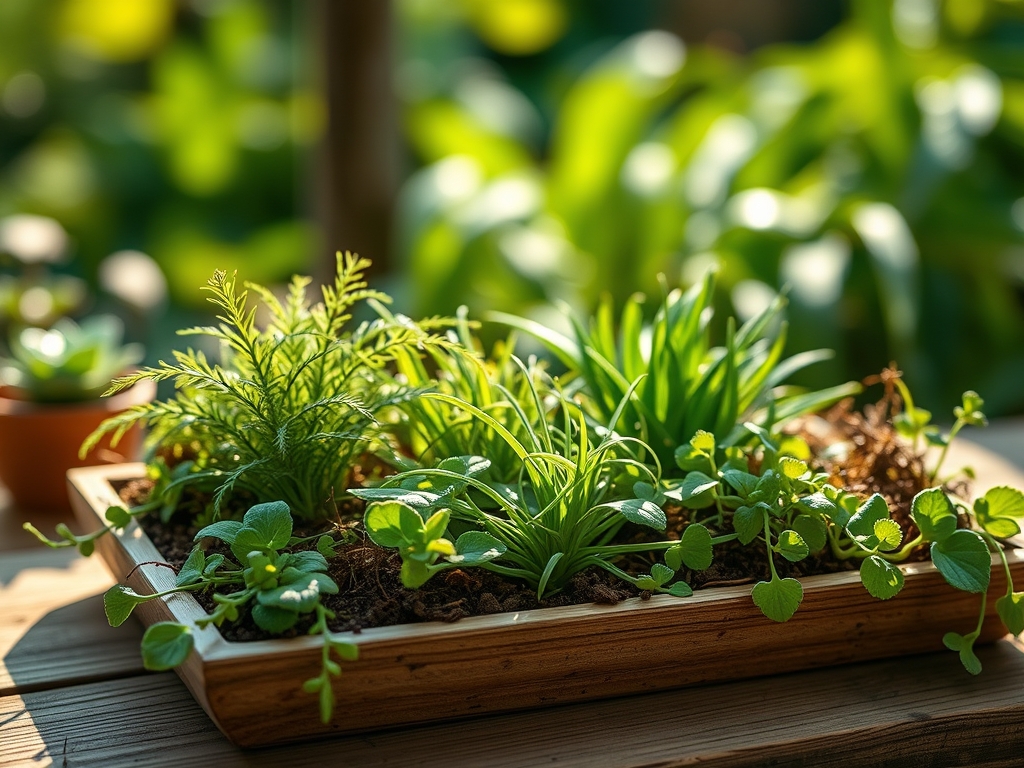
Place your substrate into individual cells or soil blocks and compress slightly to remove large air pockets. Sow seeds at a depth exactly two to three times their diameter. Once sown, place the cells onto the saturated capillary mat within your DIY tray.
Pro-Tip: Maintaining consistent moisture at this stage prevents the desiccation of the radicle. This is critical because the mycorrhizal symbiosis required for long-term nutrient uptake begins the moment the first root hair emerges from the seed coat.
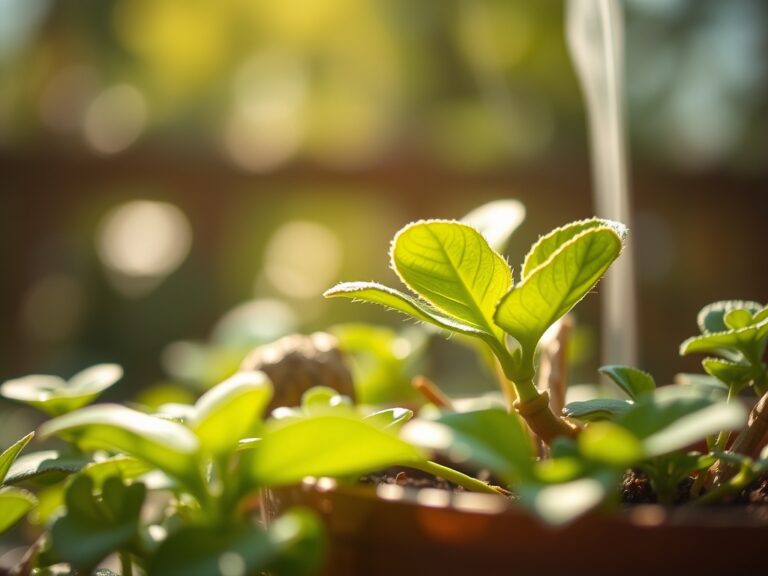
Transplanting
When the first true leaves appear, the plant has exhausted its endosperm and requires external fertilization. Move seedlings into larger containers if the roots begin to circle the base of the cell. Ensure the new medium has a slightly higher CEC rating to accommodate the growing root mass.
Pro-Tip: Handle plants only by the cotyledons or the root ball to avoid damaging the apical meristem. Damaging the tip can trigger auxin suppression, which halts upward growth and forces premature lateral branching.
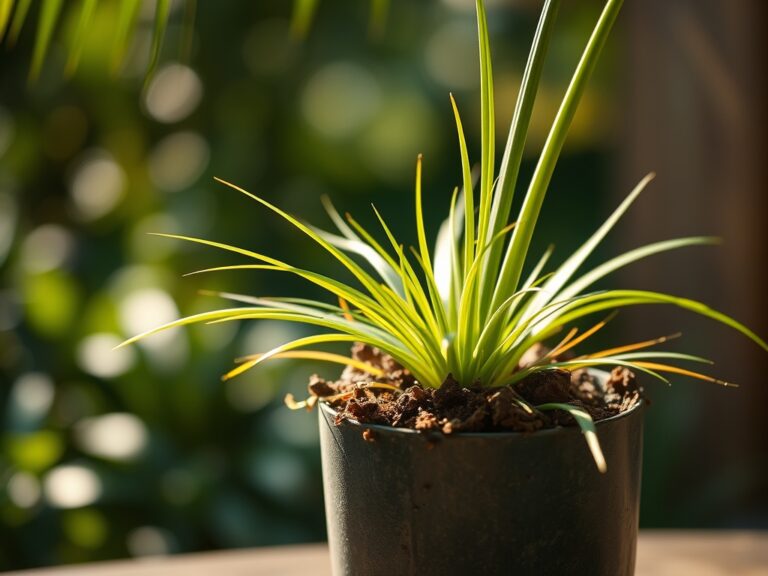
Establishing
As the plants fill out the tray, increase the airflow to strengthen the stems through thigmomorphogenesis. The watering tray should be refilled only when the surface of the mat feels slightly damp but not submerged.
Pro-Tip: Introduce a diluted kelp emulsion to the reservoir. The cytokinins in the kelp promote cell division and help the plant manage the stress of phototropism as it reaches for the light source.
The Clinic:
Physiological disorders often manifest as visual cues on the foliage. Identifying these early prevents permanent vascular damage.
- Symptom: Interveinal chlorosis on young leaves.
Solution: This indicates an Iron deficiency, often caused by a pH above 7.0. Adjust the reservoir water with a citric acid buffer to lower the pH. - Symptom: Purpling of the leaf underside.
Solution: This is a classic sign of Phosphorus deficiency. Check the tray temperature; if the medium is below 55 degrees Fahrenheit, the plant cannot mechanically uptake phosphorus. - Symptom: Tip burn on new growth.
Solution: This is often Calcium deficiency caused by inconsistent transpiration. Ensure your soil moisture meter reads in the "Moist" range consistently and increase airflow. - Symptom: General yellowing of lower leaves (Senescence).
Solution: Nitrogen chlorosis. The plant is scavenging nitrogen from old growth to support new leaves. Apply a 5-1-1 fish emulsion immediately.
Maintenance:
Precision maintenance is the difference between a surviving plant and a thriving one. Use a soil moisture meter daily to verify that the capillary action is functional. The reservoir should provide roughly 1.5 inches of water per week through bottom-wicking.
Twice a month, use a hori-hori knife to check for root binding along the edges of the tray. If roots are dense and white, they are healthy; if they are brown or slimy, reduce the water level immediately to combat Pythium. Use bypass pruners to remove any necrotic tissue or "suckers" that draw energy away from the primary leader. Sanitize your tools with a 70 percent isopropyl alcohol solution between every tray to prevent the transmission of viral pathogens.
The Yield:
When harvesting starts for the field or gathering herbs from the tray, timing is everything. Harvest in the early morning when turgor pressure is at its peak. This ensures the cells are fully hydrated, which extends the shelf life of the tissue.
For leafy greens, use a "cut and come again" method, leaving at least 1 inch of growth above the soil line to protect the crown. Post-harvest, immediately move the plant material to a cool, shaded area to slow the rate of respiration. This preserves the volatile oils and sugars, maintaining that "day-one" freshness and nutritional density.
FAQ:
How often should I fill the DIY watering tray?
Refill the reservoir when the water level drops below 0.5 inches. Never let the capillary mat dry out completely, as this breaks the surface tension required for wicking. Monitor the tray daily using a soil moisture meter.
What is the best material for the wick?
Use a 100 percent synthetic felt or a specialized capillary matting. Natural fibers like cotton work well but will eventually undergo biological decomposition, which can alter the pH of the rhizosphere and introduce pathogens.
Can I use tap water in my tray?
Tap water is acceptable if the Electrical Conductivity (EC) is low. However, chlorine and fluorides can build up in the substrate over time. Let tap water sit for 24 hours to dissipate gases before adding it to the reservoir.
Why is my soil surface turning green?
Algae growth occurs when the surface stays too wet and is exposed to high light. To fix this, add a thin layer of coarse sand or perlite to the top of the tray to block light from the moist soil.
How do I prevent salt buildup in the tray?
Every three weeks, "top-water" the tray until water drains freely from the bottom into a separate bucket. This flushes out excess mineral salts that can interfere with the Cation Exchange Capacity and burn sensitive root hairs.