7 Healthy-Foliage Benefits of Specialized Houseplant Soil
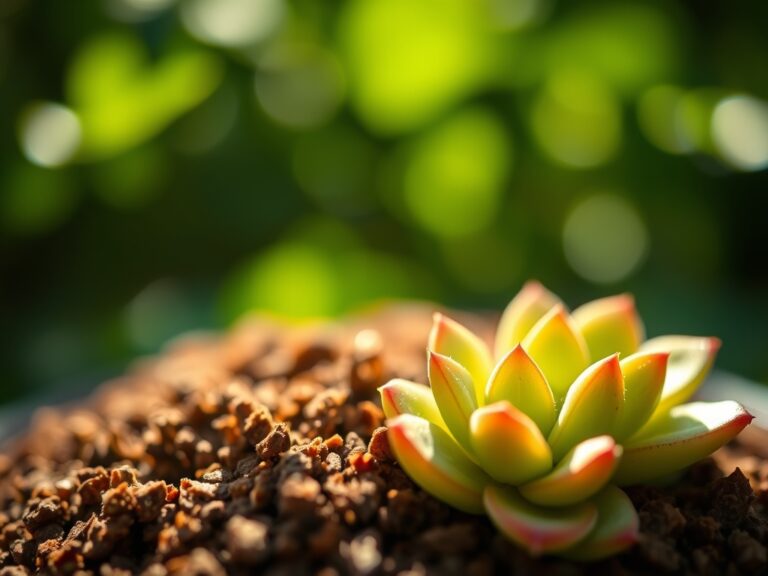
Using a specialized cactus soil transforms ordinary potted succulents into specimens with thick, turgid leaves and upright growth habits free from etiolation. The difference lies in the medium's physical structure: coarse particles of pumice, perlite, and crushed granite create air pockets that prevent anaerobic conditions at the root zone. Commercial potting mixes hold moisture for seven to ten days, causing root rot in xerophytes adapted to arid cycles. A proper cactus blend drains within ninety seconds of irrigation, mimicking the gravelly substrates of Sonoran and Chihuahuan desert habitats.
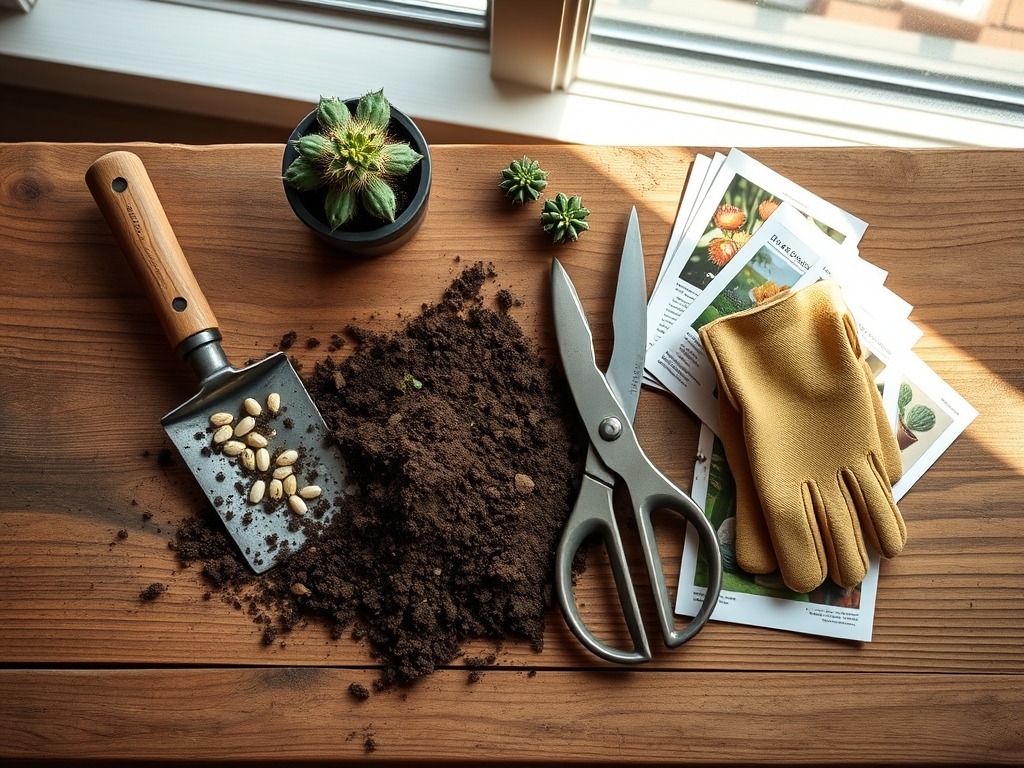
Materials
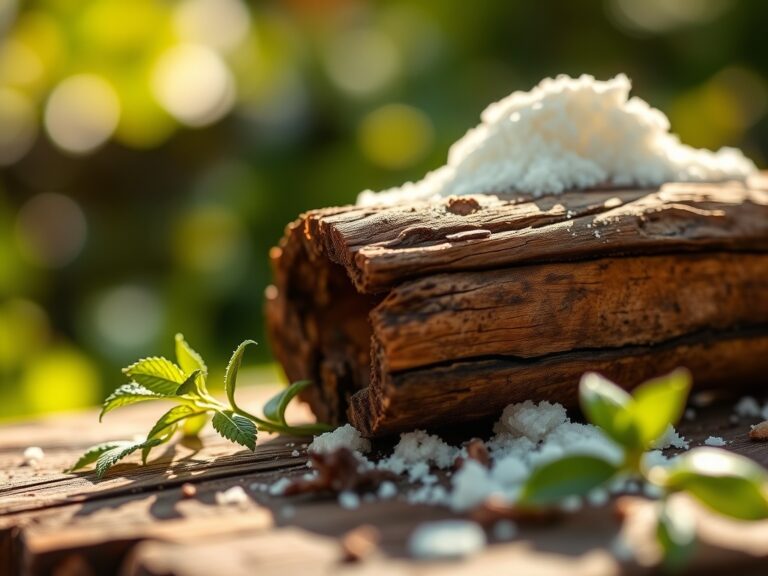
A functional cactus soil maintains a pH between 5.5 and 6.5, slightly acidic to neutral. The base requires 50 percent inorganic components by volume: coarse sand (2-5 mm particle size), pumice, or calcined clay. These materials provide structural stability and prevent compaction over multiple growing seasons.
The organic fraction should constitute 25 percent of the total volume. Composted pine bark or aged coconut coir supplies cation exchange capacity without water retention exceeding 24 hours. Avoid peat moss; its hydrophobic properties when dry create uneven moisture distribution.
Top-dressing with 1/4 inch of horticultural grit improves gas exchange at the soil surface and reduces algal growth. A balanced granular fertilizer rated 4-4-4 or 2-7-7 supplies macronutrients without excessive nitrogen, which promotes weak, watery tissue susceptible to fungal pathogens.
Mycorrhizal fungi inoculants enhance phosphorus uptake in desert-adapted species. Mix 1 teaspoon of Glomus or Rhizophagus species directly into the root zone during transplanting. These arbuscular mycorrhizae extend the effective root surface area by 700 percent.
Timing
Repotting into specialized cactus soil aligns with the plant's active growth phase. For most succulents, this window opens when nighttime temperatures stabilize above 50°F. In USDA Hardiness Zones 9-11, this occurs from mid-March through April. Zones 5-8 should wait until mid-May, two weeks after the last expected frost date.
Spring repotting allows roots to establish before the summer heat triggers semi-dormancy in many cactus species. Avoid transplanting from November through February; reduced light intensity and cooler soil temperatures slow auxin distribution and limit root regeneration.
Indoor specimens under artificial lighting maintain year-round growth if temperatures remain between 65°F and 78°F. These plants tolerate repotting in any month but show fastest recovery when day length exceeds 12 hours.
Phases
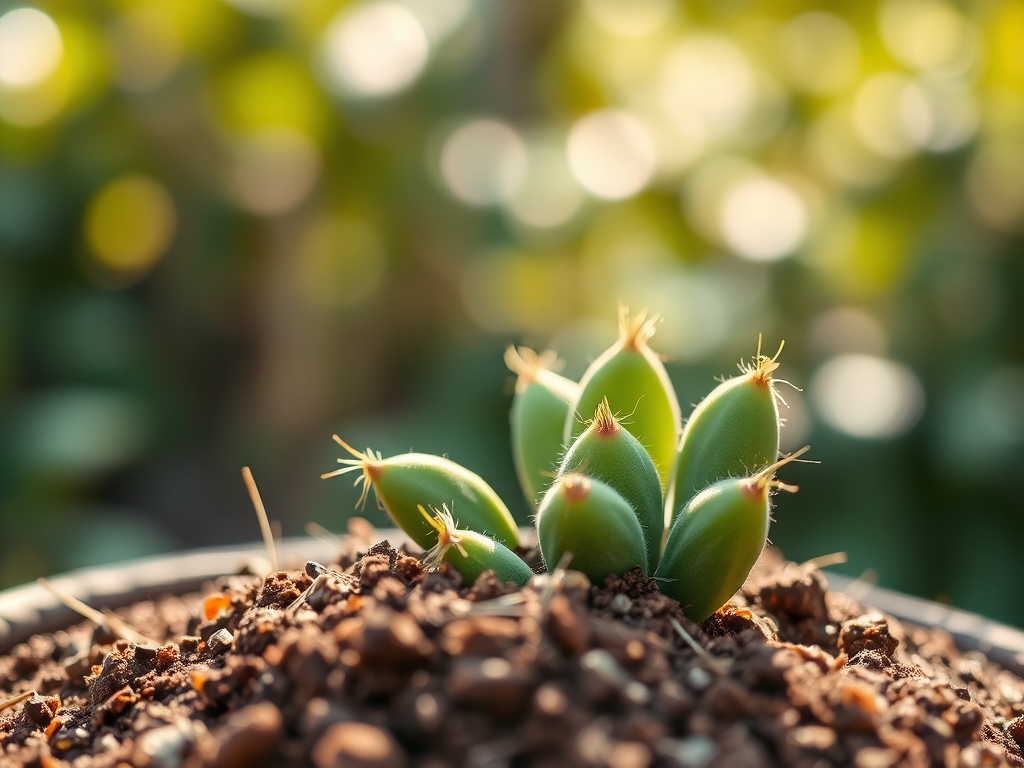
Sowing: Direct-seed cacti into shallow trays filled with a 3:1 blend of cactus soil and fine silica sand. Surface-sow seeds without covering; most species require light for germination. Maintain substrate temperature at 70-75°F using a seedling heat mat. Germination occurs within 7-21 days depending on genus. Mist daily until true spines emerge, approximately 4-6 weeks post-germination.
Pro-Tip: Sterilize cactus soil before sowing by baking at 180°F for 30 minutes. This eliminates damping-off pathogens (Pythium and Rhizoctonia) without destroying beneficial thermophilic bacteria.
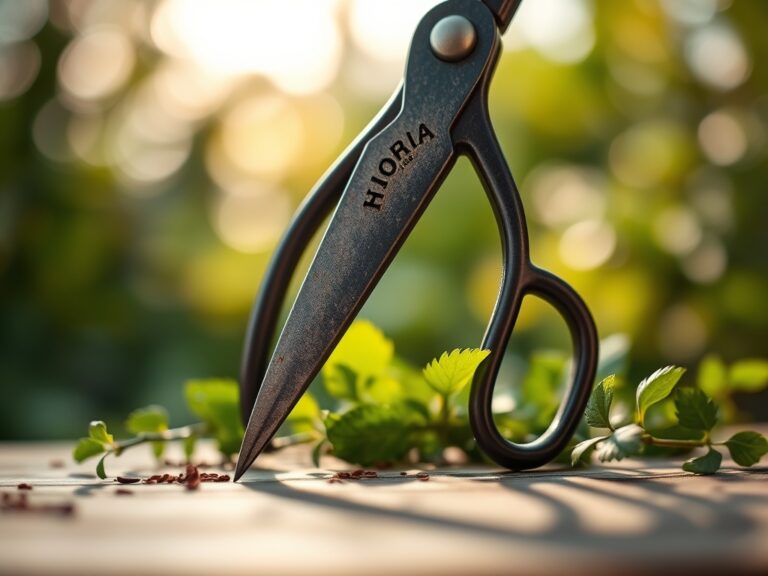
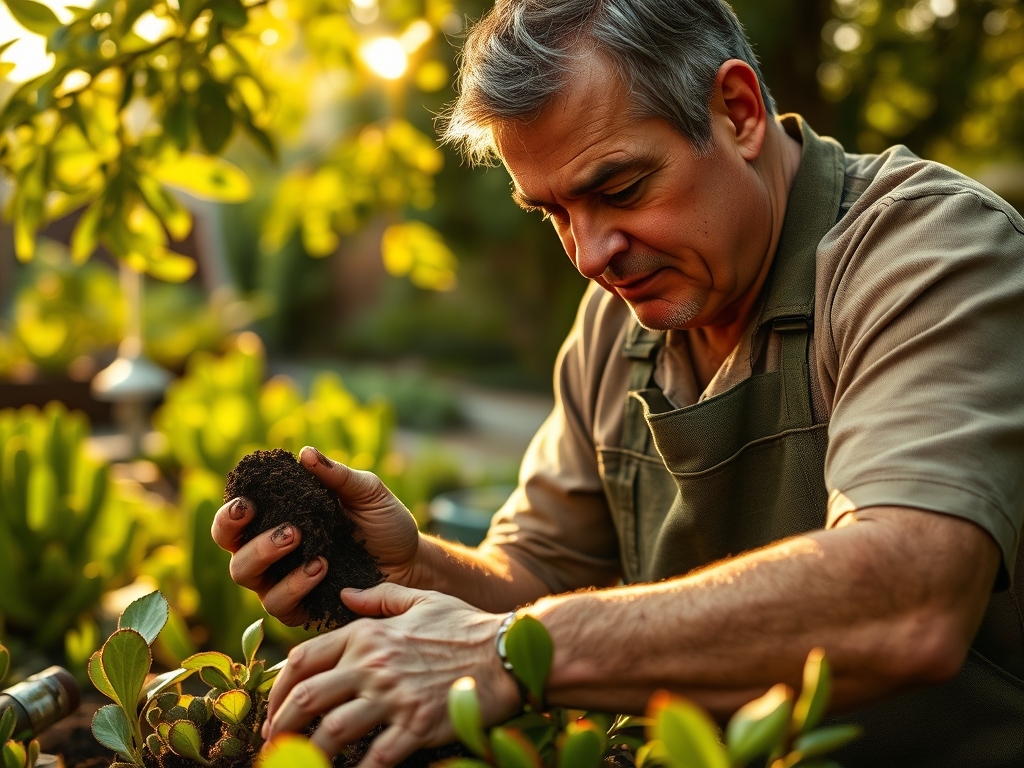
Transplanting: Remove the plant from its nursery container and inspect the root ball. Healthy roots appear white to cream-colored with firm texture. Prune any brown, mushy sections with sterilized shears at a 45-degree angle to maximize surface area for callusing. Allow cut roots to air-dry for 48 hours before planting.
Fill the new container one-third full with dry cactus soil. Position the plant so the root crown sits 1/4 inch below the pot rim. Add soil around the roots, tapping the container against a work surface to settle particles without compacting. Do not water for five days; this curing period allows micro-wounds to seal and prevents pathogen entry.
Pro-Tip: Containers should provide 1 inch of space between the root ball and pot wall. Excess soil volume retains moisture beyond the roots' absorption capacity.
Establishing: First irrigation occurs on day six post-transplant. Apply water until it drains freely from the bottom. The specialized soil's high porosity ensures saturation without waterlogging. Resume regular watering after two weeks, allowing the top 2 inches to dry completely between irrigations.
Root establishment takes 4-6 weeks. New growth indicates successful transplant; central meristems produce fresh areoles and spines. During this phase, maintain the plant in bright indirect light (2,000-3,000 foot-candles). Direct sun can stress transplants before their root systems anchor fully.
Pro-Tip: Add 1 tablespoon of bone meal (0-10-0) per gallon of soil to boost phosphorus levels. This macronutrient drives root hair proliferation and improves drought tolerance.
Troubleshooting
Symptom: Yellowing lower leaves with soft, translucent patches.
Solution: Overwatering in insufficiently draining soil. Repot immediately into fresh cactus mix. Withhold water for 10 days to allow roots to recover turgor pressure.
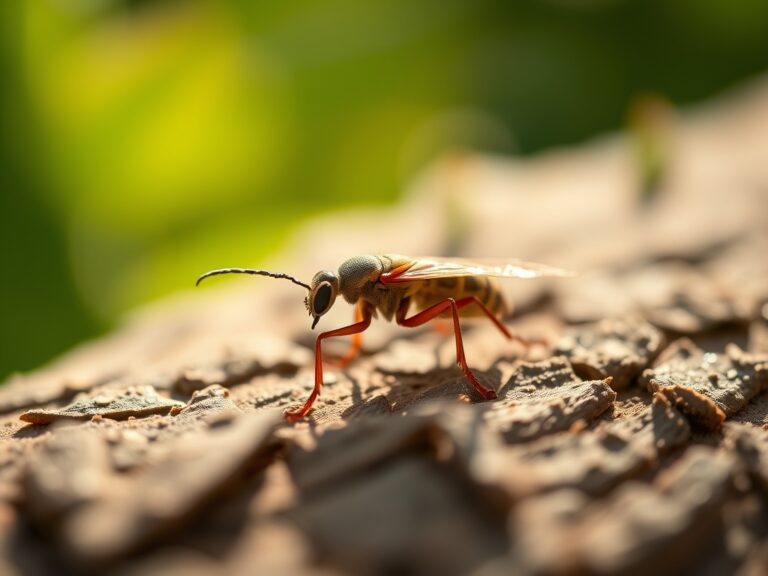
Symptom: White, cottony masses at stem joints and leaf axils.
Solution: Mealybug infestation (Pseudococcidae family). Dab insects with 70 percent isopropyl alcohol on a cotton swab. Drench soil with diluted neem oil (2 tablespoons per gallon) to eliminate root-feeding nymphs.
Symptom: Elongated stem growth with increased spacing between areoles.
Solution: Etiolation from insufficient light intensity. Relocate to a south-facing window providing 4,000+ foot-candles or supplement with full-spectrum LED grow lights positioned 6 inches above the crown.
Symptom: Brown, corky patches spreading from the base upward.
Solution: Basal stem rot caused by Fusarium species. Remove infected tissue with a sterile blade, cutting 1 inch into healthy tissue. Dust wounds with sulfur powder and repot into sterilized cactus soil.
Symptom: Stunted growth despite adequate light and correct watering.
Solution: Nutrient deficiency from depleted cation exchange capacity. Apply liquid fertilizer at 1/4 strength (1-7-6 ratio) every 21 days during the growing season.
Maintenance
Water established cacti when a moisture meter reads 1-2 (dry) at a depth of 3 inches. Apply 1/4 inch of water per irrigation event during active growth (April-September). Reduce frequency to monthly from October through March.
Feed every six weeks during the growing season with a diluted liquid fertilizer. Use a formulation with micronutrients including magnesium and iron chelate at concentrations of 0.5 percent and 0.1 percent respectively. Avoid fertilization during dormancy; excess salts accumulate in the specialized soil's low organic matter and can burn root tips.
Repot every 2-3 years even if the container appears adequately sized. Cactus soil degrades as organic particles break down, reducing drainage efficiency. Spring repotting into fresh medium prevents gradual moisture retention that leads to chronic root stress.
FAQ
How often should I water cacti in specialized soil?
Every 10-14 days during active growth when the top 3 inches are completely dry. Monthly irrigation suffices in winter dormancy.
Can I use cactus soil for other houseplants?
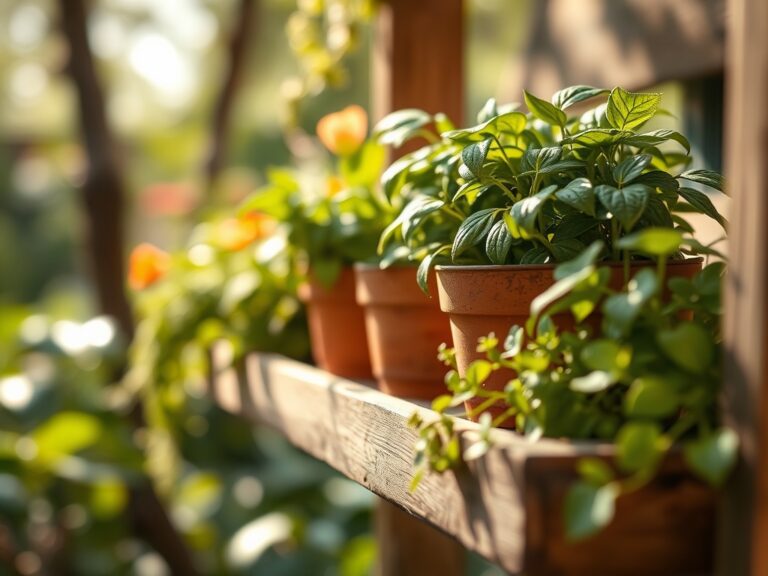
Yes, for epiphytes and succulents requiring similar drainage: Hoya, Peperomia, orchids, and Sansevieria species all thrive in this medium.
Does cactus soil need fertilizer?
The mineral components provide no nutrition. Apply balanced fertilizer at 1/4 the label rate every six weeks during the growing season.
Why is my cactus soil drying too quickly?
Excessive inorganic content (above 60 percent) or high ambient temperature accelerates evaporation. Add 10 percent aged compost to improve moisture retention slightly.
Can I make cactus soil at home?
Combine 2 parts coarse sand, 2 parts perlite or pumice, and 1 part composted bark. Sterilize the mixture before use to eliminate pathogens.