9 Dusting Steps for Treating Leaf Spot with Sulfur
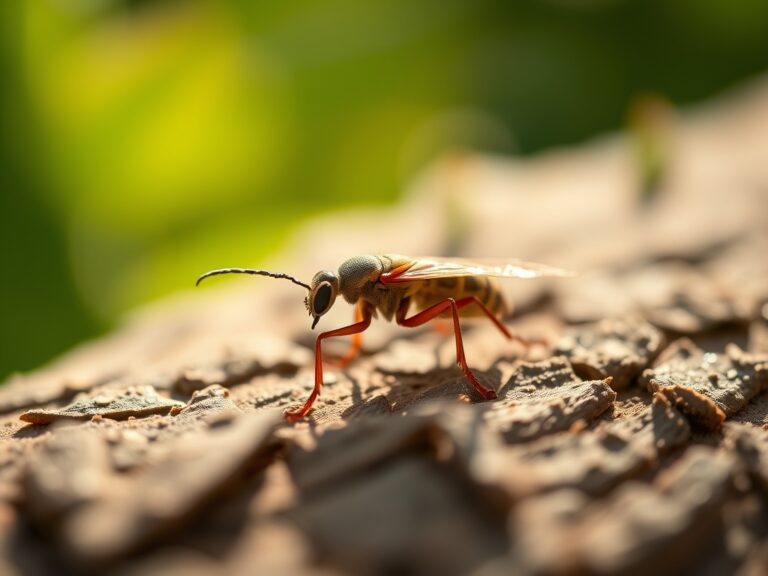
Crushing a handful of friable loam reveals the structural integrity of the rhizosphere; the smell of damp earth signals high microbial activity while the turgor pressure of a healthy leaf resists the thumb. When necrotic lesions or chlorotic halos disrupt this cellular rigidity, fungal pathogens like Cercospora or Septoria have likely breached the epidermis. Implementing the correct steps for treating leaf spot with sulfur requires immediate intervention to halt spore germination. Sulfur acts as a non-systemic fungicide by disrupting the metabolic respiration of fungal cells upon contact. This process must be executed with precision to avoid phytotoxicity, especially when ambient temperatures exceed 85 degrees Fahrenheit. Maintaining a clean canopy ensures that the plant continues efficient photosynthesis, preventing the premature senescence of lower foliage.
Materials:
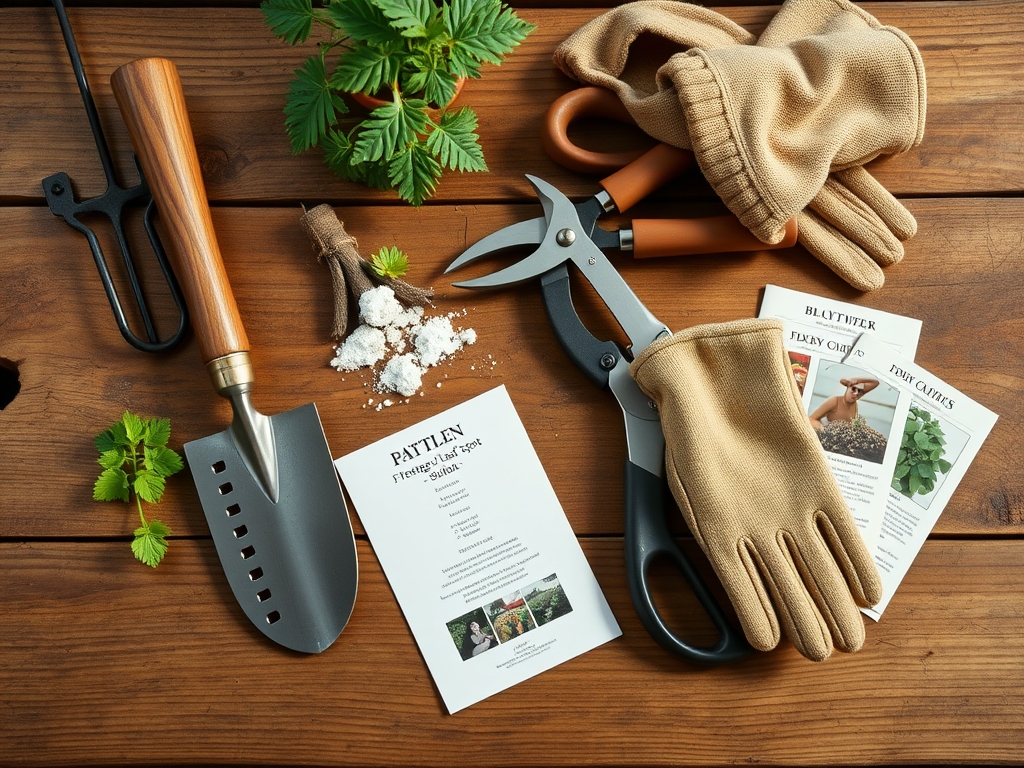
Successful fungal management begins with the substrate. A **friable loam** with a **Cation Exchange Capacity (CEC) of 15 to 25 meq/100g** provides the necessary buffer for nutrient uptake during chemical stress. Ensure your soil pH sits between **6.2 and 6.8** to optimize the availability of macronutrients. For plants recovering from leaf spot, utilize a fertilizer with an **NPK ratio of 5-10-10**. Lower nitrogen levels prevent the flush of succulent new growth that is highly susceptible to fungal penetration, while higher phosphorus and potassium levels reinforce cell wall thickness. You will need **micronized elemental sulfur dust (90 percent purity)**, a mechanical hand-crank duster, and a calibrated **soil moisture meter** to ensure the plant is fully hydrated before application.
Timing:
In Hardiness Zones 5 through 9, the window for sulfur application is dictated by the dew point and thermal thresholds. The biological clock of the plant transitions from vegetative expansion to reproductive development as the photoperiod shifts; this is when fungal pressure typically peaks due to increased humidity. Apply sulfur in the early morning when the air is still and the relative humidity is high enough to allow the dust to adhere to the leaf surface, but before the sun reaches its zenith. Never apply sulfur if temperatures are forecasted to rise above 80 degrees Fahrenheit (27 degrees Celsius) within 24 hours. High heat causes sulfur to volatilize into sulfur dioxide, which induces severe chemical burns on the foliage.
Phases:

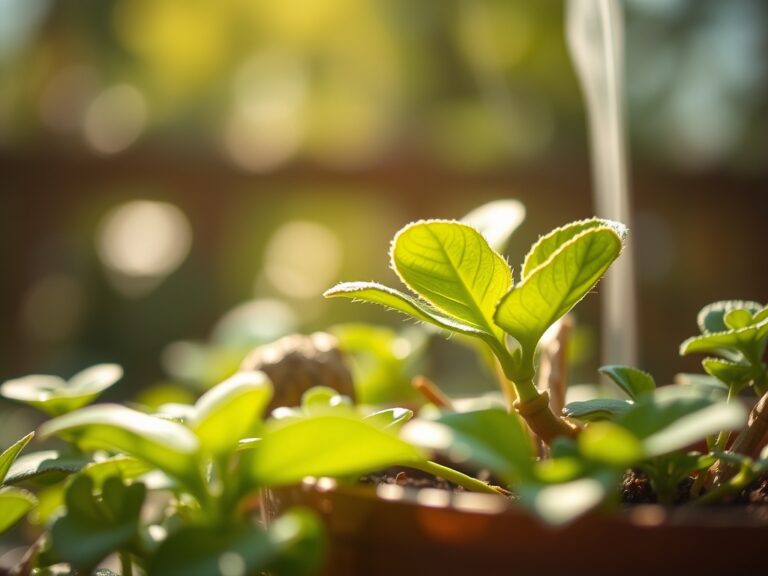
Sowing and Site Preparation
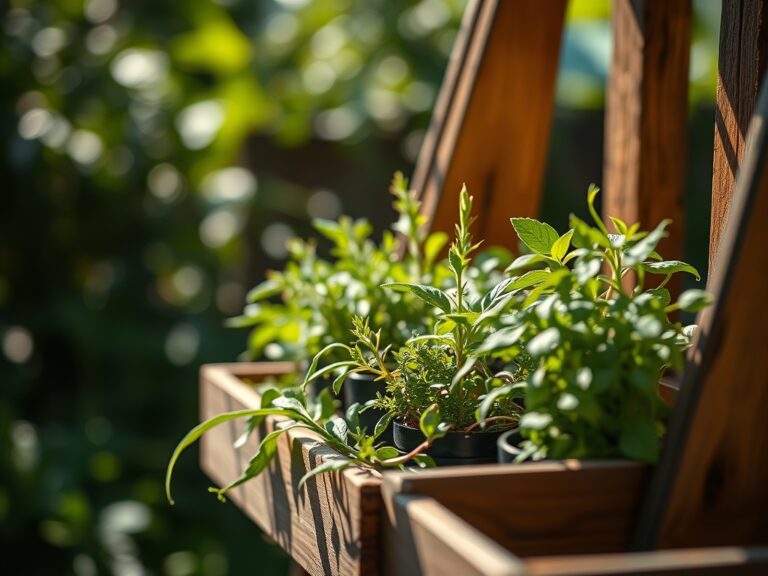
Before the first seed hits the soil, ensure the site has adequate air circulation. Space plants according to their mature width to prevent the creation of a stagnant microclimate. For heavy feeders, incorporate organic matter to improve the soil's ability to hold moisture without becoming waterlogged.
Pro-Tip: Proper spacing facilitates laminar airflow across the leaf surface. This reduces the duration of leaf wetness, which is the primary catalyst for fungal spore germination.
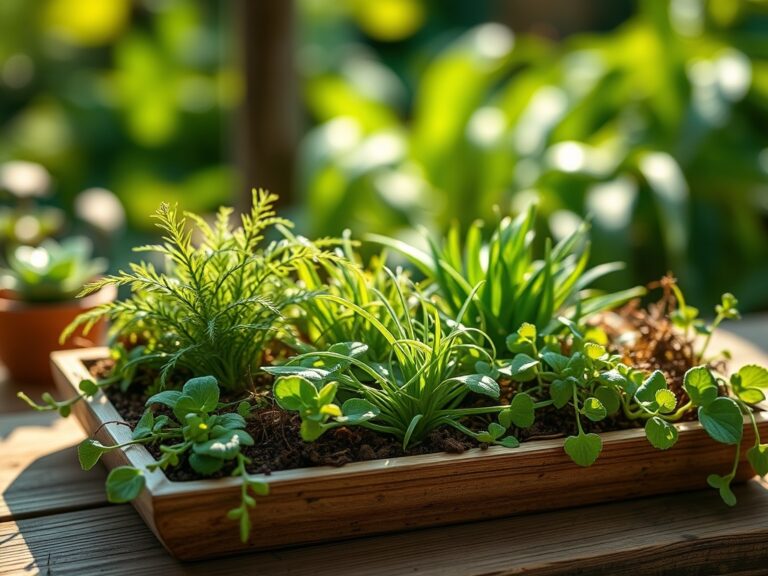
Transplanting and Initial Dusting
When moving seedlings from the greenhouse to the field, monitor for transplant shock. Once the root system establishes and new growth appears, perform a preventative dusting. Load the mechanical duster with sulfur and apply a fine, uniform coating to both the adaxial (top) and abaxial (bottom) surfaces of the leaves.
Pro-Tip: Target the abaxial leaf surface because stomata are more concentrated there. This prevents pathogens from entering the internal mesophyll tissues through these natural openings.
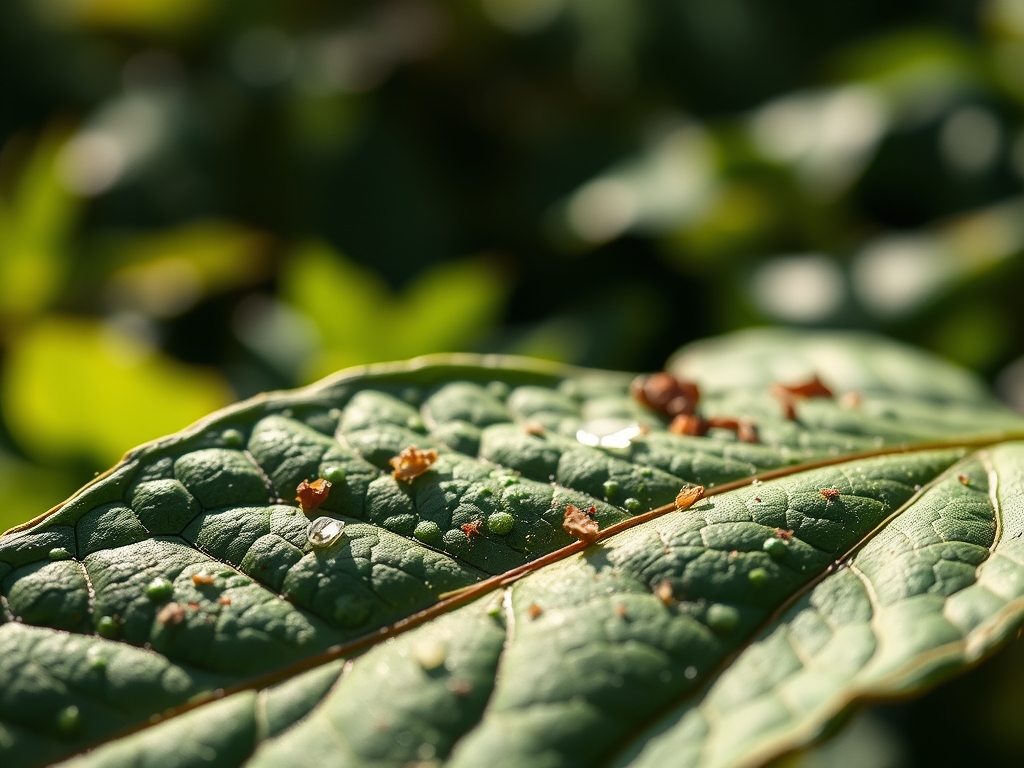
Establishing and Disease Suppression
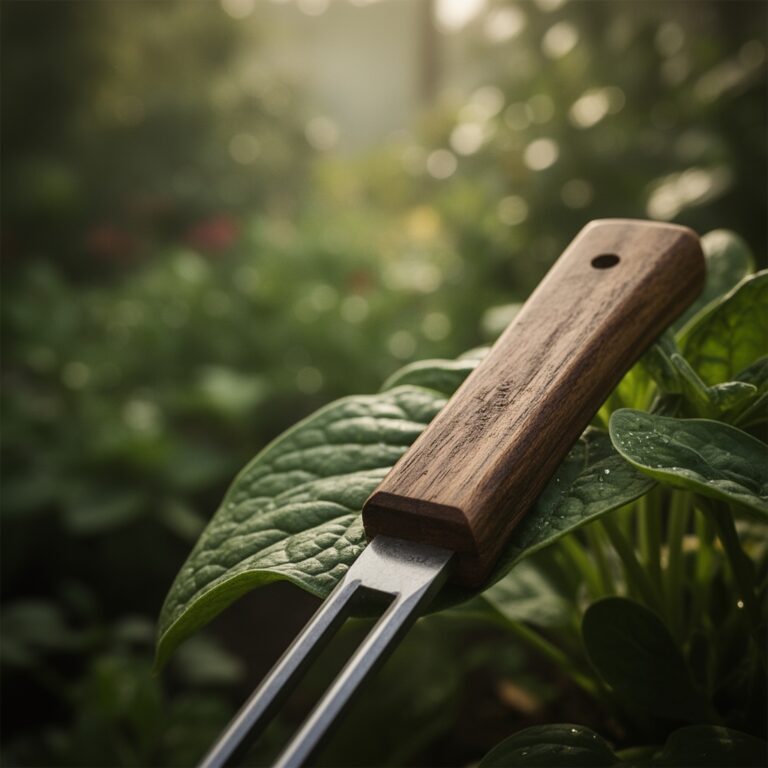
As the plant enters its rapid growth phase, inspect the lower canopy every 48 hours. If circular brown spots appear, escalate the sulfur application to a 7 to 10-day cycle. Use a hori-hori knife to remove heavily infected debris from the base of the plant to reduce the local spore load.
Pro-Tip: Removing infected lower leaves triggers auxin redistribution. This encourages the plant to prioritize resources for apical growth rather than attempting to repair necrotic tissue that can no longer contribute to carbon fixation.
The Clinic:
Physiological disorders often mimic fungal infections, requiring a diagnostic approach.
- Symptom: Interveinal chlorosis on young leaves.
Solution: This indicates an Iron deficiency. Check soil pH; if it is above 7.0, iron becomes insoluble. Lower the pH using elemental sulfur at a rate of 5 pounds per 1,000 square feet.
- Symptom: Tip burn on new foliage.
Solution: This is often Calcium deficiency caused by erratic transpiration. Ensure consistent soil moisture levels of 30 to 50 percent as measured by a moisture meter.
- Symptom: General yellowing of older leaves (Nitrogen Chlorosis).
Fix-It: Apply a quick-release nitrate-based fertilizer. Nitrogen is mobile within the plant, so it moves from old growth to new growth when soil levels are depleted.
- Symptom: Sulfur Phytotoxicity (Brittle, scorched leaf margins).
Fix-It: Immediately overhead-irrigate the foliage to wash off the residual sulfur. Shade the plant for 48 hours to reduce metabolic demand.
Maintenance:
Precision maintenance prevents the return of pathogens. Provide 1.5 inches of water per week delivered strictly at the drip line to keep the foliage dry. Use bypass pruners to thin out the center of the plant, ensuring light penetration reaches the interior nodes. Sterilize all tools in a 10 percent bleach solution or isopropyl alcohol between every cut to prevent cross-contamination. Monitor the soil moisture daily; if the meter drops below 20 percent, the plant enters a state of drought stress, making it more vulnerable to fungal invasion.
The Yield:
For edible crops, stop all sulfur applications 14 days prior to harvest to ensure no residue remains on the produce. Harvest during the "cool of the day," typically between 5:00 AM and 8:00 AM, when the plant is at maximum turgidity. Use a sharp knife to make clean cuts, minimizing the surface area of the wound. To maintain "day-one" freshness, hydro-cool the harvest by submerging it in 40-degree Fahrenheit water for several minutes to remove field heat and slow the rate of cellular respiration post-harvest.
FAQ:
How often should I apply sulfur for leaf spot?
Apply every 7 to 10 days during periods of high humidity. Reapply immediately if more than 0.5 inches of rain falls, as sulfur is a contact fungicide and washes off easily.
Can I mix sulfur with horticultural oils?
No. Never apply sulfur within 30 days of an oil-based spray. The combination creates a phytotoxic reaction that will cause total defoliation and permanent vascular damage to the plant.
What is the best temperature for sulfur application?
The ideal range is between 60 and 80 degrees Fahrenheit. Applying sulfur when temperatures exceed 85 degrees leads to leaf oxidation and chemical scorching of the epidermal cells.
How do I know if the sulfur is working?
Observe the new growth. While sulfur cannot heal existing necrotic spots, the newly emerged leaves should remain free of lesions and maintain a consistent green color without chlorotic halos.