6 Easy Steps to Use PH Kits
Testing soil pH correctly determines which nutrients your plants can absorb and which stay locked in the ground. The steps to use ph kits require clean water, sterile collection tools, and careful attention to color-matching protocols. A single-point error of 0.5 pH units can mean the difference between abundant phosphorus uptake and total nutrient lockout. Home gardeners who master pH testing gain precise control over cation exchange capacity and auxin distribution patterns in their growing beds.
Materials
Acquire a liquid reagent pH test kit with a 6.0-8.0 range or a digital probe calibrated to three decimal points. Liquid kits contain bromothymol blue or phenol red indicator solutions that shift color according to hydrogen ion concentration. Pair your testing equipment with distilled water (pH 7.0), as tap water carries dissolved minerals that skew readings.
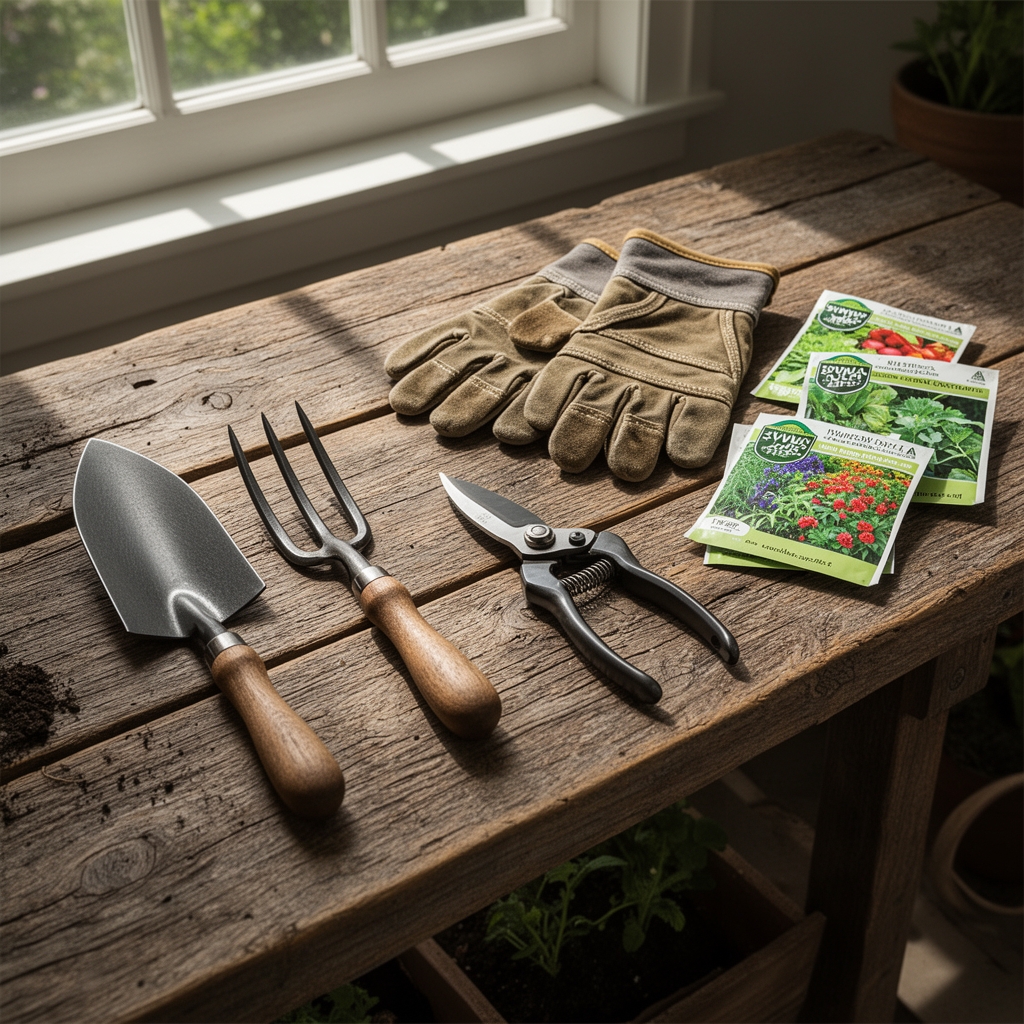
Collect soil samples using a stainless steel trowel or auger. Avoid galvanized tools, which leach zinc and copper ions into samples. Use clean glass containers or food-grade plastic cups for mixing. Label each container by garden zone or bed number.
For pH adjustment, source elemental sulfur (0-0-0) to lower pH or dolomitic lime (calcium magnesium carbonate) to raise it. Organic amendments include cottonseed meal (6-2-1, acidifying) or wood ash (0-1-3, alkalinizing). Balance these inputs with baseline fertilizers like kelp meal (1-0-2) or bone meal (3-15-0) to maintain nutrient ratios during pH correction.
Timing
Conduct pH testing in early spring two weeks before your last expected frost date. Soil temperatures should reach 50°F to ensure accurate microbial activity representation. In Hardiness Zones 3-5, test between mid-April and early May. Zones 6-8 allow testing from late March through mid-April. Zones 9-11 permit year-round testing but prioritize the period just after winter rains when leaching effects stabilize.
Retest every six weeks during the active growing season. Fall testing in September or October captures nutrient depletion patterns and guides cover crop selection. Soils amended with sulfur require 90 days to equilibrate, so test in late summer for spring planting adjustments.
Phases

Collection Phase
Collect six subsamples from each 100-square-foot garden zone. Insert your trowel 4-6 inches deep, removing surface debris and mulch layers first. Take samples in a zigzag pattern to capture spatial variation. Avoid spots within 12 inches of structure foundations or recent compost deposits. Combine all subsamples in a clean bucket and mix thoroughly with gloved hands.
Pro-Tip: Sample at the rhizosphere depth specific to your crop. Root vegetables require 8-inch sampling depth, while shallow-rooted greens need only 3-4 inches.
Testing Phase
Measure two tablespoons of soil into your test container. Add distilled water at a 1:1 ratio by volume. Stir vigorously for 30 seconds using a clean wooden stick or glass rod. Allow the slurry to settle for 10 minutes until a clear supernatant forms above the sediment layer.
Transfer 5 milliliters of clear liquid into the pH test tube using a disposable pipette. Add the reagent drops according to manufacturer specifications (typically 3-5 drops). Cap the tube and invert three times. Wait exactly 60 seconds for full color development. Match the solution color against the reference chart in natural daylight, not fluorescent lighting.
Pro-Tip: Test at consistent times of day. Soil pH fluctuates by 0.2-0.3 units between morning and afternoon due to carbon dioxide concentration shifts from root respiration.
Recording Phase
Document pH values with corresponding bed locations, soil temperature, and recent weather conditions. Calculate the mean pH across all subsamples. Note any samples deviating more than 0.5 units from the mean, as these indicate localized problems like drainage issues or concentrated fertilizer burn.
Cross-reference results against optimal ranges: blueberries (4.5-5.5), brassicas (6.5-7.0), alliums (6.0-7.0). Generate an amendment plan specifying pounds of sulfur or lime per 100 square feet based on current pH and target pH.
Pro-Tip: Mycorrhizal fungi colonization rates drop 40% when pH exceeds 7.5. Inoculate immediately after acidifying treatments to maximize symbiotic establishment.
Troubleshooting
Symptom: Green or blue-green reading when expecting neutral soil.
Solution: Your soil exceeds pH 7.5. Apply elemental sulfur at 1.2 pounds per 100 square feet to lower pH by one full unit. Incorporate thoroughly to 6-inch depth.
Symptom: Test results vary by more than 1.0 pH unit between samples from the same bed.
Solution: Poor mixing or contaminated tools caused inconsistency. Reclean all equipment with white vinegar rinse followed by distilled water. Recollect samples using fresh gloves.
Symptom: Color match falls between two reference standards.
Solution: Record the average value and retest in 48 hours. Temperature fluctuations affect dye stability. Store reagents below 75°F.
Symptom: Rapid color fade within 90 seconds of adding reagent.
Solution: Expired indicator solution or excessive soil organic matter interference. Replace reagents and dilute soil slurry to 1:2 ratio (soil to water).
Maintenance
Test pH every six weeks during active growth. Apply 0.5 pounds sulfur per 100 square feet quarterly if your water source exceeds pH 8.0 (common in arid Western zones). Mulch with pine needles (2-3 inch layer) to provide gradual acidification for acid-loving crops.
Water with collected rainwater when possible, as it averages pH 5.6 compared to municipal water at pH 7.5-8.5. Deliver 1 inch of water per week, measured with a rain gauge. Excess irrigation leaches calcium and magnesium, requiring lime reapplication.
Rotate crop families annually to prevent pH drift from species-specific exudates. Legumes raise localized pH through calcium mobilization, while solanaceous crops acidify through ammonium excretion.
FAQ
How often should I calibrate digital pH meters?
Calibrate before each use session with pH 7.0 and 4.0 buffer solutions. Probes drift after 20-30 insertions or when exposed to fertilizer salts.
Can I test pH in winter?
Frozen soil gives false readings. Thaw samples indoors at room temperature for 24 hours, then test immediately before microbial respiration resumes.
Why does my pH change after adding compost?
Mature compost buffers toward neutral (pH 6.5-7.5) regardless of starting soil pH. The effect persists 4-6 months as organic acids decompose.
Do container plants need pH testing?
Yes. Soilless media drift acidic as peat breaks down. Test every 30 days and apply dolomitic lime at 1 tablespoon per gallon of media volume.
What causes sudden pH spikes?
Concrete dust from nearby construction or wood ash over-application raises pH rapidly. Flush with acidified water (1 tablespoon vinegar per gallon) until runoff stabilizes.