9 Modern Ways How to Build a Gabion Planter
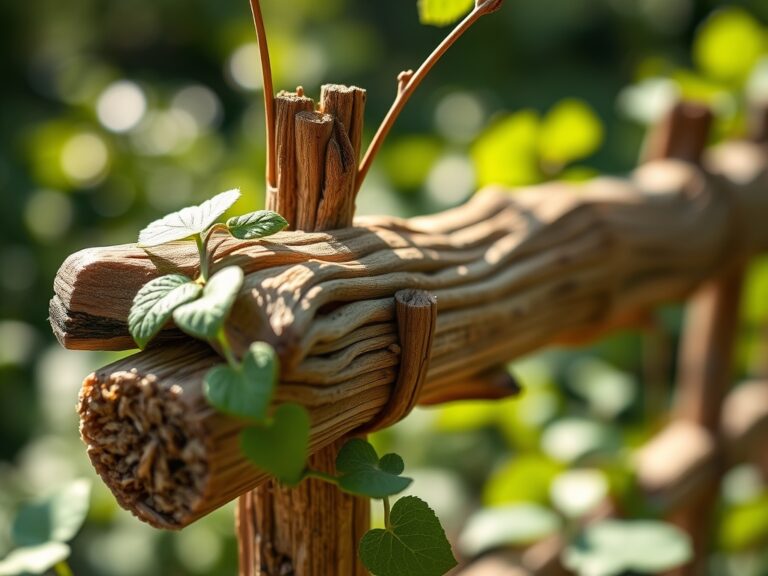
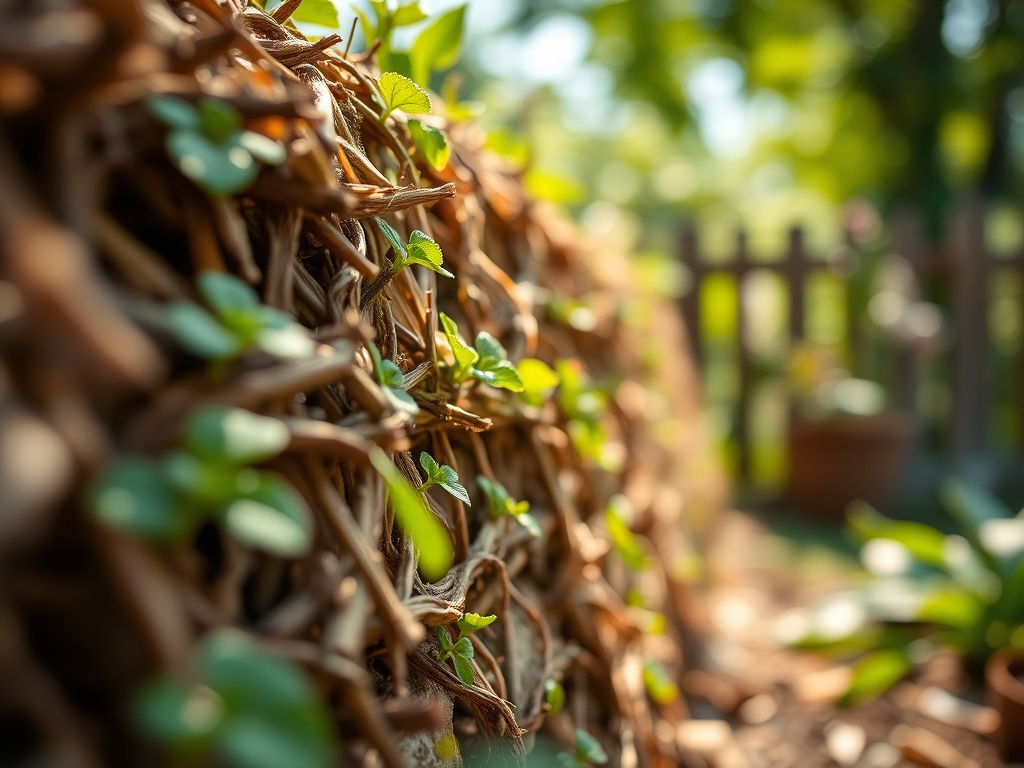
Damp earth carries a sharp, geosmin-heavy scent that signals a high concentration of Actinobacteria. This microbial activity is the foundation of a healthy rhizosphere. When you learn how to build a gabion planter, you are creating a high-drainage microclimate that optimizes turgor pressure within plant cells. Gabions rely on gravity and mass to stabilize the soil profile. This prevents the compaction that often leads to root hypoxia in traditional containers. A successful build integrates galvanized steel mesh with specific aggregate sizes to ensure structural integrity while maintaining the thermal mass necessary for root zone insulation.
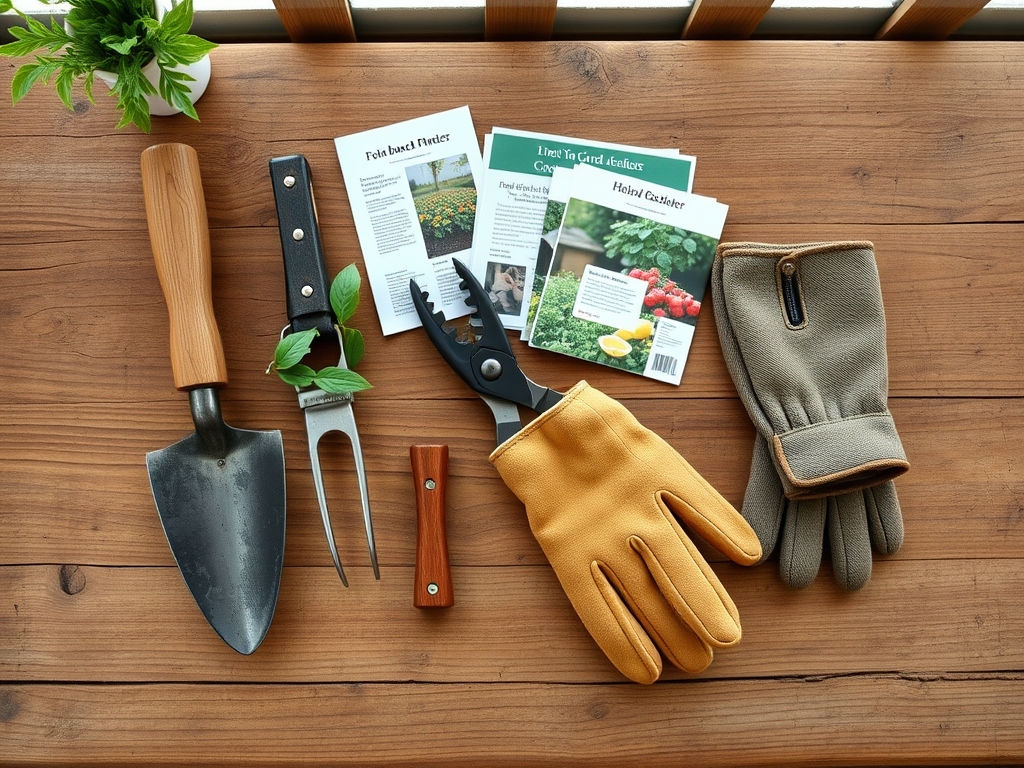
Materials:
The core of the planter requires a **friable loam** substrate. This soil must have a **pH between 6.2 and 6.8** to maximize nutrient bioavailability. For the fill, use a mix of 40 percent compost, 40 percent topsoil, and 20 percent coarse sand. This composition ensures a **Cation Exchange Capacity (CEC)** of at least 15 to 20 milliequivalents per 100 grams.
Regarding fertilization, integrate a slow-release NPK ratio of 5-10-5 for initial root establishment. Phosphorus is critical for early ATP production and root elongation. Avoid high nitrogen levels at the start to prevent leggy, weak growth. The structural frame requires 4mm galvanized steel wire with a mesh aperture of 50mm x 50mm. For the stone fill, select non-calcareous rocks such as basalt or granite to prevent unwanted pH spikes from leaching carbonates into the soil.
Timing:
In Hardiness Zones 5 through 8, construction should occur in late winter or early spring before the soil reaches a temperature of 50 degrees Fahrenheit. This timing aligns with the biological clock of most perennial species. As plants transition from the vegetative stage to the reproductive stage, their demand for potassium increases. You must have the gabion structure settled and the soil biology activated via microbial inoculants at least 14 days before the first transplant. This window allows the soil to settle and eliminates large air pockets that could desiccate sensitive root hairs.
Phases:
Sowing
Direct sowing into a gabion requires a fine seedbed layer of at least 2 inches of sifted compost. Ensure seeds are placed at a depth of three times their diameter. Maintain a soil temperature of 65 degrees Fahrenheit for optimal germination.
Pro-Tip: Monitor the photoperiod requirements of your specific cultivars. Seedlings utilize phototropism to orient their primary leaves toward the light source; rotating the planter if it is near a wall prevents lopsided growth and ensures even auxin distribution throughout the stem.
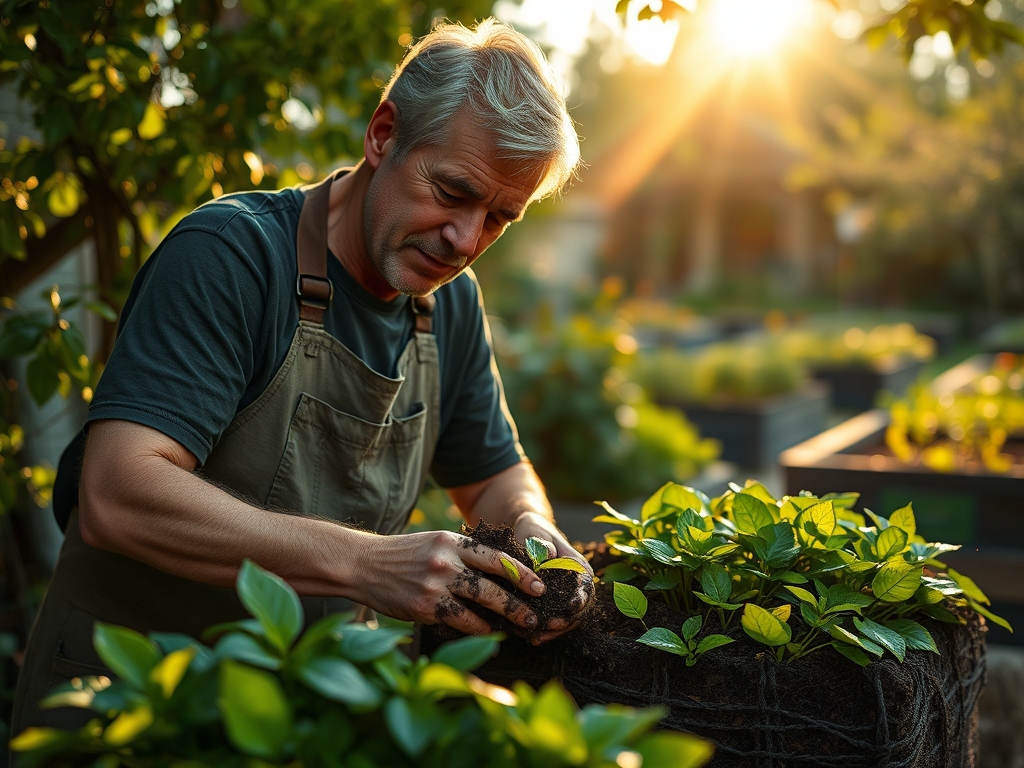
Transplanting
When moving starts into the gabion, ensure the root ball is moist. Dig a hole twice the width of the root mass. Position the plant so the crown sits exactly at the soil surface. Deep planting can lead to stem rot, while shallow planting causes root desiccation.
Pro-Tip: Apply a mycorrhizal fungal inoculant directly to the root zone during this phase. This creates a mycorrhizal symbiosis that effectively increases the root surface area by 10 to 100 times; this allows the plant to access phosphorus and micronutrients that are otherwise chemically bound in the soil.
Establishing
During the first 21 days, the plant focuses on downward root growth. Limit pruning during this time to allow the plant to maximize its photosynthetic capacity. The gabion stones will act as a thermal heat sink; they absorb solar radiation during the day and release it at night to keep the root zone stable.
Pro-Tip: Avoid excessive nitrogen application during establishment to prevent auxin suppression. High nitrogen levels can sometimes trigger rapid foliage growth at the expense of a deep, resilient root system.
The Clinic:
Physiological disorders in gabion planters often stem from the high-drainage nature of the structure.
- Nitrogen Chlorosis: Observe the older leaves for a uniform yellowing. This indicates the plant is translocating mobile nitrogen to new growth. Fix-It: Apply a liquid seaweed or fish emulsion with a 5-1-1 NPK ratio to provide immediate bioavailability.
- Blossom End Rot: This is a calcium transport issue, not necessarily a soil deficiency. It occurs when fluctuating moisture levels hinder calcium uptake. Fix-It: Maintain consistent soil moisture at 1.5 bars of tension using a soil moisture meter.
- Iron Deficiency: New leaves appear yellow with green veins (interveinal chlorosis). This usually happens if the rock fill has raised the pH above 7.5. Fix-It: Apply chelated iron and check the pH of your irrigation water.
- Leaf Turgor Loss: If the plant wilts despite moist soil, check for root rot caused by poor interior drainage. Fix-It: Ensure the geotextile liner is not clogged with fine silts.
Maintenance:
Precision is required for gabion systems. Provide 1.5 inches of water per week at the drip line. Use a soil moisture meter daily for the first month. For pruning, use bypass pruners to make clean, slanted cuts that allow moisture to run off the wound. This prevents fungal spores from colonizing the site.
Use a hori-hori knife to remove weeds by the root; do not simply snap the tops off. In a gabion, the stone layer can hide the emergence of deep-rooted perennial weeds that compete for nutrients. Every autumn, top-dress the soil with 2 inches of leaf mold to replenish organic matter and maintain the CEC levels.
The Yield:
Harvesting from a gabion planter should occur during the "morning swell" when turgor pressure is at its peak. This usually occurs before 10:00 AM. For leafy greens, use a sharp blade to cut the outer leaves, leaving the central meristem intact for continuous production.
Handle the harvest with care to avoid bruising cell walls. Place harvested items immediately into a cool, shaded environment to slow down senescence. Rapid cooling preserves the sugars and volatile oils that define flavor and nutritional density. For flowers, cut at a 45 degree angle and submerge the stems in 110 degree Fahrenheit water to clear air embolisms in the xylem.
FAQ:
What is the best stone for a gabion planter?
Use hard, angular stones like basalt or granite sized between 3 and 5 inches. Avoid limestone or marble as they leach carbonates that raise soil pH, potentially causing nutrient lockout for acid-loving plants.
Do I need a liner inside the gabion?
Yes. Use a heavy-duty geotextile fabric to line the inner soil chamber. This prevents the substrate from washing through the stones while allowing excess water to drain, preventing root hypoxia and maintaining structural soil integrity.
How deep should the soil be?
For most vegetables and perennials, a soil depth of 12 to 18 inches is required. This volume provides enough space for a robust root system and ensures adequate moisture retention during high-temperature periods.
Will the metal cage rust over time?
Standard galvanized steel resists rust for 10 to 50 years depending on environmental salinity and humidity. For coastal areas, use Grade 304 or 316 stainless steel or Galfan-coated wire to prevent oxidation and structural failure.
Can I build a gabion on a wooden deck?
Only if the deck is engineered for extreme loads. A gabion planter can weigh over 150 pounds per cubic foot. Consult a structural engineer to ensure the joists can support the concentrated dead load of stone and wet soil.