8 Caudex-Care Steps for Repotting a Ponytail Palm
The scent of damp, mineral-heavy substrate signals a necessary transition for the Beaucarnea recurvata. A healthy specimen exhibits high turgor pressure in its linear, pendulous leaves; they should feel firm and resist bending. When the trunk base begins to press against the inner rim of its container, the rhizosphere has exhausted its available volume. Mastering the steps for repotting a ponytail palm requires understanding that this plant is a succulent, not a true palm. It stores water within its swollen caudex to survive prolonged xeric conditions. Repotting is a high-stress event that disrupts the hydraulic equilibrium of the plant. Success depends on maintaining the integrity of the fine root hairs while providing a medium that facilitates rapid drainage. A botched transplant leads to stagnant water in the root zone, triggering anaerobic respiration and eventual fungal pathogens. Precision in substrate selection and timing ensures the plant maintains its structural rigidity and metabolic rate throughout the transition.
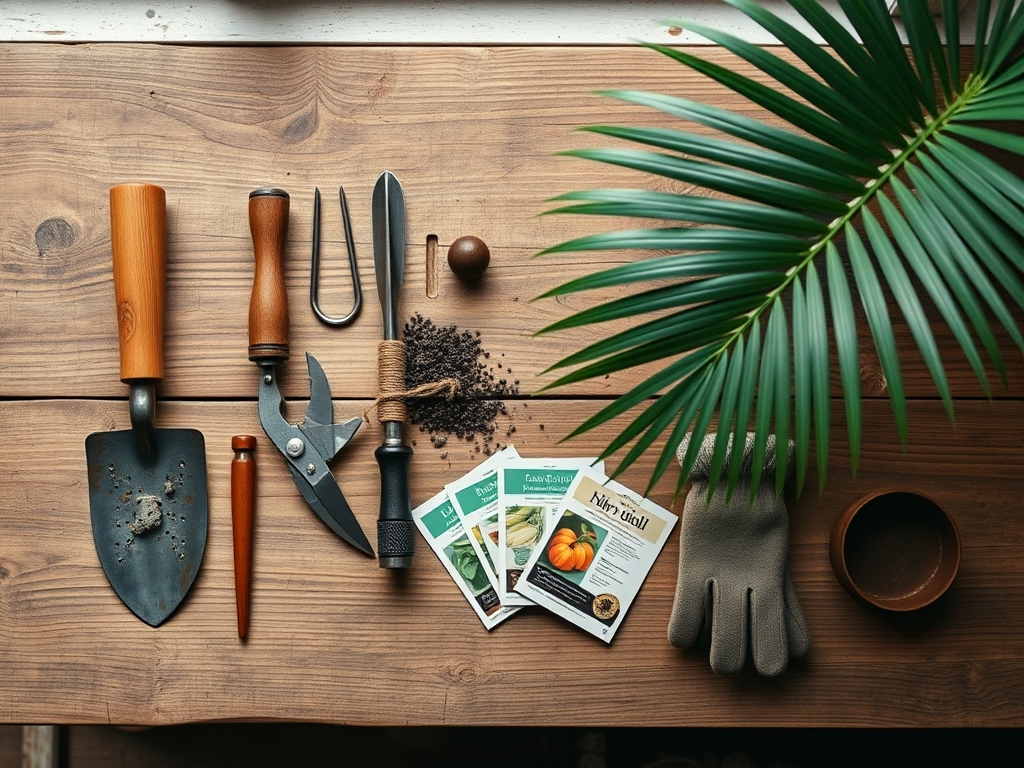
Materials:
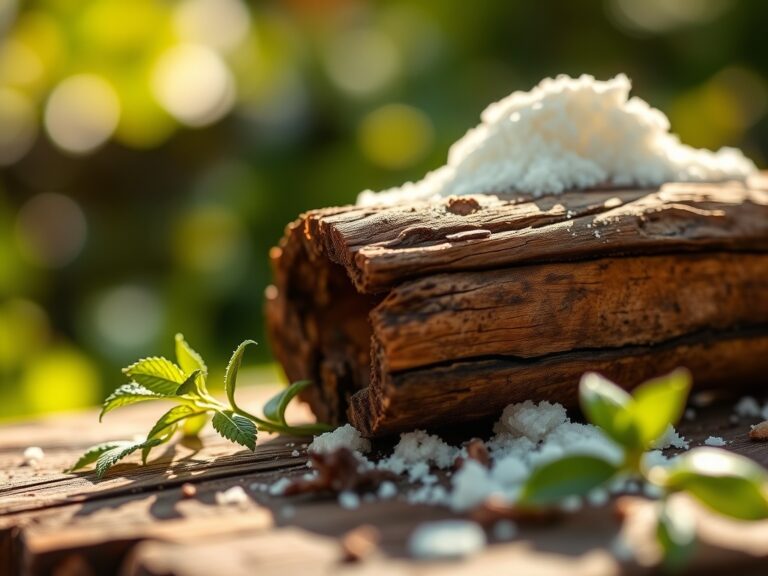
The ideal substrate must be a friable loam with high porosity to prevent waterlogging. Aim for a soil pH between **6.0 and 7.0**. The Cation Exchange Capacity (CEC) should be moderate, allowing for nutrient retention without salt buildup. Use a potting mix consisting of **1 part coarse sand, 1 part perlite, and 2 parts peat moss or coconut coir**.
For fertilization, select a slow-release granular formula with an NPK ratio of 10-10-10 or a specialized succulent blend of 3-1-2. High nitrogen levels are avoided to prevent leggy, weak growth. Ensure the new container is only 1 to 2 inches wider in diameter than the current one. Use a pot made of unglazed terracotta to allow for lateral evaporation through the porous walls. This material choice assists in regulating the moisture levels within the rhizosphere.
Timing:
The biological clock of the Beaucarnea recurvata is dictated by light intensity and temperature. In USDA Hardiness Zones 9 through 11, these plants can remain outdoors year-round. For indoor specimens or those in cooler zones, the window for repotting opens in late spring or early summer. This coincides with the transition from semi-dormancy to the active vegetative stage.
Perform the transplanting at least 4 weeks after the last frost date to ensure ambient temperatures remain consistently above 60 degrees Fahrenheit. During this period, the plant increases its production of auxins, the hormones responsible for root elongation. Repotting during the active growth phase allows the root system to colonize the new substrate rapidly, reducing the risk of transplant shock. Avoid repotting during the winter senescence, as the metabolic rate is too low to repair the micro-fractures in the root tissue caused by handling.
Phases:
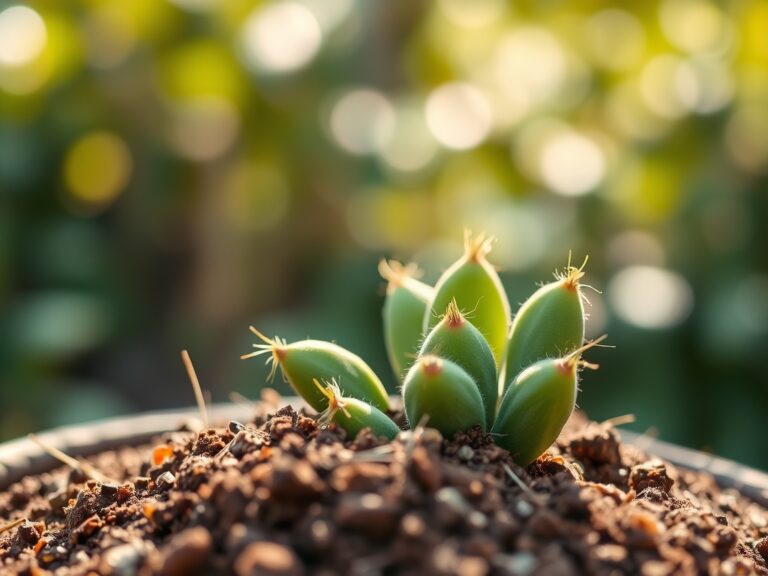
Sowing the Foundation
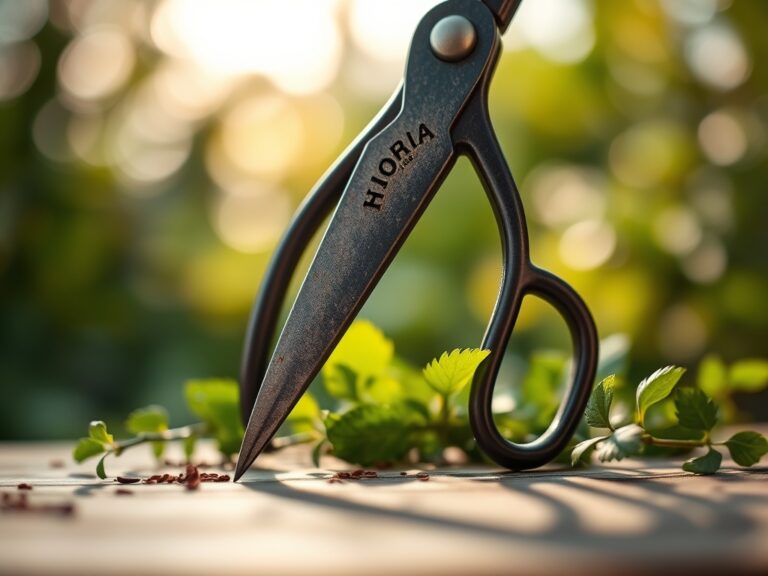
Begin by withholding water for 5 to 7 days prior to the move. Dry soil is less heavy and pulls away from the root ball with less friction. Gently tip the container and slide the plant out; do not pull by the foliage, as this can damage the meristematic tissue at the crown. Use a hori-hori knife to circle the inner edge if the roots are adhered to the pot walls.
Pro-Tip: Inspect the roots for a healthy, tan color. If roots are circling the base, use bypass pruners to make three vertical nicks in the root ball. This breaks apical dominance in the roots and stimulates lateral branching, a process known as root pruning.
Transplanting into the New Medium
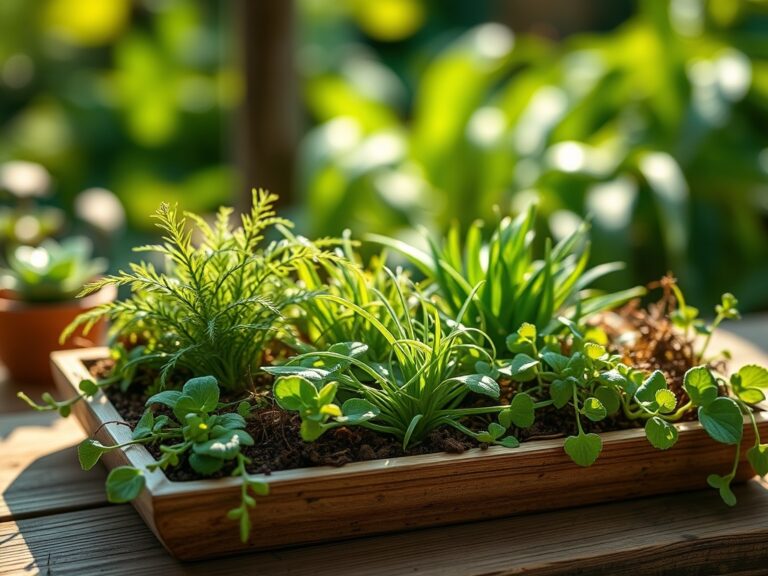
Place a layer of the prepared substrate at the bottom of the new pot. Position the ponytail palm so that the top of the caudex sits at the same soil level as it did previously. Burying the caudex too deep leads to stem rot, as the bark-like tissue is not adapted for constant moisture contact. Fill the periphery with soil, tamping down lightly with your fingers to eliminate large air pockets.
Pro-Tip: Leave a 1-inch gap between the soil surface and the pot rim. This headspace prevents overflow during irrigation and ensures water penetrates the entire soil column rather than shedding off the sides.
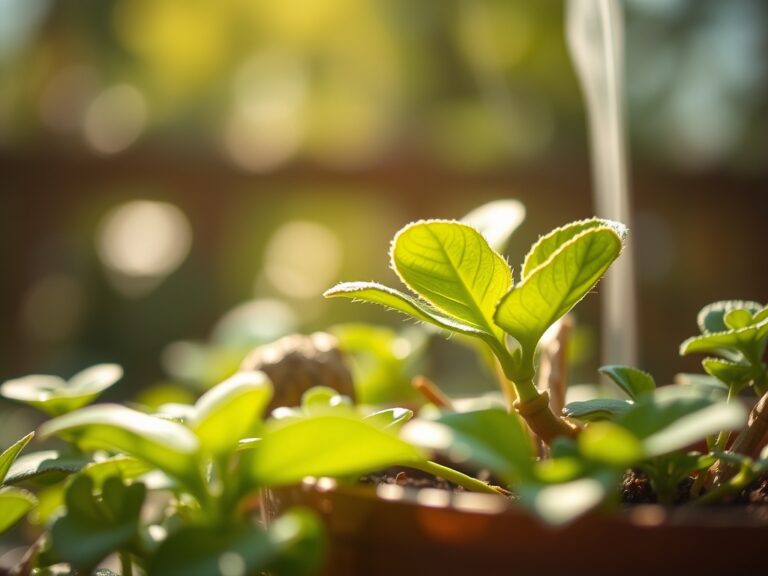
Establishing and Acclimation
Once the plant is situated, move it to a location with bright, indirect light. Avoid direct solar radiation for the first 10 to 14 days. The plant needs this period to recover its hydraulic pressure and repair root hairs. Do not water immediately; wait 3 to 5 days to allow any broken roots to callous over, preventing pathogens from entering the vascular system.
Pro-Tip: Monitor the leaves for signs of phototropism. If the plant leans aggressively toward the light source, rotate the pot 90 degrees weekly. This ensures even distribution of photosynthetic activity across the entire canopy.
The Clinic:
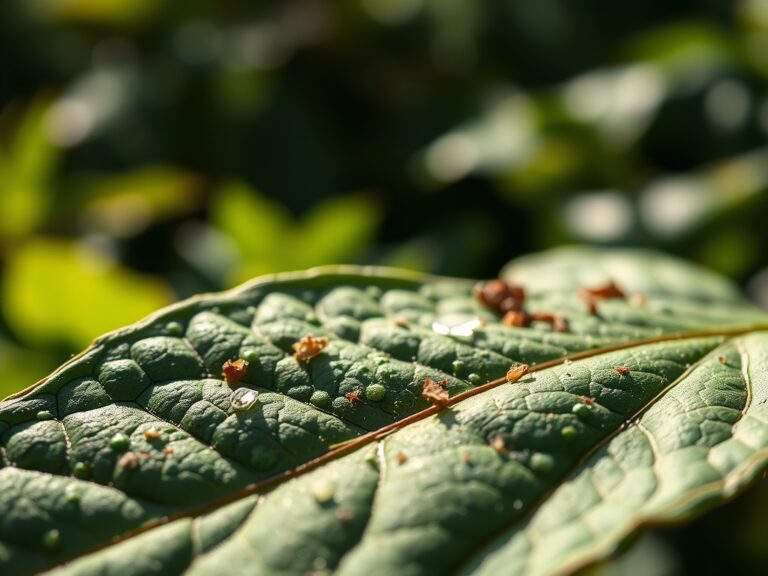
Physiological disorders in ponytail palms often stem from improper moisture levels or mineral imbalances.
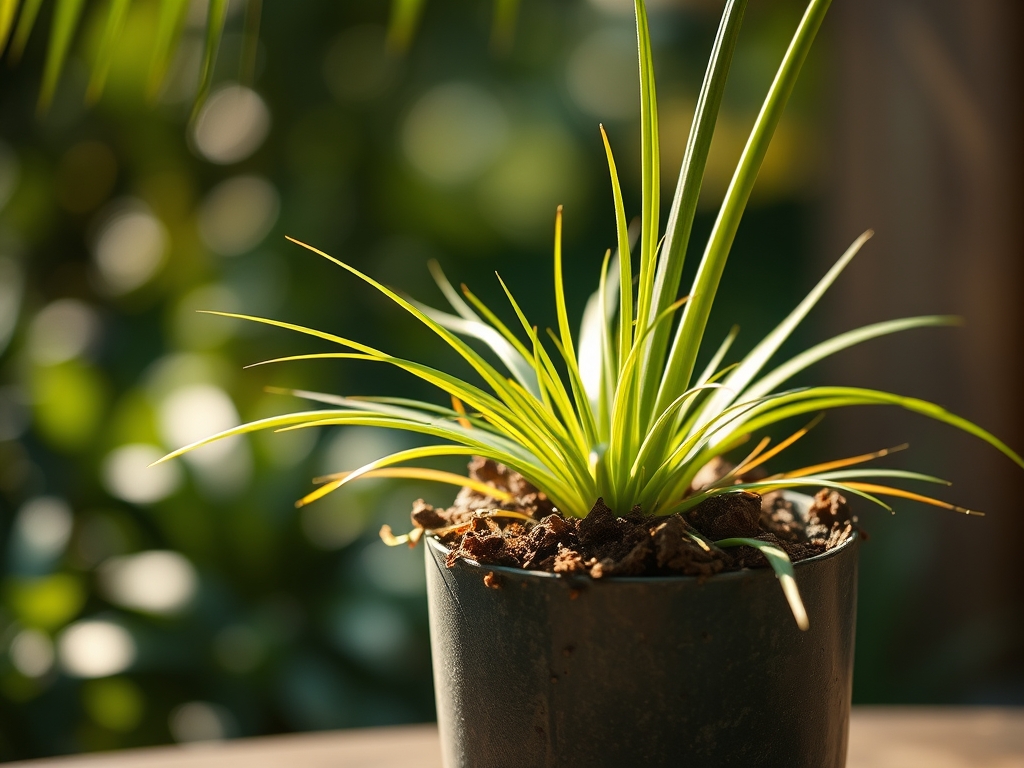
- Symptom: Yellowing of lower leaves (Chlorosis).
- Solution: This is often a nitrogen deficiency or overwatering. Check the soil with a soil moisture meter. If the meter reads "Wet" at a depth of 4 inches, cease irrigation immediately.
- Symptom: Brown, crispy leaf tips.
- Solution: This indicates low humidity or fluoride toxicity from tap water. Use distilled water or rainwater to flush the soil.
- Symptom: Soft, mushy caudex.
- Solution: This is a critical sign of root rot. Remove the plant from the pot, prune away blackened roots, and treat the remaining root system with a copper-based fungicide before repotting in fresh, dry substrate.
Fix-It for Nitrogen Chlorosis: Apply a liquid fertilizer with a high nitrogen ratio (such as 20-10-10) at half-strength. The nitrogen is essential for chlorophyll synthesis and will restore the deep green hue to new growth.
Maintenance:
Post-repotting maintenance requires a disciplined irrigation schedule. Provide approximately 1 to 1.5 inches of water every 2 to 3 weeks, ensuring the soil dries out completely between cycles. Use a soil moisture meter to verify that the bottom third of the pot is dry before adding more water.
Pruning should be minimal. Use bypass pruners to remove only the completely desiccated lower leaves at the point of attachment to the trunk. Do not trim the green tips of the leaves, as this creates a permanent blunt edge and can invite secondary infections. Every 6 months, wipe the leaves with a damp cloth to remove dust, which can block stomata and reduce photosynthetic efficiency.
The Yield:
While the ponytail palm is primarily an ornamental foliage plant, its "yield" is measured in the girth of the caudex and the length of the leaf arc. To maximize the aesthetic yield, maintain a consistent photoperiod of 12 to 14 hours of light. If the plant is kept in low-light conditions, the leaves will become thin and lose their characteristic curl. For "day-one" freshness after a move or seasonal cleaning, ensure the plant is not exposed to drafts from HVAC vents, which cause rapid desiccation of the leaf margins.
FAQ:
How often should I follow the steps for repotting a ponytail palm?
Repot every 2 to 3 years. These plants prefer being slightly root-bound. Only move to a larger vessel when the caudex nears the pot edge or roots emerge from drainage holes.
What is the best soil for a ponytail palm?
Use a fast-draining succulent or cactus mix. A blend of peat, perlite, and coarse sand ensures a pH of 6.5 and prevents the anaerobic conditions that lead to root rot.
Why are my ponytail palm leaves turning brown?
Brown tips usually indicate low humidity or salt buildup from tap water. Use filtered water and occasionally mist the canopy to increase local humidity without saturating the soil.
Can I use a pot without drainage holes?
No. Drainage is mandatory. Without holes, water accumulates at the base, causing root senescence and fungal decay. Always use terracotta or ceramic pots with at least one large drainage aperture.