8 Best Mulch for Vegetable Gardens
Turgor pressure dictates the structural integrity of every vegetable in the bed; a plant lacking water is a plant failing to perform basic cellular respiration. When you step into the garden at dawn, the smell of damp earth and the cool resistance of a crisp leaf signify a healthy rhizosphere. Maintaining this state requires a strategic barrier against evaporation and thermal fluctuations. Selecting the best mulch for vegetable gardens is not a cosmetic choice; it is a calculated engineering decision to stabilize soil temperatures and prevent the rapid depletion of moisture. Without a proper mulch layer, soil surfaces crust over, reducing oxygen diffusion and causing water to run off rather than penetrate the root zone. A professional grower understands that the soil surface is a living interface. By applying high-quality organic matter, you manage the Cation Exchange Capacity (CEC) and ensure that nutrients remain available to the plant during peak metabolic demand. This guide breaks down the technical requirements for selecting and applying the most effective substrates to maximize your harvest and protect your soil health.
Materials:
The ideal substrate must integrate with a friable loam soil structure, which typically consists of 40 percent sand, 40 percent silt, and 20 percent clay. Your mulch choice directly impacts the soil pH and the NPK (Nitrogen, Phosphorus, Potassium) balance.
- Clean Wheat Straw: Offers a neutral pH (6.5 to 7.0) and a high carbon-to-nitrogen ratio. It provides excellent insulation without drastically altering nutrient availability.
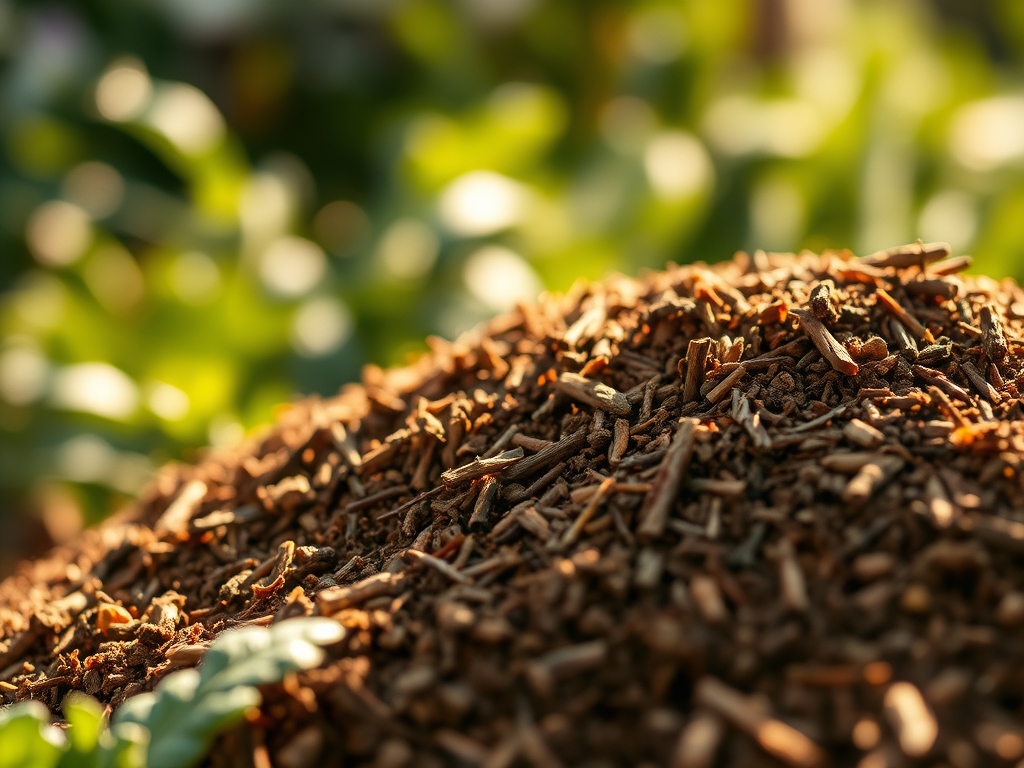
- Arborist Wood Chips: Best for perennial vegetables. These have a high lignin content and promote fungal dominance in the soil.
- Pine Bark Fines: These have an acidic profile (pH 4.0 to 5.0). Use them specifically for acid-loving crops like potatoes or peppers if your soil is overly alkaline.
- Leaf Mold: Partially decomposed deciduous leaves provide a rich source of calcium and magnesium. They have a high CEC, helping the soil retain cations like potassium and ammonium.
- Grass Clippings: High in nitrogen (approximate NPK of 4-0.5-2). Ensure they are herbicide-free to avoid epinasty in broadleaf vegetables.
- Alfalfa Meal/Hay: A powerhouse mulch with an NPK of roughly 3-1-2. It contains triacontanol, a natural growth stimulant that increases metabolic activity.
- Rice Hulls: Excellent for drainage and aeration. They are rich in silica, which strengthens plant cell walls.
- Composted Manure: Best used as a base layer under straw. It provides a slow-release NPK of 1-1-1 and introduces beneficial microbial life.
Timing:
Successful mulching follows the biological clock of the plant and the thermal patterns of your Hardiness Zone. In Zones 5 through 7, do not mulch too early. Applying a thick layer in early April can trap winter cold in the ground, delaying seed germination and slowing root development. Wait until the soil temperature consistently reaches 65 degrees Fahrenheit (18 degrees Celsius) for warm-season crops like tomatoes and squash.
The transition from the vegetative stage to the reproductive stage is a critical window. For indeterminate varieties, mulch must be at its peak depth when the plant begins its first heavy flowering. This ensures that the water supply remains constant during fruit set, preventing physiological issues like blossom end rot. In Zones 8 through 10, mulch should be applied earlier to prevent the soil from exceeding 85 degrees Fahrenheit, which can lead to root senescence and heat stress.
Phases:

Sowing
Direct-seeded crops require a light touch. Large-seeded crops like beans or corn can push through a 0.5-inch layer of fine straw. Small seeds like carrots require a bare soil surface for germination. Once the seedlings reach 3 inches in height and have developed their first set of true leaves, you can begin pulling mulch toward the stems.
Pro-Tip: Avoid placing mulch directly against the seedling stem to prevent "damping off" caused by fungal pathogens. This practice maintains airflow at the soil-stem interface, preventing the localized humidity that favors Pythium species.
Transplanting
When moving starts from the greenhouse to the field, the goal is to minimize transplant shock. Dig your hole, set the plant, and immediately surround the root zone with 2 to 3 inches of mulch. This stabilizes the rhizosphere temperature and prevents the sun from baking the newly disturbed soil.
Pro-Tip: Use a mulch with a high albedo, such as light-colored straw, to reflect excess solar radiation. This reduces the leaf temperature and prevents the plant from reaching its wilting point during the critical first 48 hours of establishment.
Establishing
As the plant moves into its rapid growth phase, the mulch layer should be maintained at a consistent depth. For heavy feeders, this is the time to tuck a layer of composted manure beneath the straw. This creates a nutrient-rich "tea" every time you irrigate.
Pro-Tip: Mycorrhizal symbiosis is enhanced under a stable mulch layer. The consistent moisture levels allow beneficial fungi to extend their hyphae, effectively increasing the root surface area by up to 1,000 times for better phosphorus uptake.
The Clinic:
Physiological disorders often stem from erratic moisture levels or nutrient imbalances caused by poor mulch management.
Symptom: Blossom End Rot (localized calcium deficiency).
Solution: This is rarely a lack of calcium in the soil and usually a lack of consistent water transport.
Fix-It: Apply 3 inches of straw mulch and ensure the soil moisture remains at a consistent 70 percent field capacity.
Symptom: Nitrogen Chlorosis (yellowing of older leaves).
Solution: High-carbon mulches like fresh sawdust can "tie up" nitrogen as microbes work to break down the wood.
Fix-It: Pull back the mulch and apply a high-nitrogen liquid fertilizer (like fish emulsion) to provide immediate bioavailability.
Symptom: Leaf Scorch (brown, crispy leaf edges).
Solution: High soil temperatures are causing the plant to lose water faster than the roots can replace it.
Fix-It: Increase mulch depth to 4 inches to lower soil temperature by up to 10 degrees.
Maintenance:
Precision is required for long-term garden health. Use a soil moisture meter to check the hydration levels 4 inches below the surface. Most vegetables require 1.5 inches of water per week delivered at the drip line. Avoid overhead watering; instead, snake a soaker hose beneath the mulch layer to deliver water directly to the soil.
Use a hori-hori knife to slice through the mulch when adding supplemental plants or removing deep-rooted weeds. If the mulch begins to mat down and prevent water penetration, use a garden fork to lightly fluff the material. Monitor the decomposition rate. If you see the bare earth appearing, top off the layer to maintain a 3-inch minimum thickness. Use bypass pruners to remove any yellowing lower foliage that touches the mulch to prevent soil-borne pathogens from splashing onto the plant.
The Yield:
Harvesting should occur when the plant is at peak turgor, typically in the early morning. For leafy greens, use a sharp blade to cut cleanly, preventing ragged edges that lead to rapid moisture loss. For fruiting crops like peppers or eggplants, use pruners to avoid tugging on the root system.
Post-harvest, keep the produce cool and out of direct sunlight. For "day-one" freshness, many vegetables benefit from a "hydro-cooling" process where they are briefly submerged in cold water to remove field heat. This slows down the rate of respiration and enzyme activity, preserving the sugars and nutrients within the plant tissues.
FAQ:
What is the best mulch for tomatoes?
Clean wheat straw or pine bark fines are ideal. They provide a barrier against soil-borne diseases like early blight by preventing rain from splashing fungal spores onto the lower leaves. Maintain a depth of 3 inches for moisture stability.
Can I use fresh grass clippings?
Yes, if they are free of herbicides. Apply in thin layers (under 1 inch) to prevent the clippings from matting into an anaerobic, foul-smelling barrier. They provide a significant nitrogen boost as they decompose.
Does mulch attract slugs?
Organic mulches can provide habitat for slugs in wet climates. To manage this, keep mulch 2 inches away from the base of the plant and use copper tape or iron phosphate pellets if populations exceed the damage threshold.
When should I remove mulch?
In most climates, leave organic mulch to decompose and incorporate into the soil. However, in heavy clay soils, you may pull it back in late winter to allow the sun to dry and warm the ground for spring planting.