7 Best High-Precision Plant Scissors for Clean Maintenance
The smell of damp earth and the crisp turgor of a healthy leaf define the daily reality of a high performance greenhouse. When a stem is severed, the vascular tissue is exposed to immediate atmospheric stress; a jagged cut collapses the xylem and phloem, inviting pathogens into the rhizosphere. Precision is not an aesthetic choice but a physiological necessity. Selecting the best plant scissors ensures that every incision is a surgical strike that minimizes cellular trauma and preserves the plant's hydraulic integrity.
A clean cut allows the specimen to seal the wound through rapid callusing, preventing the leaching of vital sap and maintaining the internal pressure required for nutrient transport. In a high density cultivation environment, the difference between a 0.1 millimeter bypass blade and a standard utility shear is the difference between a thriving canopy and a localized fungal outbreak. Professional horticulture demands tools that respect the biological architecture of the plant. We prioritize carbon steel for its edge retention and ergonomic pivot points that reduce hand fatigue during twelve hour pruning cycles. This guide examines the mechanical specifications and botanical justifications for the most effective cutting implements in the modern grower's arsenal.
Materials:
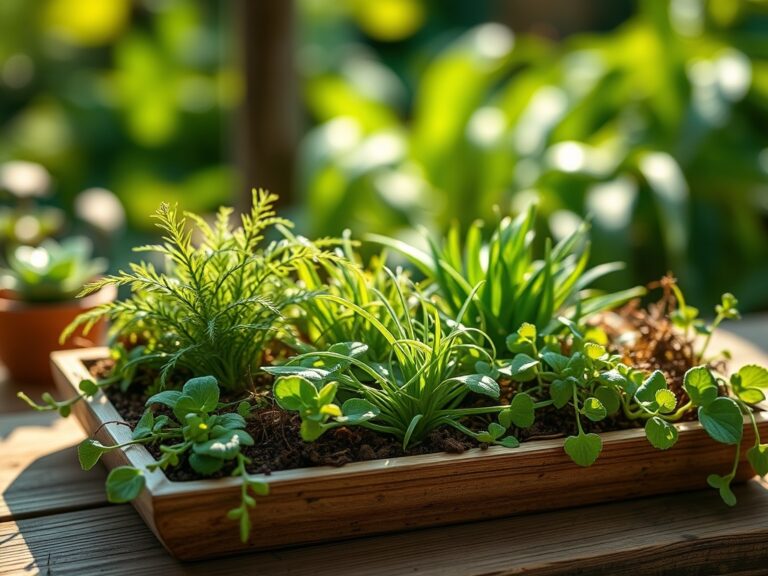
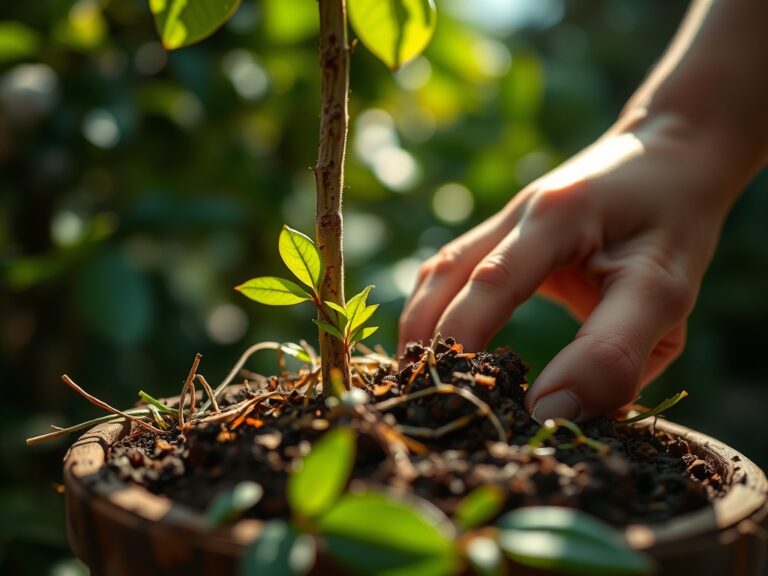
The success of any pruning regimen begins with the substrate. For optimal recovery after using the **best plant scissors**, plants should be situated in a **friable loam** with a high **Cation Exchange Capacity (CEC)** of at least **15 to 25 meq/100g**. This ensures that the plant has immediate access to mobile nutrients required for tissue repair. Maintain a soil pH between **6.2 and 6.8** for most temperate species to ensure maximum bioavailability of micronutrients like Zinc and Manganese, which act as catalysts in the enzyme systems responsible for wound healing.
During the vegetative stage, provide an NPK ratio of 3-1-2 to support rapid leaf expansion and structural protein synthesis. As the plant transitions, shift toward a 1-3-2 ratio to strengthen cell walls through increased Phosphorus and Potassium uptake. The physical texture of the medium must allow for 20 percent air porosity to ensure the roots have sufficient oxygen for the metabolic demands of post-pruning regeneration.
Timing:
Timing your cuts is as critical as the tool itself. In Hardiness Zones 5 through 8, the primary pruning window occurs during the dormant season, typically six weeks before the last predicted frost date. Pruning during dormancy minimizes sap loss because the plant's metabolic rate is suppressed. However, for soft tissue maintenance and "deadheading," you must monitor the Biological Clock of the specimen.
The transition from the vegetative stage to the reproductive stage is triggered by the photoperiod. For short day plants, this occurs when darkness exceeds 12 hours. Conduct precision thinning only when the plant exhibits full turgor pressure, typically in the early morning hours after the nocturnal recharge of the water column. Avoid pruning during the heat of the day when evapotranspiration rates are at their peak; this prevents excessive desiccation of the fresh wound site.
Phases:
Sowing and Early Thinning
Initial thinning requires a needle nose scissor to remove weaker seedlings without disturbing the delicate root systems of the keepers. Space seedlings according to their mature canopy spread to prevent light competition.
Pro-Tip: Removing the apical meristem of a young plant triggers auxin suppression. When the dominant growth hormone is removed, lateral buds are released from apical dominance, promoting a bushier, more structurally sound architecture through increased branching.
Transplanting and Root Pruning
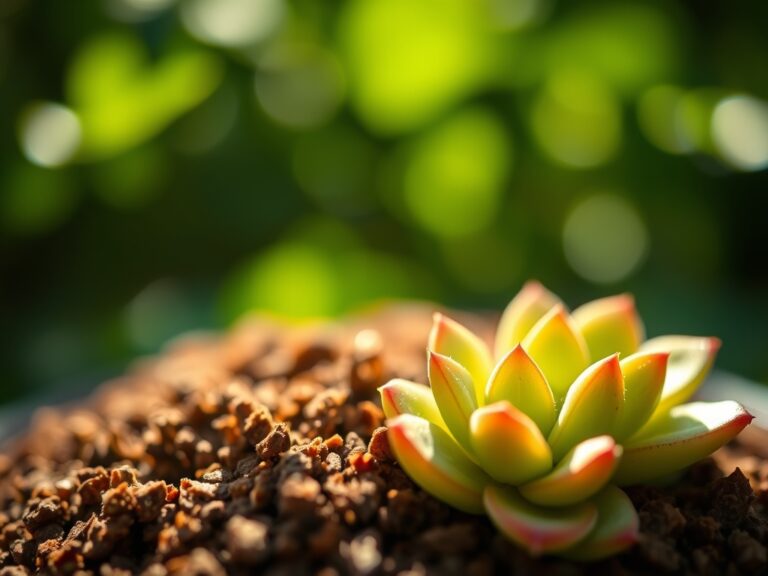
When moving a plant to a larger vessel, use your best plant scissors to prune any "circling" roots. This encourages the development of a fibrous root system rather than a woody, constricted one. Ensure the new container has a volume at least 30 percent larger than the previous one.
Pro-Tip: Lightly scarring the root ball stimulates mycorrhizal symbiosis. The minor localized stress signals the plant to exude more carbohydrates, which attracts beneficial fungi that extend the effective surface area of the root system for better phosphorus uptake.
Establishing and Canopy Management
Once the plant is established, use bypass pruners to remove any foliage that receives less than 30 percent of full sun. This improves airflow and reduces the risk of powdery mildew.
Pro-Tip: Strategic pruning utilizes phototropism to your advantage. By removing upper fan leaves that shade lower nodes, you redirect the plant's energy to underutilized photosynthetic sites, increasing the overall net primary productivity of the specimen.
The Clinic:
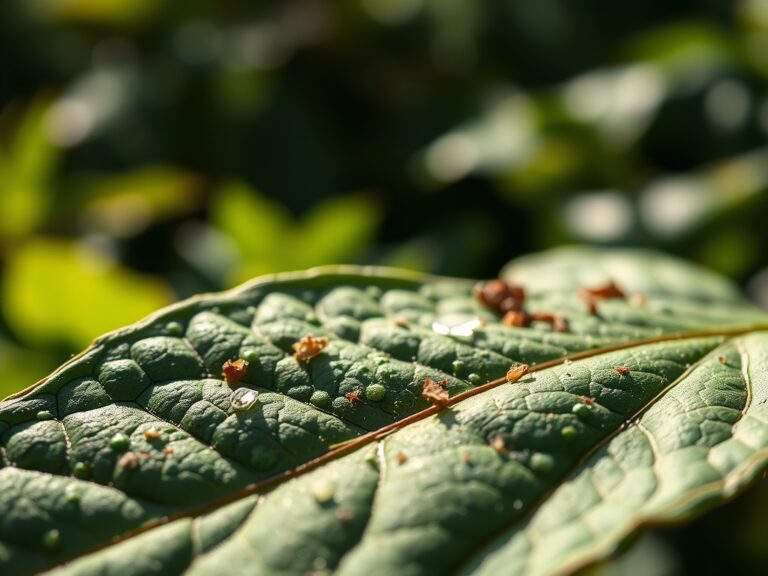
Physiological disorders often manifest through visible leaf symptoms. Identifying these early allows for mechanical or chemical intervention.
Symptom: Interveinal chlorosis on older leaves.
Solution: This indicates a Magnesium deficiency. Magnesium is the central atom in the chlorophyll molecule. Apply a foliar spray of Epsom salts (Magnesium Sulfate) at a rate of 1 tablespoon per gallon of water.
Symptom: Necrotic spots on new growth or "hooking" of leaf tips.
Solution: This is a Calcium deficiency. Since Calcium is immobile within the plant, it cannot be translocated from old growth. Ensure the soil pH is not too acidic, as low pH inhibits Calcium uptake.
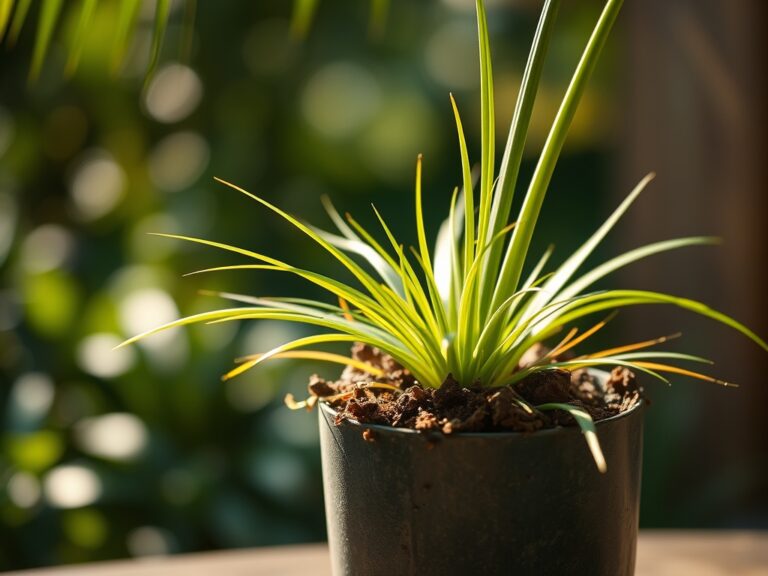
Symptom: Spindly, elongated stems with wide internodal spacing.
Solution: This is etiolation, caused by insufficient light intensity. Increase the PAR (Photosynthetically Active Radiation) levels or use your best plant scissors to prune back to a strong node to encourage denser growth.
Fix-It for Nitrogen Chlorosis: If the entire plant is turning a pale lime green, it lacks Nitrogen. Apply a high Nitrogen fertilizer (e.g., blood meal or a 10-0-0 liquid concentrate) to restore protein synthesis and chlorophyll production.
Maintenance:
Precision gardening requires consistent monitoring. Provide exactly 1.5 inches of water per week delivered directly to the drip line to avoid wetting the foliage. Use a soil moisture meter to verify that the root zone is not anaerobic; a reading of 4 to 6 on a standard 10 point scale is ideal for most species.
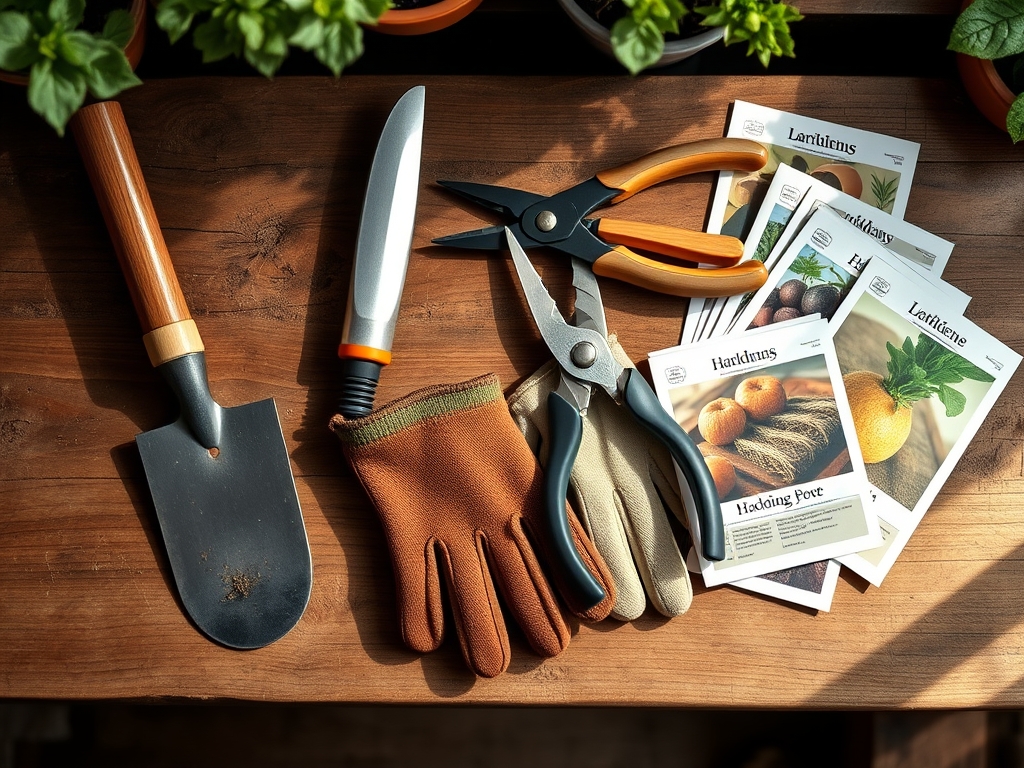
Keep your tools in surgical condition. After every use, wipe the blades of your bypass pruners and hori-hori knife with 70 percent isopropyl alcohol to prevent the cross contamination of pathogens like tobacco mosaic virus. Sharpen blades using a diamond whetstone at a 20 degree angle to maintain a factory edge. A dull blade crushes the vascular bundles, leading to localized senescence and dieback.
The Yield:
For flowering or fruiting species, the harvest window is determined by the degradation of chlorophyll and the accumulation of secondary metabolites. Use your best plant scissors to cut the peduncle at a 45 degree angle. This maximizes the surface area for water uptake if the plant is being kept as a cut flower.
Post harvest, immediately submerge the stems in 40 degree Fahrenheit water to induce a "cold shock" that slows down the metabolic rate. This preservation of turgor ensures the plant remains crisp and viable for a longer duration. For edible crops, harvesting in the pre-dawn hours ensures the highest sugar content before the plant begins its daily photosynthetic cycle.
FAQ:
What makes a pair of scissors the "best" for plants?
The best plant scissors feature high carbon steel blades for edge retention and a bypass mechanism. This ensures a clean shear through vascular tissue rather than crushing the stem, which facilitates faster healing and prevents pathogen entry.
How often should I sanitize my pruning tools?
Sanitize tools with 70 percent isopropyl alcohol between every plant. This protocol prevents the systemic spread of viral and fungal pathogens through open wounds, ensuring the long term health of your entire collection.
Can I use regular household scissors for my plants?
No. Household scissors use a "point of contact" crush cut that damages the xylem and phloem. This trauma leads to localized tissue death and increases the plant's susceptibility to opportunistic infections and pests.
When is the best time of day to prune?
Prune in the early morning when the plant is at maximum turgidity. High internal water pressure allows the plant to recover faster and reduces the stress associated with the loss of photosynthetic surface area.