6 Simple Steps to Trench Composting
Beneath the surface of your garden, organic matter transforms into black gold through a centuries-old practice that demands neither bins nor turning. The steps to trench composting begin with a shovel, a line of kitchen scraps, and the biological machinery already present in your soil. This burial method accelerates decomposition while feeding roots directly, eliminating the infrastructure and labor of traditional compost piles.
Trench composting delivers nitrogen, phosphorus, and potassium exactly where plant roots will mine them during the growing season. The technique suits gardeners who generate steady kitchen waste but lack space for three-bin systems or tumbling drums. Soil organisms colonize buried organic matter within days, initiating enzymatic breakdown that raises cation exchange capacity and improves aggregate stability. The process works best when integrated into crop rotation schedules, allowing decomposition to complete before transplanting begins.
Materials
Select organic inputs based on carbon-to-nitrogen ratios and nutrient profiles. High-nitrogen materials include coffee grounds (2-0.3-0.2), crushed eggshells (1.2-0.4-0.1), and vegetable trimmings (approximately 1.5-0.5-1). Balanced amendments such as kelp meal (1-0.1-2) and alfalfa pellets (3-1-2) accelerate microbial activity. Carbon sources such as shredded newspaper, dry leaves, and cardboard maintain aerobic conditions and prevent anaerobic rot.
Avoid meat, dairy, and oils. These attract rodents and produce putrid odors during anaerobic decomposition. Citrus peels and onion skins decompose slowly due to natural antimicrobial compounds but remain acceptable in moderate quantities. A soil pH test kit ensures you compensate for acidic inputs like pine needles (which lower pH to 5.5-6) with crushed oyster shell or dolomitic limestone.
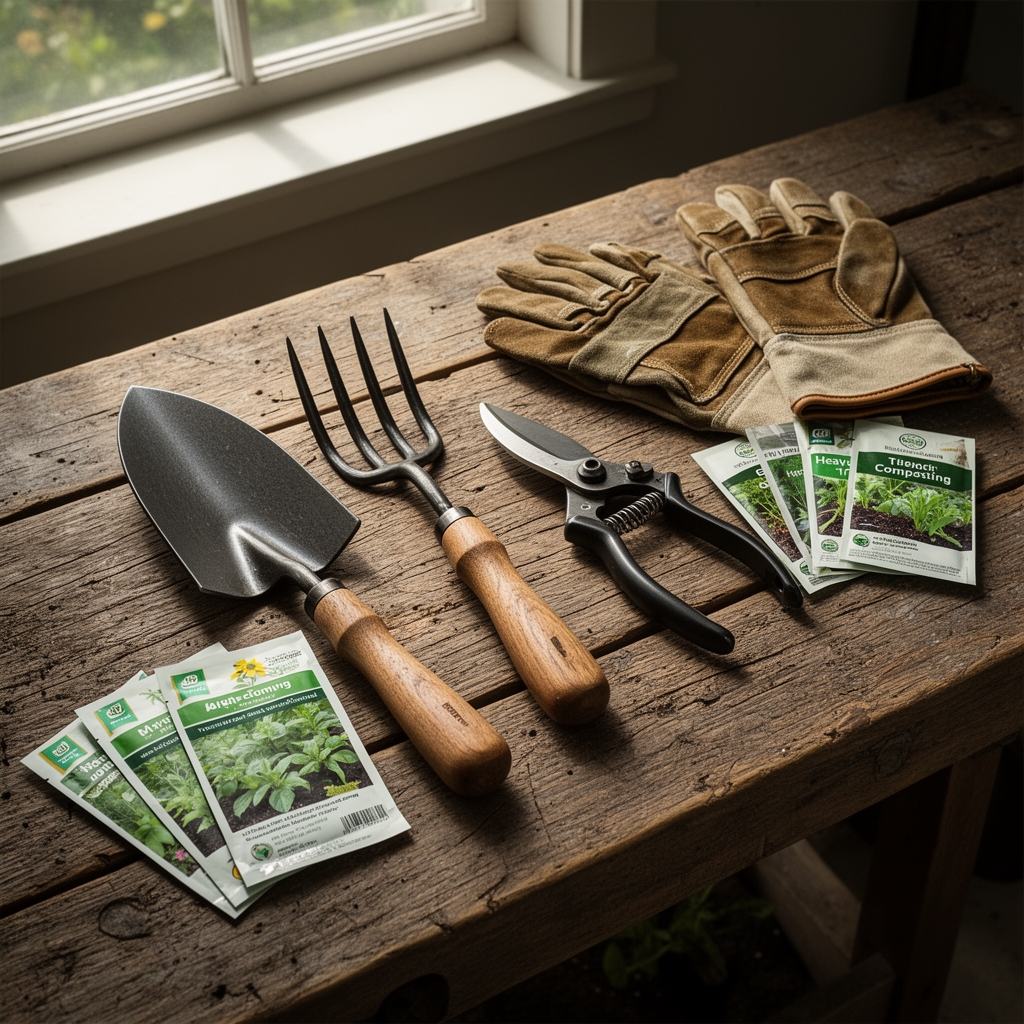
Tools include a sharpshooter spade for narrow trenches, a digging fork for clay soils, and a soil thermometer to monitor microbial activity. Garden lime and sulfur allow pH adjustments. Mycorrhizal inoculant powder introduces symbiotic fungi that extend nutrient uptake networks by 700 percent compared to uninoculated roots.
Timing
Hardiness Zones 3-5 require trench composting in late autumn after harvest, allowing six months of winter decomposition before spring planting. Zones 6-7 permit trenching from October through March. Zones 8-10 maintain year-round microbial activity, making trench composting viable during any non-planting period.
Align trenches with crop rotation plans. Legumes follow heavy feeders that depleted nitrogen reserves. Trench-composted beds benefit brassicas, tomatoes, and squash that demand high phosphorus and potassium. Allow 8-12 weeks between filling trenches and transplanting seedlings. This interval permits complete decomposition and prevents root burn from ammonia released during early breakdown stages.
Frost-date windows dictate scheduling. Last spring frost dates mark the deadline for completing decomposition in annual beds. First fall frost dates signal the start of off-season trenching in perennial borders and future vegetable plots.
Phases

Sowing: Excavate a trench 8-12 inches deep and 6-8 inches wide along the planting row. Reserve topsoil on one side, subsoil on the other. Width determines decomposition speed. Narrow trenches concentrate microbial populations. Depth prevents surface exposure by scratching animals.
Pro-Tip: Dust trench bottoms with rock phosphate (0-3-0) at 2 pounds per 10 linear feet to correct phosphorus deficiency in acidic soils.
Transplanting: Layer kitchen scraps in 4-inch deposits. Alternate green nitrogen-rich materials with brown carbon sources at a 2:1 ratio by volume. Chop large pieces into 2-inch fragments to increase surface area for microbial colonization. Sprinkle each layer with 0.25 inches of native soil to introduce decomposer organisms.
Pro-Tip: Add 1 tablespoon of mycorrhizal inoculant per linear foot. Glomus species form hyphal networks that solubilize phosphorus and transport water during drought stress.
Establishing: Backfill with reserved topsoil, then subsoil. Mound soil 2-3 inches above grade to compensate for settling as organic matter collapses. Water thoroughly with 2 gallons per linear foot to initiate microbial respiration. Soil temperatures between 50-86°F optimize bacterial and fungal activity. Mark trench locations with stakes to avoid disturbing decomposition.
Pro-Tip: Monitor internal temperature with a compost thermometer. Readings of 90-110°F indicate active thermophilic decomposition. Temperatures below 50°F signal stalled activity requiring additional nitrogen inputs.
Troubleshooting
Symptom: Foul anaerobic odor resembling rotten eggs.
Solution: Excavate trench partially. Add dry leaves or shredded cardboard at a 1:1 ratio with wet materials. Hydrogen sulfide production indicates excess moisture and insufficient oxygen.
Symptom: Slow decomposition after 10 weeks.
Solution: Reopen trench and incorporate blood meal (12-0-0) at 0.5 pounds per 10 linear feet. Low nitrogen stalls bacterial reproduction. Alternatively, add fresh grass clippings at 1-inch layers.
Symptom: Fungal mycelium visible but no material breakdown.
Solution: Adjust pH to 6.2-6.8 using garden lime if below 6, or sulfur if above 7. Extreme pH inhibits cellulase enzyme activity required for cellulose digestion.
Symptom: Rodent excavation.
Solution: Bury hardware cloth 1 inch below scraps. Extend mesh 3 inches beyond trench edges. Alternatively, increase trench depth to 14 inches in areas with persistent vole or ground squirrel pressure.
Symptom: Stunted seedling growth above completed trench.
Solution: Test soil nitrogen with a nitrate strip. Immature compost ties up nitrogen through immobilization. Wait 4 additional weeks or side-dress with feather meal (12-0-0) at 1 pound per 10 linear feet.
Maintenance
Water trench-composted beds with 1 inch per week during active decomposition. Soil moisture at 50-60 percent field capacity sustains bacterial populations without creating anaerobic pockets. Use a tensiometer to measure moisture at 6-inch depth.
Mulch completed trenches with 2 inches of straw or shredded bark. Mulch moderates soil temperature fluctuations and prevents erosion during heavy rain. Reapply monthly as material decomposes.
Monitor pH monthly during the first growing season. Decomposition releases organic acids that temporarily lower pH by 0.3-0.5 units. Compensate with agricultural lime at 2 pounds per 100 square feet if pH drops below 6.
Side-dress established plants with granular 5-10-10 fertilizer at 2 pounds per 100 square feet if leaf tissue shows chlorosis. Trench compost typically provides adequate nutrition, but heavy feeders like corn and tomatoes benefit from supplemental feeding.
FAQ
How deep should trenches be for steps to trench composting?
Excavate 8-12 inches deep in loam soils, 10-14 inches in sandy soils prone to rapid drainage. Clay soils require 6-10 inches to prevent waterlogging.
Can I trench compost under existing perennials?
Yes, but maintain 18-inch clearance from crowns and woody stems. Dig trenches at the drip line where feeder roots concentrate. Avoid trenching closer than 24 inches to tree trunks.
What carbon-to-nitrogen ratio works best?
Target 25-30:1 by volume. Two parts dry leaves to one part vegetable scraps approximates this ratio. Adjust based on odor; ammonia smell indicates excess nitrogen requiring more carbon.
How long before planting in trenched areas?
Wait 8 weeks minimum in warm climates (above 65°F average), 12 weeks in cool climates (below 55°F average). Probe with a fork; fully decomposed material appears dark and crumbly with no recognizable food particles.
Does trench composting attract pests?
Proper depth and soil coverage prevent access by flies and most mammals. Avoid burying meat, fish, dairy, or grease. These decompose anaerobically and emit odors detectable by raccoons and opossums from 100 yards.