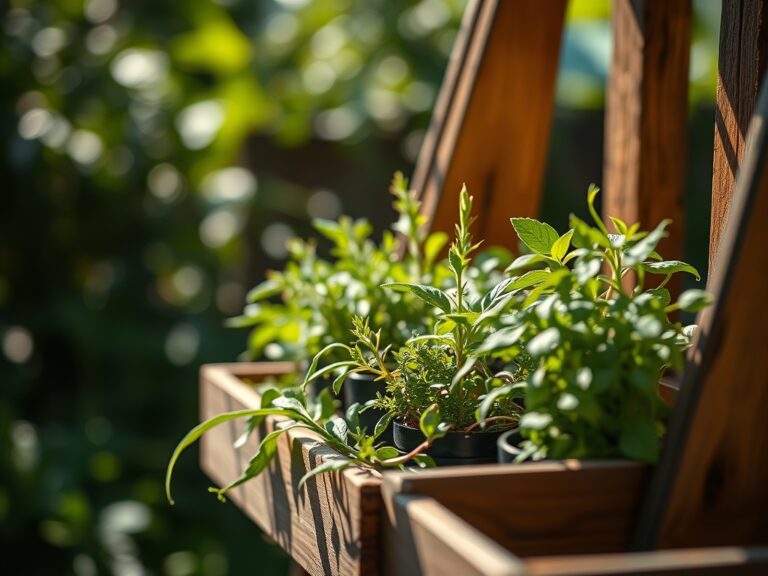
6 Healthy Steps to Prepare a DIY Indoor Growth Fertilizer
Indoor plants suffer when commercial fertilizers burn roots or leach into groundwater, creating nitrogen runoff that harms aquatic ecosystems. Learning how to prepare a DIY plant fertilizer offers control over nutrient ratios, pH levels, and organic inputs while reducing household chemical exposure. Home-crafted fertilizers activate beneficial soil microbes and improve cation exchange capacity in potting media, delivering macro- and micronutrients through slow-release mechanisms that prevent salt accumulation.
Materials

Assemble ingredients by their NPK profile and pH influence. Kelp meal provides a 1-0.5-2 ratio with trace minerals including boron and zinc, critical for auxin distribution and enzyme activation. Blood meal contributes 12-0-0, delivering fast-acting nitrogen for vegetative growth but acidifying substrate to pH 5.5 over repeated applications. Bone meal offers 3-15-0, supporting root development and flower initiation through phosphorus availability in slightly alkaline conditions.
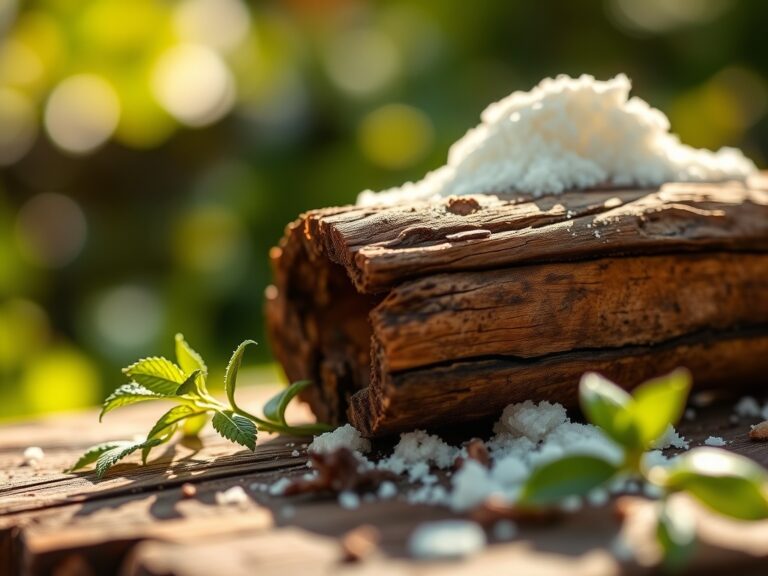
Eggshells supply calcium carbonate, raising pH to 7.0 while preventing blossom end rot. Coffee grounds deliver 2-0.3-0.2 with a pH of 6.5, suitable for acid-loving species like ferns and ficus. Wood ash contributes potassium at 0-1-3, elevating pH to 8.0 or higher, appropriate only for plants tolerant of alkaline soils. Epsom salt provides magnesium sulfate without altering pH, addressing chlorosis in magnesium-deficient specimens.
Compost acts as a buffering agent at 1-1-1, stabilizing pH between 6.5 and 7.2 while introducing mycorrhizal fungi spores that colonize root hairs and extend nutrient uptake range by 10 to 100 times the root zone diameter.
Timing
Match fertilizer application to plant phenology and environmental hardiness. For temperate zones 6 through 9, initiate indoor fertilization six weeks after the last spring frost date, when daylight extends beyond 12 hours and natural auxin production accelerates stem elongation. Tropical species require year-round feeding at half-strength during winter dormancy, reducing nitrogen input from 200 ppm to 100 ppm to prevent leggy growth under low-light conditions.
Apply amendments every four weeks during active growth from March through September. Reduce frequency to every eight weeks from October through February when stomatal conductance declines and photosynthetic rates drop below 50 percent of peak-season capacity.
Phases
Step 1: Base Preparation
Combine four cups of finished compost with one cup of kelp meal in a five-gallon bucket. Add two tablespoons of bone meal for phosphorus loading. This establishes a 3-5-3 baseline ratio suitable for foliage plants and early-stage seedlings. Moisture content should reach 40 percent; the mixture holds shape when squeezed but crumbles under light pressure.
Pro-Tip: Inoculate the base with Rhizophagus irregularis spores at a rate of 10 grams per gallon to accelerate mycorrhizal colonization within 14 days of application.
Step 2: Nitrogen Boost Amendment
Incorporate one-quarter cup of blood meal into the base mixture for heavy feeders such as pothos, monstera, and philodendron. This raises the nitrogen component to 6-5-3, supporting chlorophyll synthesis and rapid leaf expansion. Allow the blend to cure for 72 hours in a ventilated container, turning daily to prevent anaerobic pockets that produce ammonia gas.
Pro-Tip: Steep blood meal in dechlorinated water at 1:10 ratio for 24 hours to create a liquid nitrogen drench, delivering 150 ppm nitrogen directly to root zones.
Step 3: Micronutrient Integration
Crush dried eggshells into particles smaller than 2 millimeters using a mortar and pestle. Add one-half cup to the mixture. Include one tablespoon of Epsom salt dissolved in eight ounces of warm water, then blend thoroughly. This addresses calcium and magnesium deficiencies common in container cultivation where leaching removes cations.
Pro-Tip: Apply liquid kelp extract at 1 tablespoon per gallon monthly to supply cytokinins that delay senescence and maintain leaf turgor pressure.
Step 4: pH Calibration
Test the mixture's pH using a slurry method: combine one part fertilizer with two parts distilled water, allow to settle for 30 minutes, then measure with a digital pH meter. Target range is 6.2 to 6.8 for most indoor species. Add wood ash at one teaspoon per gallon to raise pH by 0.5 units. Use sulfur powder at one-half teaspoon per gallon to lower pH by 0.3 units.
Pro-Tip: Adjust pH 48 hours before application to allow chemical reactions to stabilize.
Step 5: Top-Dressing Application
Distribute one-quarter cup of prepared fertilizer evenly across the soil surface of a six-inch pot. Scratch into the top one inch using a cultivating fork, avoiding root contact within two inches of the stem. Water with eight ounces of room-temperature dechlorinated water to initiate nutrient dissolution.
Pro-Tip: Apply fertilizer to moist soil only; dry substrate causes osmotic stress and root desiccation.
Step 6: Liquid Conversion
Brew compost tea by steeping two cups of base fertilizer in one gallon of aerated water for 24 hours at 68°F. Use an aquarium air pump to maintain dissolved oxygen above 6 ppm, preventing pathogen proliferation. Strain through cheesecloth and apply at full strength as a root drench or dilute 1:1 for foliar feeding.
Pro-Tip: Apply foliar sprays during early morning hours when stomata open fully, allowing 30 percent greater nutrient absorption than midday applications.
Troubleshooting
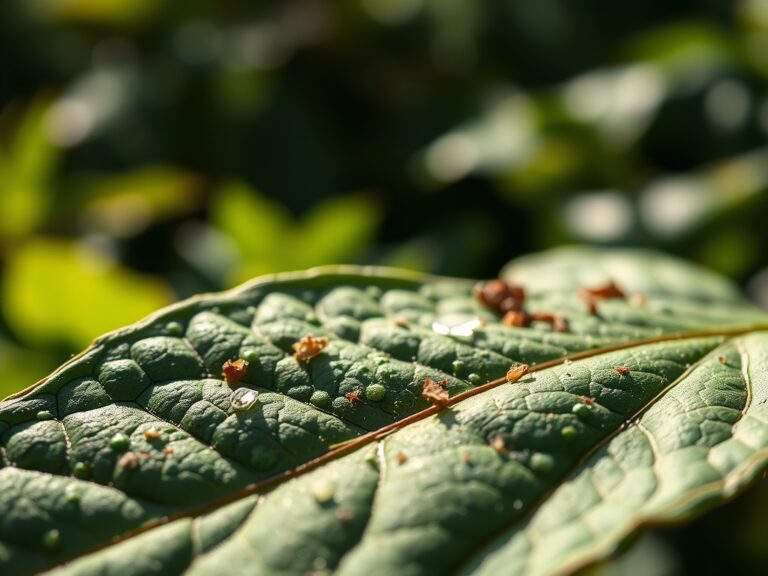
Symptom: Yellowing lower leaves with green veins (interveinal chlorosis).
Solution: Magnesium deficiency. Dissolve one tablespoon of Epsom salt in one gallon of water and apply four ounces per six-inch pot every two weeks until chlorophyll production resumes.
Symptom: Leaf tip necrosis and brown edges.
Solution: Salt accumulation from over-fertilization. Flush pots with distilled water at three times the container volume, allowing full drainage before resuming fertilization at half-strength.
Symptom: Stunted growth with dark green, brittle leaves.
Solution: Phosphorus toxicity inhibiting iron uptake. Cease phosphorus inputs for six weeks. Apply chelated iron at 5 ppm through foliar spray to restore enzyme function.
Symptom: Sudden leaf drop despite adequate moisture.
Solution: Ammonia volatilization from uncomposted blood meal. Leach substrate with room-temperature water and replace top two inches of soil. Cure all nitrogen amendments for 72 hours minimum before application.
Symptom: White crystalline deposits on soil surface.
Solution: Mineral buildup from hard water. Switch to rainwater or reverse-osmosis water with TDS below 150 ppm. Scrape deposits and top-dress with fresh compost.
Maintenance
Apply one-quarter cup of solid fertilizer per six-inch pot every four weeks during active growth. Deliver one inch of water per week, measured by rain gauge or container volume calculations. Monitor substrate electrical conductivity weekly using a TDS meter; maintain readings between 800 and 1,200 ppm for foliage plants, 1,500 to 2,000 ppm for flowering species.
Prune yellowing leaves at a 45-degree angle one-quarter inch above the node to redirect auxin flow toward apical meristems. Rotate containers 90 degrees weekly to ensure even light distribution and prevent phototropic lean. Refresh top two inches of potting medium annually, incorporating one-eighth cup of worm castings to replenish humic acids and beneficial nematodes.
Test soil pH monthly. Adjust irrigation pH to 6.5 using citric acid at one-quarter teaspoon per gallon if municipal water exceeds pH 7.5. Sterilize pruning tools with 70 percent isopropyl alcohol between plants to prevent pathogen transmission.
FAQ
How often should I apply DIY fertilizer to indoor plants?
Every four weeks during spring and summer, every eight weeks in fall and winter. Adjust based on species growth rate and light availability.
Can I use DIY fertilizer on seedlings?
Dilute base mixture to one-quarter strength for seedlings under four weeks old. Full-strength application causes root burn and dampening-off.
What NPK ratio is best for flowering houseplants?
Shift to 3-8-4 during bud formation by increasing bone meal to one-half cup per batch and reducing blood meal to one-eighth cup.
How long does homemade fertilizer remain viable?
Store dry mixtures in sealed containers for six months. Compost tea expires after 36 hours as microbial populations crash.
Is coffee grounds safe for all indoor plants?
No. Avoid using on succulents and cacti requiring pH above 7.0. Limit application to acid-loving species at one tablespoon per six-inch pot monthly.