6 Expert Steps to Apply Mycorrhizal Fungi
The white filaments threading through healthy soil represent one of gardening's most powerful partnerships. These microscopic networks, formed when you correctly follow the steps to apply mycorrhizal fungi, can increase plant nutrient uptake by 200 to 800 percent while reducing water requirements by 30 to 50 percent. The symbiosis occurs when fungal hyphae colonize root systems, extending the effective rooting zone by several feet and accessing phosphorus, zinc, and copper that roots alone cannot reach. Proper application timing and technique determine whether these beneficial organisms thrive or perish before establishing their critical connection to your plants.
Materials
Select an inoculant containing Glomus intraradices, Glomus mosseae, Glomus aggregatum, and Glomus etunicatum at a minimum concentration of 120 propagules per gram. Endomycorrhizal (arbuscular) types colonize 90 percent of agricultural crops, vegetables, grasses, and herbaceous ornamentals. Ectomycorrhizal formulations suit conifers, oaks, birches, and beeches exclusively.
Soil pH directly affects colonization rates. Target 5.5 to 7.0 for maximum fungal activity. At pH below 5.0 or above 7.5, hyphal growth slows by 60 percent. Amend acidic soils with dolomitic limestone at 5 pounds per 100 square feet to raise pH by one full point. Reduce alkaline conditions with elemental sulfur at 2 pounds per 100 square feet.
Avoid high-phosphorus fertilizers during establishment. Formulations exceeding 70 parts per million soil phosphorus suppress mycorrhizal colonization because plants detect abundant nutrients and refuse the fungal partnership. Use balanced organic amendments like 4-4-4 feather meal and bone char or 5-5-5 composted manure blends. These release nutrients slowly, maintaining the 15 to 30 ppm phosphorus range that encourages symbiosis.
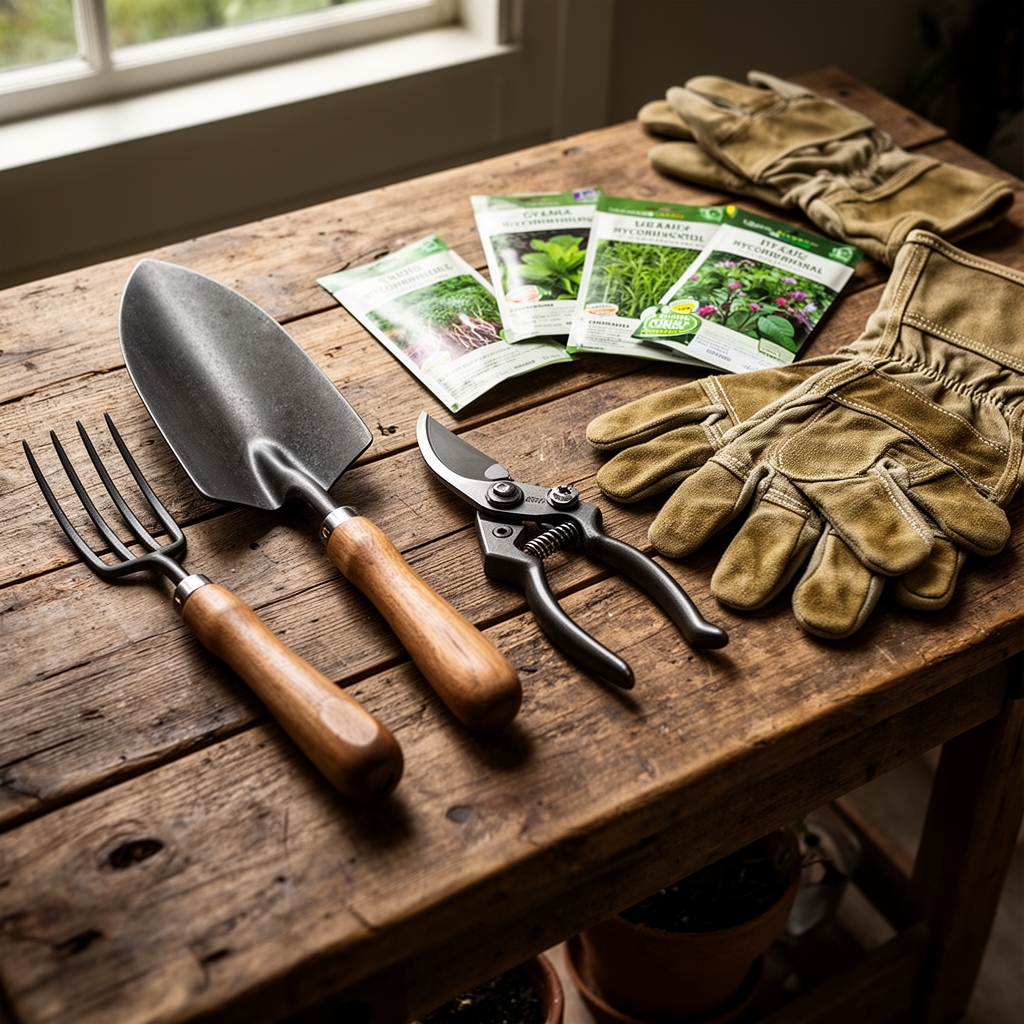
You will also need a hand trowel, measuring spoons calibrated in grams, a spray bottle for granular inoculant hydration, and latex gloves to prevent skin oils from coating spores.
Timing
Apply mycorrhizal inoculants when root systems are actively growing and cell division rates peak. In USDA Hardiness Zones 3 through 6, this window opens two weeks after the last spring frost date, typically mid-May through early June. Zones 7 through 9 allow application from late March through April and again in September through October when soil temperatures range between 55 and 75 degrees Fahrenheit.
Fall applications work best for trees, shrubs, and perennials because roots continue expanding even after shoot growth ceases. Fungal hyphae colonize 40 percent faster in autumn due to increased carbohydrate allocation belowground. Avoid application when soil temperatures drop below 45 degrees, as spore germination halts entirely.
For spring vegetable gardens, inoculate transplants 7 to 10 days before the anticipated transplant date. This pre-colonization period allows hyphae to penetrate root cortex cells before transplant shock disrupts auxin distribution.
Phases

Sowing Phase
Mix granular inoculant directly into the seed furrow at 1 tablespoon per 10 linear feet for row crops. Place inoculant 0.5 inches below seeds to ensure emerging radicles contact spores within 48 hours of germination. For broadcast seeding of lawns or cover crops, blend 2 ounces of inoculant per pound of seed and distribute evenly.
Water immediately after application with 0.5 inches of moisture to activate spore germination. The hydration threshold must exceed 30 percent soil moisture by volume. Under-watering leaves spores dormant; over-watering leaches propagules beyond the root zone.
Pro-Tip: Coat seeds with liquid inoculant at 2 tablespoons per gallon of water, then air-dry for 30 minutes before planting. This ensures every seed carries fungal propagules directly to the germination site.
Transplanting Phase
Hydrate root balls 2 hours before transplanting. Dust root surfaces with 1 teaspoon of powdered inoculant per 4-inch pot or 1 tablespoon per gallon container. Ensure complete coverage of lateral roots and root tips where colonization initiates.
Dig planting holes twice the root ball width and equal in depth. Sprinkle an additional 2 teaspoons of inoculant into the hole bottom, then place the plant and backfill with native soil. Synthetic potting mixes lack the mineral particles necessary for fungal nutrient exchange, so incorporate 25 percent native soil into the backfill blend.
Pro-Tip: Slice root-bound containers vertically in four places, 1 inch deep, before dusting with inoculant. This practice exposes more cortical tissue for colonization and accelerates establishment by 14 days.
Establishing Phase
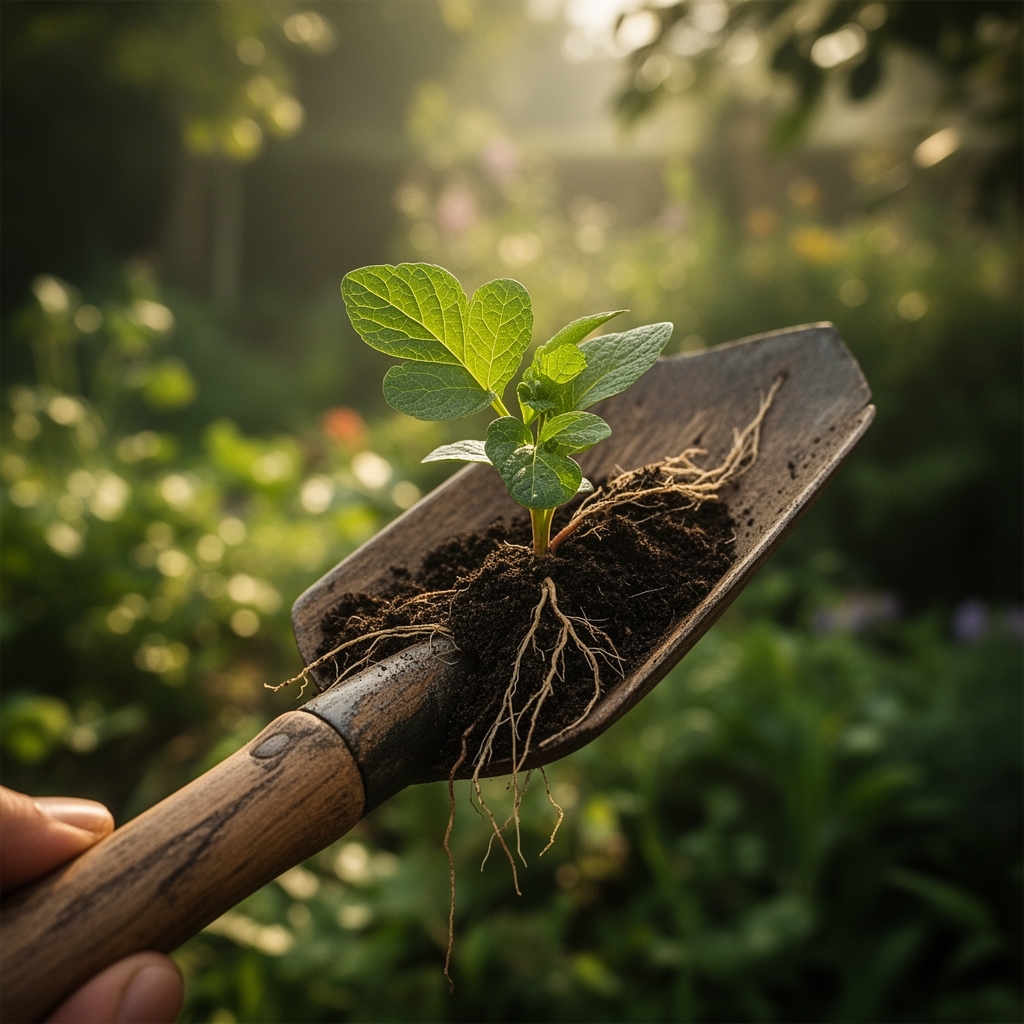
Monitor new growth for signs of successful colonization: increased shoot vigor, darker green foliage due to enhanced nitrogen access, and drought tolerance within 3 to 4 weeks. Root examination at 6 weeks should reveal white hyphal networks visible on root surfaces.
Refrain from tilling within the root zone. Mechanical disturbance severs hyphal connections and reduces nutrient transfer by 70 percent. Surface mulching with 2 inches of shredded hardwood bark protects the fungal network while maintaining 60 to 70 percent soil moisture.
Pro-Tip: Apply soluble kelp extract at 1 tablespoon per gallon weekly for the first month. The cytokinins and natural growth regulators stimulate both root exudates and fungal metabolism, accelerating colonization rates by 35 percent.
Troubleshooting
Symptom: Stunted growth and pale leaves 4 to 6 weeks post-inoculation despite proper application.
Solution: Test soil phosphorus levels. Readings above 80 ppm indicate over-fertilization that inhibits colonization. Leach containers with 2 gallons of water per gallon of soil volume. In-ground plantings require 12 months of no phosphorus inputs to reset soil chemistry.
Symptom: Inoculant powder clumps and fails to distribute evenly during application.
Solution: Store inoculant below 75 degrees in airtight containers with silica desiccant packets. Humidity above 50 percent causes spore aggregation. Screen clumped material through 1/8-inch hardware cloth before use.
Symptom: Root tips appear brown and brittle rather than white and turgid.
Solution: Fungicide applications, particularly those containing metalaxyl or fosetyl-aluminum, destroy mycorrhizal fungi. Cease all fungicide use for 90 days. Re-inoculate at double the standard rate.
Symptom: Transplants wilt severely despite mycorrhizal treatment.
Solution: Colonization requires 2 to 3 weeks before water uptake benefits manifest. Provide supplemental irrigation at 1 inch per week during establishment. Once hyphae extend 6 inches beyond roots, reduce watering frequency by 40 percent while maintaining the same total volume.
Symptom: No visible fungal structures during root inspection at 8 weeks.
Solution: Verify inoculant viability by checking the expiration date and storage temperature. Propagules lose 90 percent viability after 24 months or if exposed to temperatures exceeding 90 degrees. Source fresh material from suppliers maintaining cold-chain distribution.
Maintenance
Established mycorrhizal networks require minimal intervention but respond to specific cultural practices. Apply compost tea at 1 gallon per 10 square feet monthly to feed saprophytic organisms that support fungal populations. Avoid high-nitrogen synthetic fertilizers; limit applications to 0.5 pounds of actual nitrogen per 1,000 square feet annually.
Maintain soil pH within the optimal 6.0 to 6.8 range through annual testing. Apply amendments in fall when fungal activity remains high but plants enter dormancy. This timing prevents root burn while allowing pH adjustments to stabilize.
Irrigate deeply but infrequently. Provide 1.5 inches of water weekly during active growth, delivered in a single session rather than multiple shallow applications. Deep watering encourages roots and hyphae to explore lower soil horizons where moisture remains consistent.
Protect established networks by eliminating tillage. Use broadforks to aerate compacted zones without severing fungal connections. Surface applications of 1 inch of compost annually build soil organic matter and increase cation exchange capacity, improving nutrient retention for fungal transfer to plants.
FAQ
How long does mycorrhizal inoculant remain viable after opening?
Sealed containers maintain 85 percent viability for 18 months when stored between 35 and 55 degrees. Opened packages lose half their propagule count within 6 months at room temperature. Refrigerate opened inoculant in airtight containers with moisture-absorbing packets.
Can I apply mycorrhizal fungi to established plants?
Yes, through root zone injection or surface topdressing. Drill 1-inch diameter holes 8 inches deep in a circle 12 inches from the plant base. Fill each hole with 2 tablespoons of inoculant mixed with sand, then water thoroughly. Colonization occurs within 4 to 6 weeks.
Do mycorrhizal fungi work in containers?
Container success depends on pot size and growing medium. Containers smaller than 2 gallons lack sufficient soil volume for extensive hyphal networks. Use media containing 40 percent mineral soil, sand, or calcined clay to provide the substrate fungi require for nutrient exchange.
Which vegetables do not form mycorrhizal associations?
Brassicas (cabbage, broccoli, kale), beets, spinach, and amaranth are non-mycorrhizal. These families evolved different nutrient acquisition strategies and show no growth response to inoculation. Focus applications on tomatoes, peppers, squash, beans, and corn for maximum benefit.
How do I know if colonization succeeded?
Examine washed roots under 10x magnification for white hyphal strands extending from root surfaces. Field indicators include 20 to 30 percent growth increases, reduced water requirements, and enhanced tolerance to transplant stress. Laboratory staining with trypan blue provides definitive confirmation at 40x magnification.