5 Quick Steps to Install Bender Board Edging
Damp earth releases a sharp, geosmin-rich scent when the spade pierces the rhizosphere. This tactile resistance indicates high soil density and healthy turgor pressure within the surrounding root systems. To maintain the structural integrity of your landscape beds, you must master the steps to install bender board edging with surgical precision. This process prevents invasive rhizome spread and protects the delicate nutrient balance of your cultivated soil. Proper installation ensures that your mulch remains localized, preventing the leaching of essential minerals into the surrounding turf.
The transition from a chaotic border to a defined horticultural zone requires more than aesthetic preference; it is a matter of soil physics. Bender board acts as a physical barrier against lateral root migration, particularly for aggressive species that utilize stolons to colonize new territory. By installing this composite or plastic edging, you create a controlled environment where soil moisture and microbial activity can be managed at the individual plant level. This guide provides the technical framework required to execute a professional-grade installation that survives seasonal freeze-thaw cycles and mechanical stress.
Materials:
Successful installation begins with a detailed analysis of the substrate. The ideal soil for trenching is a friable loam with a pH between 6.0 and 7.0. This acidity level ensures optimal nutrient availability, specifically for Nitrogen (N), Phosphorus (P), and Potassium (K). For beds requiring a high Cation Exchange Capacity (CEC), aim for a soil mix with an NPK ratio of 10-10-10 for general establishment or 5-10-10 for root-heavy development.
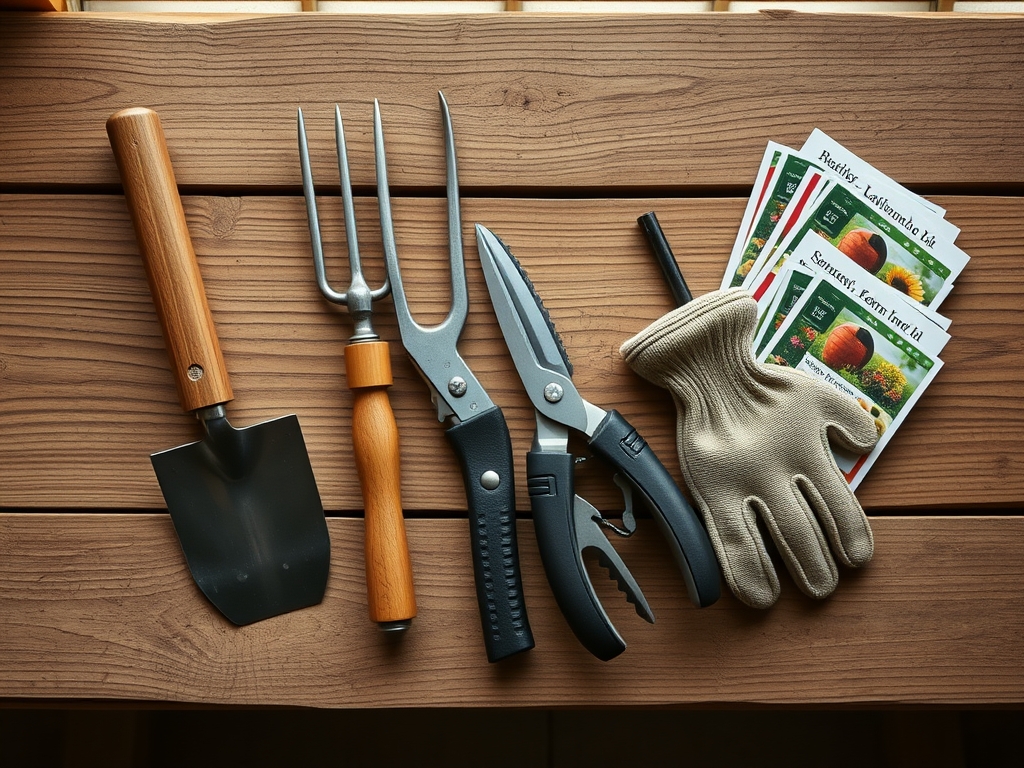
You will need the following technical components:
- Bender Board: Typically 1×4 inch or 2×4 inch dimensions; choose UV-stabilized recycled plastic for longevity.
- Matching Stakes: 12-inch heavy-duty composite stakes to prevent frost heaving.
- Fasteners: 1-inch stainless steel screws to resist oxidation in high-moisture environments.
- Soil Moisture Meter: To ensure the ground is at 20-30% moisture capacity for easier trenching.
- Marking Paint: High-visibility aerosol to map the perimeter.
Timing:
The biological clock of your landscape dictates the installation window. In Hardiness Zones 4 through 7, the optimal time is early spring, immediately after the ground thaws but before the vegetative growth phase accelerates. Installing edging during this period minimizes disturbance to the mycorrhizal networks that are just beginning to activate as soil temperatures reach 50 degrees Fahrenheit.
In Hardiness Zones 8 through 11, late autumn is preferable. This timing avoids the extreme heat that can cause thermal expansion in plastic edging materials. Regardless of the zone, avoid installation during the reproductive stage of nearby perennials; the physical stress of trenching near the root zone can trigger premature senescence or flower drop due to sudden moisture loss in the disturbed soil.
Phases:

Sowing the Perimeter
The first phase involves mapping the boundary. Use a garden hose or heavy rope to define the curve, then trace the line with marking paint. Dig a trench 5 to 6 inches deep and 2 inches wide. This depth ensures that at least 3 inches of the board is subterranean, effectively blocking the majority of weed seeds and shallow rhizomes.
Pro-Tip: Maintaining a consistent trench depth prevents phototropism in weed species. When light is completely excluded from the subsurface, dormant seeds cannot initiate the germination sequence triggered by red-light wavelengths.
Transplanting the Board
Place the bender board into the trench. If the material is stiff, leave it in direct sunlight for 20 minutes to increase its flexibility. Overlap the ends of the boards by at least 6 inches to ensure a seamless barrier. Drive stakes every 2 to 3 feet on the interior side of the board, keeping the top of the stake 0.5 inches below the top edge of the board.
Pro-Tip: Secure the board to the stakes while the material is warm. This accounts for the coefficient of thermal expansion, preventing the board from buckling or "snaking" when temperatures fluctuate between day and night.
Establishing the Barrier
Backfill the trench with the excavated friable loam. Use a hand tamper or the butt of a hori-hori knife to compress the soil firmly against both sides of the board. This elimination of air pockets is critical for preventing "frost heaving," where ice crystals expand in gaps and push the edging out of the ground.
Pro-Tip: Firm compaction encourages capillary action within the soil. This ensures that moisture moves vertically through the soil profile rather than pooling against the edging, which could lead to localized anaerobic conditions and root rot.
The Clinic:
Physiological disorders in the landscape often manifest near the edging due to soil disturbance.
- Symptom: Yellowing of older leaves with green veins (Interveinal Chlorosis).
Solution: This indicates a Magnesium deficiency. Apply Epsom salts (Magnesium Sulfate) at a rate of 1 tablespoon per foot of edging to restore chlorophyll production. - Symptom: Stunted growth and purple-tinted foliage.
Solution: This is a sign of Phosphorus deficiency, often caused by cold soil or disrupted root-fungal symbioses. Incorporate bone meal into the backfill to boost P levels. - Symptom: Board "popping" or lifting out of the soil.
Solution: This is a mechanical failure caused by shallow staking. Re-install using 18-inch stakes driven at a 15-degree angle toward the plant bed to leverage soil tension.
Fix-It: For Nitrogen chlorosis (uniform paling of leaves), apply a high-nitrogen liquid fertilizer directly to the rhizosphere using a soil drench method. This provides immediate bioavailable N to offset the stress of the installation.
Maintenance:
Post-installation care is vital for both the edging and the plants. Use a soil moisture meter to ensure the bed maintains a consistent hydration level; most established landscapes require 1.5 inches of water per week delivered at the drip line.
Every spring, inspect the edging for "creep." Use bypass pruners to trim any turf grass that has attempted to bridge over the top of the board. If the board has shifted due to heavy rain, use a hori-hori knife to clear the debris and re-seat the stakes. Avoid using heavy machinery like string trimmers directly against the board, as mechanical abrasion can degrade the UV-coating and lead to structural failure.
The Yield:
While bender board is a structural element, its impact on the "yield" of a garden is significant. By isolating the growing medium, you ensure that the harvested produce or flowers are free from turf-chemical contamination. For edible crops, harvest during the early morning when turgor pressure is at its peak. This ensures the cellular walls are fully hydrated, providing "day-one" freshness and extending the shelf life of the harvest. Immediately move harvested material to a cool, shaded area to slow the rate of respiration and prevent wilting.
FAQ:
How deep should the trench be for bender board?
The trench must be 5 to 6 inches deep. This depth allows for 3 to 4 inches of subterranean coverage, which is essential for blocking the lateral growth of rhizomes and maintaining the structural stability of the edging against soil expansion.
Can I install bender board in clay soil?
Yes, but you must wait for a specific moisture window. Use a soil moisture meter to ensure the clay is not saturated. If the clay is too dry, it will be impenetrable; if too wet, it will cause soil compaction.
How do I connect two pieces of bender board?
Overlap the ends by 6 to 8 inches. Drive a stake through the center of the overlap and secure both boards to the stake using stainless steel screws. This creates a continuous tension line that prevents gaps from forming during thermal shifts.
Does bender board affect soil pH?
High-quality composite or UV-stabilized plastic bender board is chemically inert. It will not leach minerals into the soil or alter the Cation Exchange Capacity (CEC), making it safe for use in sensitive organic vegetable gardens or specialized floral beds.