5 Pro Tips How to Start No Till
The moment you stop tilling, the soil begins to rebuild itself. Earthworm populations quadruple within eighteen months. Fungal networks extend their hyphae through undisturbed aggregates, trading nitrogen and phosphorus for plant sugars. Learning how to start no till is not merely an adoption of technique but a partnership with soil biology that reduces labor, sequesters carbon, and increases water infiltration by up to 300 percent in compacted ground. This guide provides five professional-grade strategies to transition conventional beds into living, self-regulating systems.
Materials
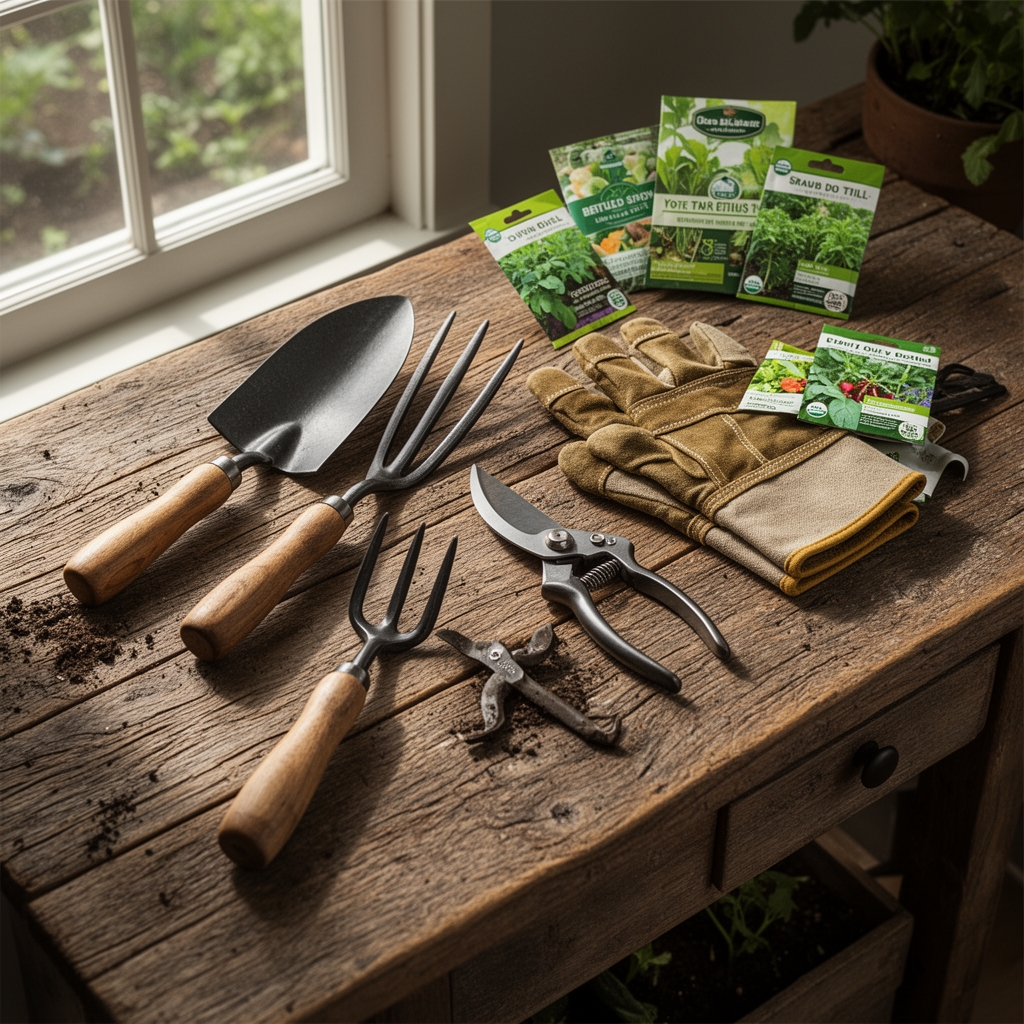
Begin with a soil test that reports pH, cation exchange capacity, and base saturation ratios for calcium, magnesium, and potassium. Ideal no-till beds maintain a pH between 6.2 and 6.8 for most vegetables. Gather four inches of compost with an NPK ratio near 1-1-1, ensuring it is fully cured to prevent nitrogen immobilization. Add a balanced organic fertilizer such as 4-4-4 feather meal and bone meal blend to provide slow-release nutrients during the first season. Source two bales of straw or chopped leaves as a carbon-rich mulch layer, avoiding hay that contains viable weed seeds. Acquire mycorrhizal inoculant in powder or granular form, selecting endomycorrhizal species like Glomus intraradices for vegetable crops. Obtain landscape fabric or thick cardboard for initial weed suppression, and a broadfork to aerate soil without inversion. A soil thermometer and tensiometer allow precise monitoring of germination windows and irrigation needs.
Timing
Understanding hardiness zones and frost windows is critical when learning how to start no till. In USDA Zones 5 and 6, prepare beds in early April once soil temperature stabilizes above 50°F at a four-inch depth. Zones 7 and 8 allow mid-March starts. Apply compost and mulch layers in late autumn after the first hard freeze to allow organic matter to integrate over winter without stimulating weed germination. Spring establishment suits annual vegetables, while perennial no-till systems benefit from late summer installation in August or early September, giving roots time to colonize before dormancy. Frost-sensitive crops like tomatoes and peppers require transplanting two weeks after the last expected frost date, when soil has reached 60°F. Cool-season greens and brassicas tolerate direct seeding four weeks before the last frost in spring or eight weeks before the first frost in fall.
Phases

Sowing
Mow existing vegetation as short as possible, leaving clippings in place to feed soil organisms. Lay cardboard or three layers of newspaper over the entire bed, overlapping edges by six inches to prevent light penetration. Wet the barrier thoroughly. Spread four inches of compost directly onto the cardboard, followed by two inches of straw mulch. For immediate planting, cut X-shaped slits through the cardboard and compost, then sow seeds or install transplants. Direct-seeded carrots and radishes require a finer compost surface to ensure soil contact.
Pro-Tip: Inoculate transplant root balls with 1/4 teaspoon of mycorrhizal powder per plant, dusting directly onto moist roots before setting them into the prepared hole. This accelerates establishment and increases phosphorus uptake by 40 percent in the first six weeks.
Transplanting
Water each transplant hole before inserting seedlings to create a moisture reservoir. Space plants according to mature canopy width to maximize light interception and airflow. Firm soil gently around the stem to eliminate air pockets that disrupt capillary water movement. Avoid disturbing the cardboard layer during transplanting. If soil settles below the desired grade, add finished compost rather than digging and mixing.
Pro-Tip: Transplant brassicas and tomatoes 1/2 inch deeper than their original container depth to encourage adventitious root formation along the buried stem, which increases drought resilience.
Establishing
Monitor soil moisture with a tensiometer, maintaining readings between 10 and 30 centibars for the first three weeks. Avoid overhead irrigation during establishment. Drip lines or soaker hoses deliver water directly to the root zone and preserve surface mulch structure. Replenish straw mulch to a consistent two-inch depth if it decomposes or compacts. Observe earthworm castings appearing on the surface within four to six weeks, indicating active decomposer populations.
Pro-Tip: Apply a 1/4-inch top-dressing of worm castings around each plant at the four-leaf stage to supply auxins and cytokinins that stimulate lateral root branching and nutrient foraging.
Troubleshooting
Symptom: Yellowing lower leaves with green veins.
Solution: Iron or manganese deficiency caused by high pH. Apply chelated iron foliar spray at 1/2 teaspoon per gallon weekly for three weeks. Incorporate sulfur at 1 pound per 100 square feet to gradually lower pH.
Symptom: Slugs congregating under mulch.
Solution: Reduce mulch depth to one inch in early spring. Introduce parasitic nematodes (Phasmarhabditis hermaphrodita) at 50 million per 1,000 square feet. Place copper mesh barriers around high-value seedlings.
Symptom: Stunted growth with purple-tinged leaves.
Solution: Phosphorus deficiency in cold soil. Warm soil with clear plastic for seven days before planting. Apply rock phosphate at 5 pounds per 100 square feet or liquid fish emulsion at 2 tablespoons per gallon biweekly.
Symptom: Fungal mats forming on mulch surface.
Solution: Beneficial saprophytic fungi breaking down lignin. No intervention required. These organisms improve soil structure and do not harm plants.
Symptom: Compaction in pathways.
Solution: Use a broadfork to lift and aerate pathway soil without inversion. Apply wood chips four inches deep to distribute weight and encourage fungal dominance.
Maintenance
Apply 1 inch of water per week during active growth, delivered in one or two deep sessions rather than daily sprinkling. This encourages roots to grow downward. Add 1/2 inch of compost every six weeks during the growing season to sustain microbial populations and nutrient cycling. Trim diseased or damaged foliage with sterilized pruners to prevent pathogen spread. Allow plant residues to decompose in place after harvest, chopping them into six-inch segments to accelerate breakdown. In autumn, cover beds with three inches of shredded leaves to protect soil aggregates from freeze-thaw cycles and provide spring nitrogen as the material mineralizes. Rotate crop families annually to disrupt pest cycles and balance nutrient demand, even in permanent no-till beds.
FAQ
How long until soil improves with no-till methods?
Measurable increases in organic matter appear within twelve months. Soil structure stabilizes after three growing seasons, with significant gains in water-holding capacity and aggregate stability.
Can I start no-till on clay soil?
Yes. Apply six inches of compost in the first year to improve porosity. Avoid working clay when wet. Use a broadfork annually until natural aggregation develops through root exudates and fungal binding.
Do I need to remove perennial weeds first?
Aggressive species like quackgrass or bindweed require solarization or two layers of cardboard left in place for eight weeks before planting. Monitor for breakthrough and hand-pull immediately.
What if my soil test shows low nitrogen?
Top-dress with blood meal (12-0-0) at 1 pound per 100 square feet or apply alfalfa meal (3-1-2) at 5 pounds per 100 square feet. Both release nitrogen gradually without stimulating excessive vegetative growth.
How do I manage pathways in a no-till garden?
Keep pathways separate from beds. Apply four inches of arborist wood chips directly onto compacted pathways. Refresh chips annually. Avoid walking on planted beds to preserve pore space and fungal networks.