10 Basic Ways How to Use Vegetable Spikes
Vegetable spikes deliver concentrated nutrients directly into the root zone through pre-formed cylinders of compressed fertilizer. These staked formulations dissolve gradually with each watering, eliminating the guesswork of liquid feeding schedules. Learning how to use vegetable spikes correctly transforms amateur garden beds into efficient production zones, where each plant receives consistent nutrition without the risk of salt burn or runoff waste. Insert them at the drip line, never against the stem, to match the radial spread of feeder roots.
Materials
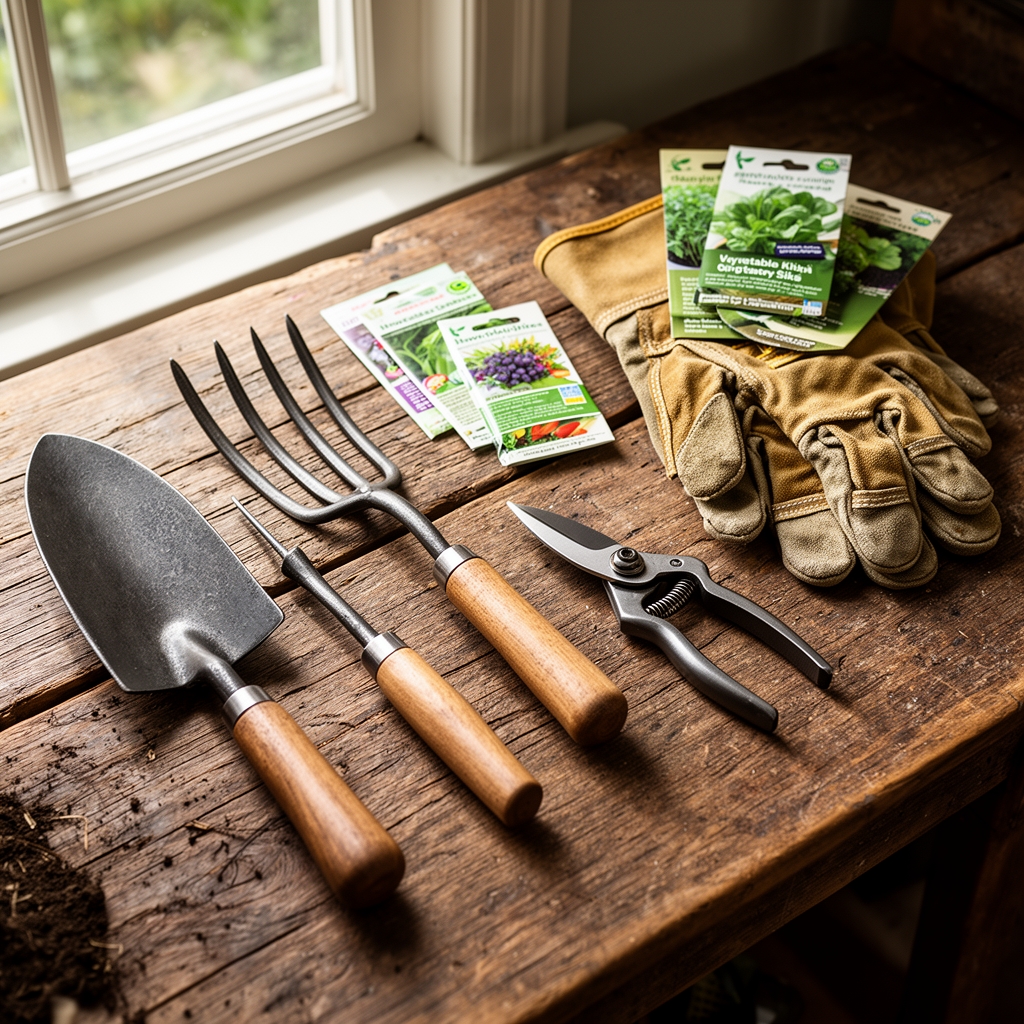
Select spikes based on crop type and soil chemistry. Tomato and pepper formulations typically carry a 6-12-6 ratio, emphasizing phosphorus for fruit set. Leafy greens respond to 8-4-4 profiles with elevated nitrogen for foliar expansion. Organic spikes use bone meal, feather meal, and kelp at a 4-4-4 ratio, releasing nutrients via microbial decomposition. Test soil pH before application. Most vegetable crops thrive between 6.0 and 6.8. Soils with pH above 7.2 exhibit reduced cation exchange capacity, binding phosphorus and micronutrients into unavailable forms. Acidic conditions below 5.5 liberate aluminum ions that damage root tips. Pair spikes with dolomitic lime in acidic beds or elemental sulfur in alkaline zones to calibrate pH within optimal range. Mycorrhizal fungi inoculants enhance spike efficiency by extending root surface area up to 700 percent.
Timing
Align insertion with hardiness zones and last frost dates. Zone 5 gardeners insert spikes two weeks after the final freeze, typically mid-May, when soil temperatures stabilize above 55°F. Zone 7 schedules shift to early April. Cool-season crops, brassicas and lettuce, tolerate spikes at 45°F soil temperatures in early spring or late summer. Warm-season fruiting plants, squash and eggplant, require 60°F minimums. Spike application occurs every six to eight weeks through the growing season. Install the first round at transplanting, the second at first bloom, and the third during peak fruiting. Avoid late-season nitrogen in determinate tomatoes after 80 days; excess vegetative growth diverts carbohydrates from ripening fruit. Monitor day length. Photoperiod-sensitive crops like spinach bolt under 14-hour days regardless of nutrient availability.
Phases

Sowing Phase: Direct-seeded crops receive half-strength spikes placed four inches from the seed line at planting. Full-strength formulations burn emerging radicles. Carrot and beet rows benefit from 5-10-10 spikes positioned six inches apart. Water immediately to initiate dissolution. Moisture activates the binding agents, releasing ammonium and nitrate ions into the soil solution.
Pro-Tip: Coat seeds with Rhizobium inoculant for legumes. Peas and beans fix atmospheric nitrogen through root nodules, reducing spike frequency to one application per season.
Transplanting Phase: Insert spikes in a circular pattern around each transplant. Space four spikes eight inches from the stem base for indeterminate tomatoes, three spikes for bush varieties. Drive spikes to full depth, leaving only the cap exposed. Partial insertion concentrates salts near the surface, creating osmotic stress. Peppers and eggplants require one spike per plant at six-inch offset. Cucurbits, sprawling melon and cucumber vines, demand six spikes distributed along anticipated vine paths.
Pro-Tip: Prune transplants at a 45-degree angle just above the cotyledon scar to redirect auxin distribution toward lateral branching.
Establishing Phase: Mature plants develop extensive root systems reaching 18 to 24 inches laterally. Redistribute spikes along the drip line perimeter every six weeks. Heavy feeders, corn and squash, consume nitrogen rapidly, exhibiting chlorosis in lower leaves when deficient. Insert additional spikes at 12-inch intervals along rows. Observe new growth for nutrient response. Dark green foliage with thick petioles indicates adequate nitrogen. Purpling in tomato leaves signals phosphorus deficiency, corrected by switching to high-phosphorus spikes at 4-12-8 ratios.
Pro-Tip: Apply foliar kelp spray at 1 tablespoon per gallon during spike establishment to supply trace elements, particularly boron and molybdenum, absent in synthetic formulations.
Troubleshooting
Symptom: Leaf margin scorch with brown, crispy edges. Solution: Over-application creates salt accumulation. Leach soil with two inches of water, allowing deep drainage. Reduce spike count by half and extend intervals to ten weeks.
Symptom: Blossom end rot in tomatoes and peppers, dark leathery patches on fruit bottoms. Solution: Calcium deficiency unrelated to spike NPK ratios. Maintain consistent moisture. Fluctuating water availability disrupts calcium transport through xylem vessels. Side-dress with gypsum at 2 pounds per 10 square feet.
Symptom: Stunted growth with yellowing between leaf veins. Solution: Iron chlorosis in high-pH soils. Chelated iron foliar sprays bypass root uptake limitations. Apply at 1 teaspoon per gallon biweekly until green color returns.
Symptom: Wilting despite adequate moisture, accompanied by root galls. Solution: Root-knot nematodes parasitize feeder roots. Remove affected plants. Solarize beds with clear plastic for six weeks in summer. Nematode populations decline at 120°F soil temperatures.
Maintenance
Water deeply once per week, delivering 1 to 1.5 inches measured with a rain gauge. Shallow frequent watering leaches spikes prematurely and encourages shallow rooting. Mulch beds with two inches of straw to moderate soil temperature and reduce evaporation. Inspect spike caps monthly. Flush caps indicate active dissolution. Replace spikes that remain hard after three weeks; compacted soil or insufficient water blocks nutrient release. Side-dress with compost at mid-season, adding 0.5 cubic feet per plant to improve soil structure and cation exchange capacity.
FAQ
How deep should vegetable spikes be inserted? Push spikes to full depth until only the colored cap remains visible, typically three to four inches depending on formulation.
Can spikes burn plant roots? Yes, if placed within four inches of stems. Position spikes at the drip line where feeder roots concentrate.
Do organic spikes work faster than synthetic? No. Organic formulations require microbial decomposition, releasing nutrients over eight to ten weeks. Synthetic spikes dissolve within six weeks.
How many spikes per tomato plant? Four spikes for indeterminate varieties, three for determinate types, spaced evenly eight inches from the stem.
Should spikes replace compost? No. Spikes supply NPK macronutrients. Compost provides organic matter, improves structure, and supports beneficial microbes essential for long-term soil health.